Welcome back to another At Home Photography Series blog post! I have had so much fun creating these and also shooting from home. It’s actually crazy how much you can challenge yourself and learn new skills from the comfort of your own home – I say comfort as most of these shoots I was still wearing my PJs!
What you will need:
- Camera
- Portrait Lens – a 50mm is perfect!
- Cake Mixer/Baking Ingredients/food as props
- Props, Backdrops, Small Bowls & Plates (you can find the links to some I used below)
You’ll need some form of food for this shoot – you can use anything from a dinner you’ve made, a cereal box and bowl or if you fancy baking something like me – a cake! This post will talk you through how I styled, created and shot two different cakes and some of the settings I used to do this whilst shooting from home.
This is the perfect shoot to try out and test yourself, so grab your camera and let’s get creative!
Prepping
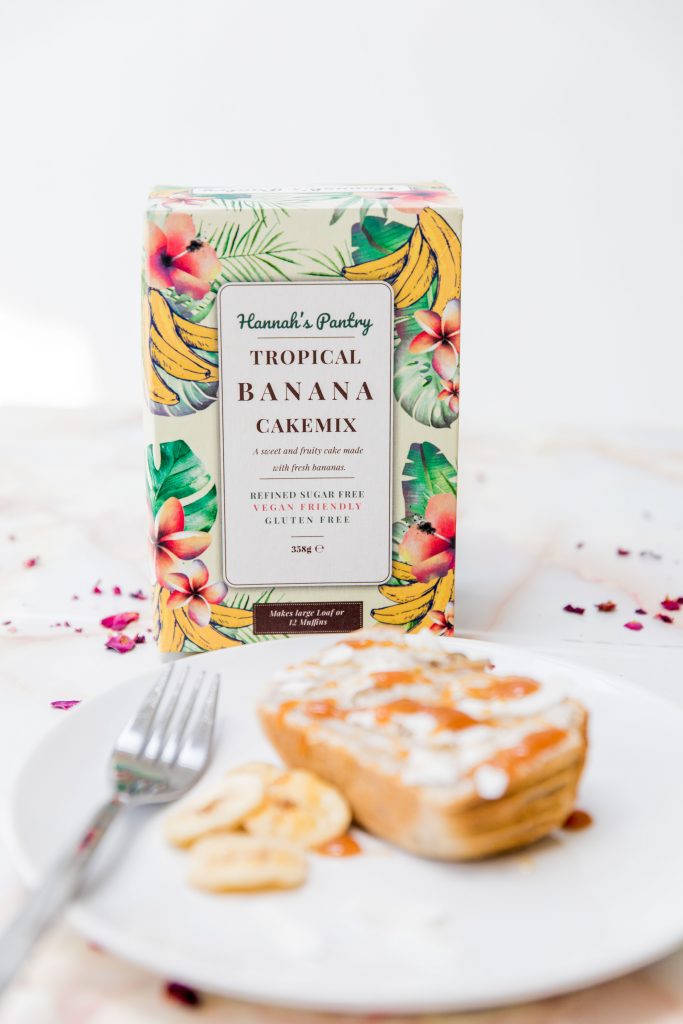
You’ll need to prep a few things prior to this shoot like the food or cake you are going to shoot and the backing, props and extra pieces you’d like in your photographs. I was actually shooting a product shoot for Hannah’s Pantry – an online Vegan Patisserie – so I had two cake mixes ready to shoot. One being a Banana Loaf and the other a Chocolate Cake. I did some pre planning using Pinterest on how I wanted to style and photograph this shoot beforehand so that I had an idea when it came to decorating what the final outcome was going to look like.
Backing and props are essential for this shoot. As much as the Cakes can look amazing by themselves, I think all Food Photographs look that little more special when you add some additional props and styling around the edges of the frame. You can also use different bowls, plates and tableware that would suit your products aesthetics. For both Cakes, I also baked the same mixers but I made muffins and cupcakes – these were to sit around the outside of the cakes, adding more depth to the image and more background decoration. Below are some links to items I bought for this shoot:
Marble Adhesive Paper (used as background)
Step One: Bake and Prep your shoot & take some test shots
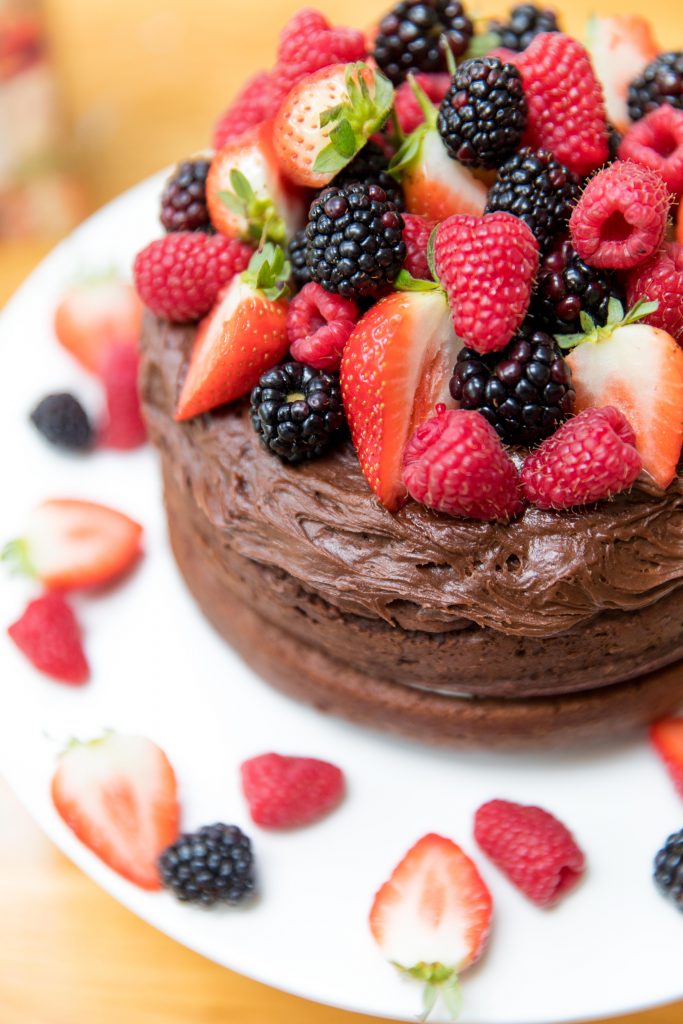
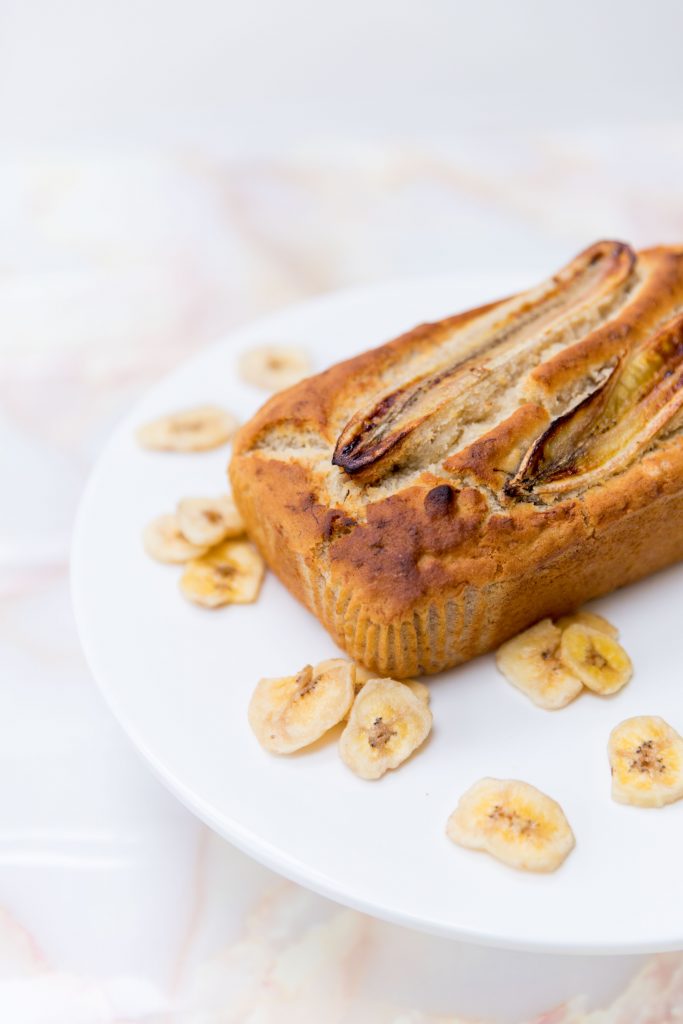
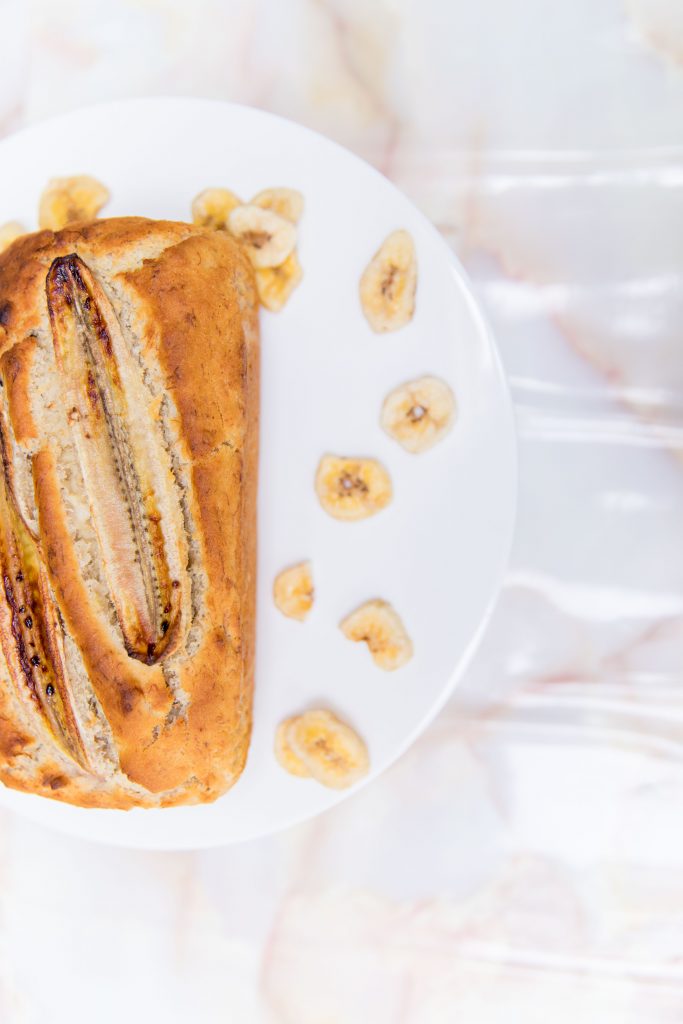
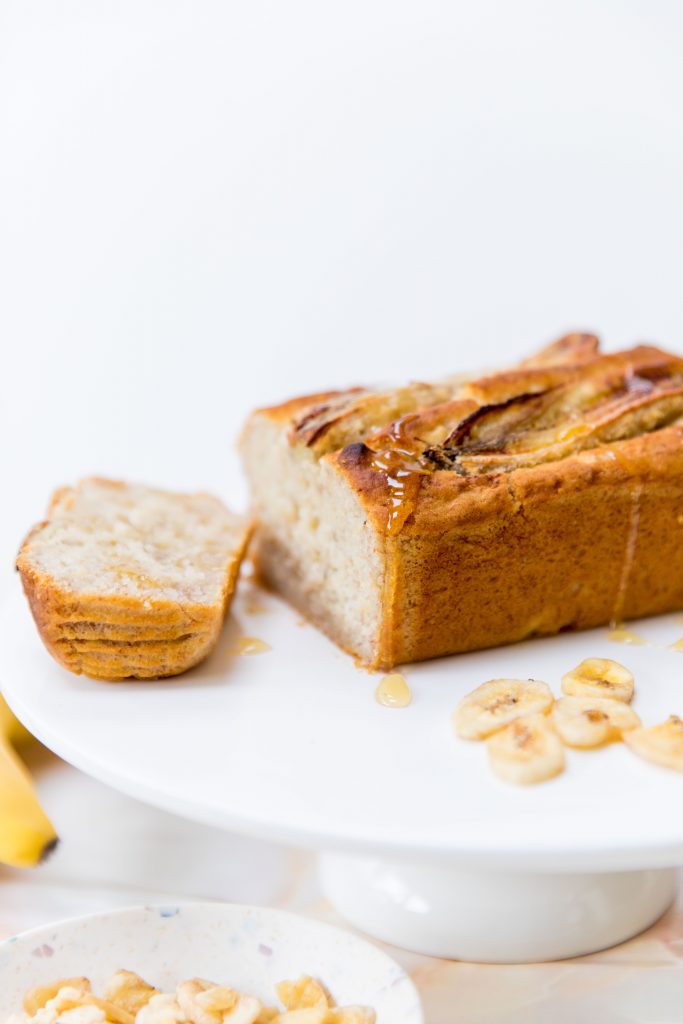
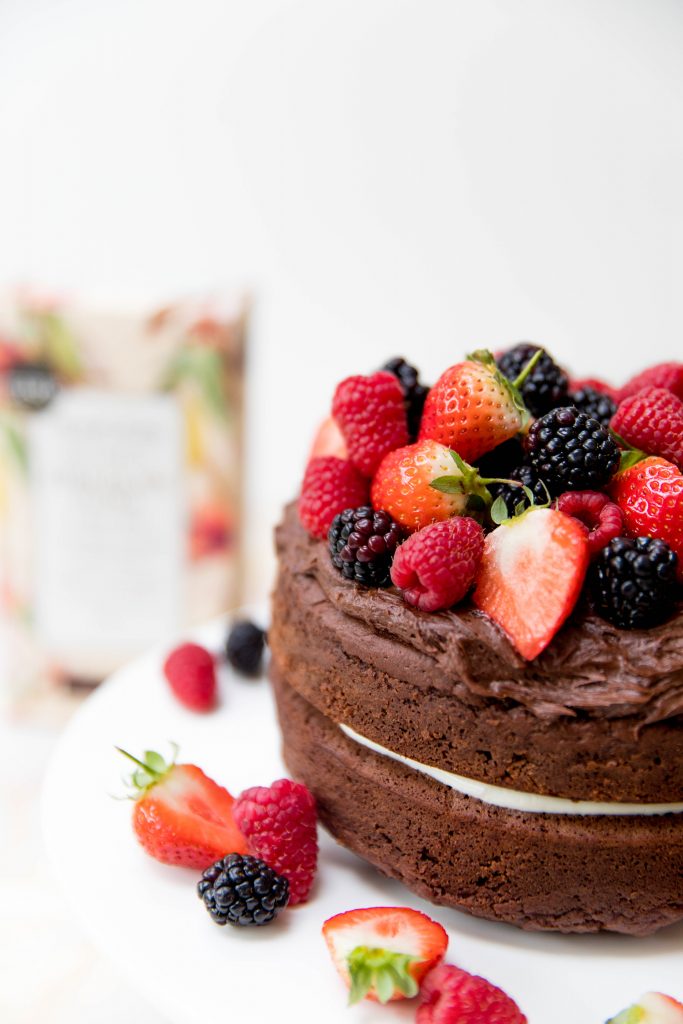
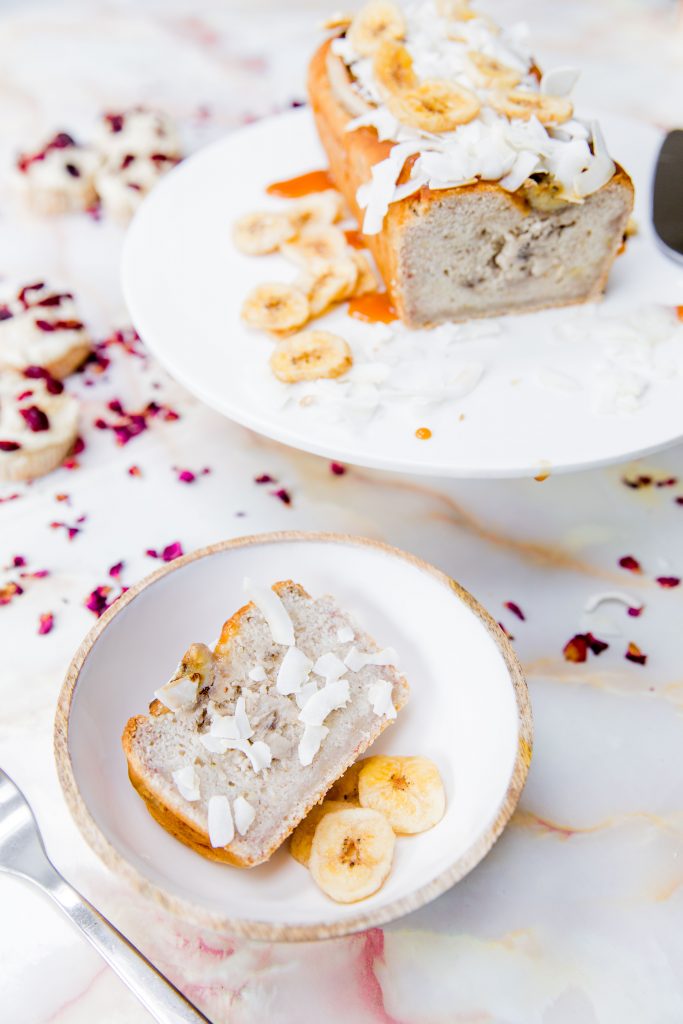
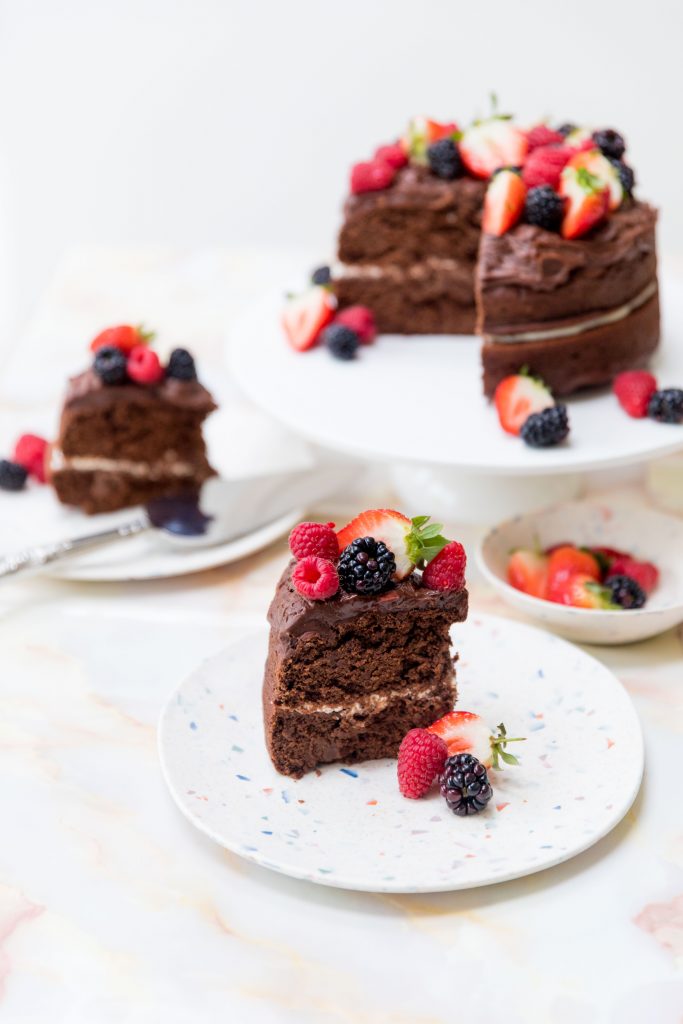
Bake your cakes, prep your meal or set up your food ready for the shoot! I baked and decorated the two cakes I was shooting. For the banana loaf, I added some coconut flakes, Banana Chips and drizzled some toffee sauce over the top. For the Chocolate Cake, I added a thin layer of yoghurt in the middle, Chocolate Icing on the top and a load of Strawberries, Raspberries and Blackberries to add that pop of fruity colour!
For the backdrop to most of my images, I used the Marble Adhesive Paper which worked great to create more of a ‘Luxe’ feel to the image and also to reflect some light onto the cakes.
I used this Cake Stand to place both my Banana Loaf and the Chocolate cake on to rise it off the table surface – this isn’t essential but it again adds more of a ‘luxe’ feel to the image.
For the first initial shots, begin with placing your cake, with no extra props, and test the light. Find where the light is working best for you and then extend from there. You don’t want to spend ages setting up a scenario with props and delicate items to then find that the lighting isn’t working and you need to move it.
I used all-natural light for these photographs and shot them in my kitchen next to my backdoor. I’m lucky enough that I also have windows on the ceiling by the door so I get light from not only the left side but also from above. You can add additional lighting should you feel your cakes/products need this.
Step Two: Different Angles to try
Composition is key when it comes to shooting food, so here’s a few tips with different angles to try…
Start by familiarising yourself with the angles that you like and that you are confident make a good shot – nail those ones so that you have them in the bag and then experiment! A few other angles you can try are…
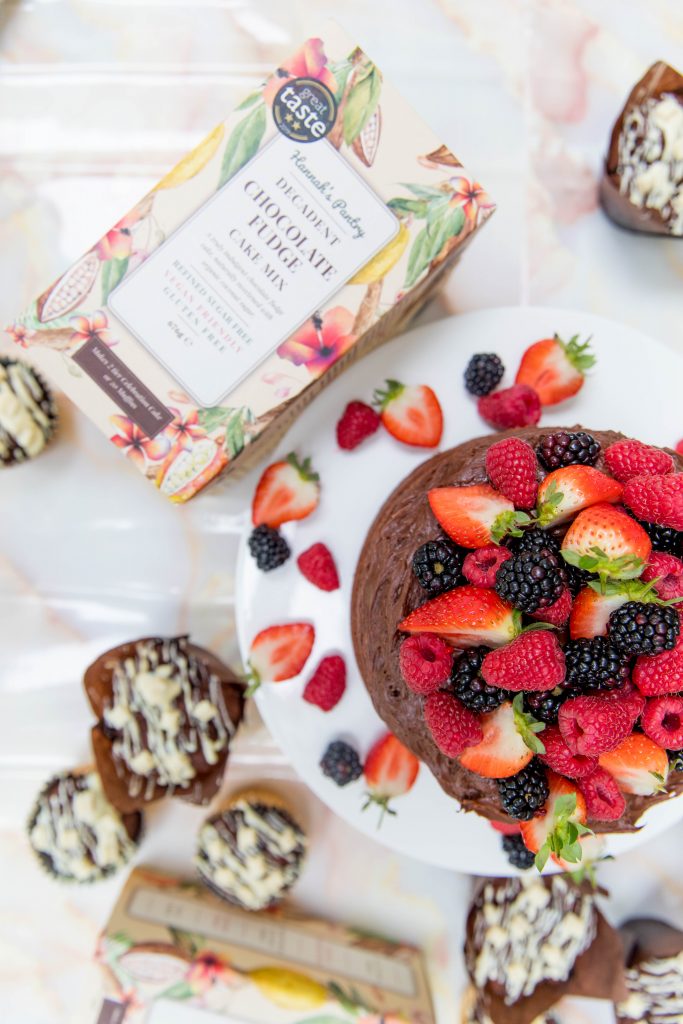
Flatlay: Experiment with the angles you are shooting. Try shooting some flatlay images (grab a chair or stool and get up high so that you can shoot directly from above, if you are unable to do this; you can place your item on the floor and shoot from standing). You can cut into some images so that the food ‘leaks’ out of the image. Below is an example of this…
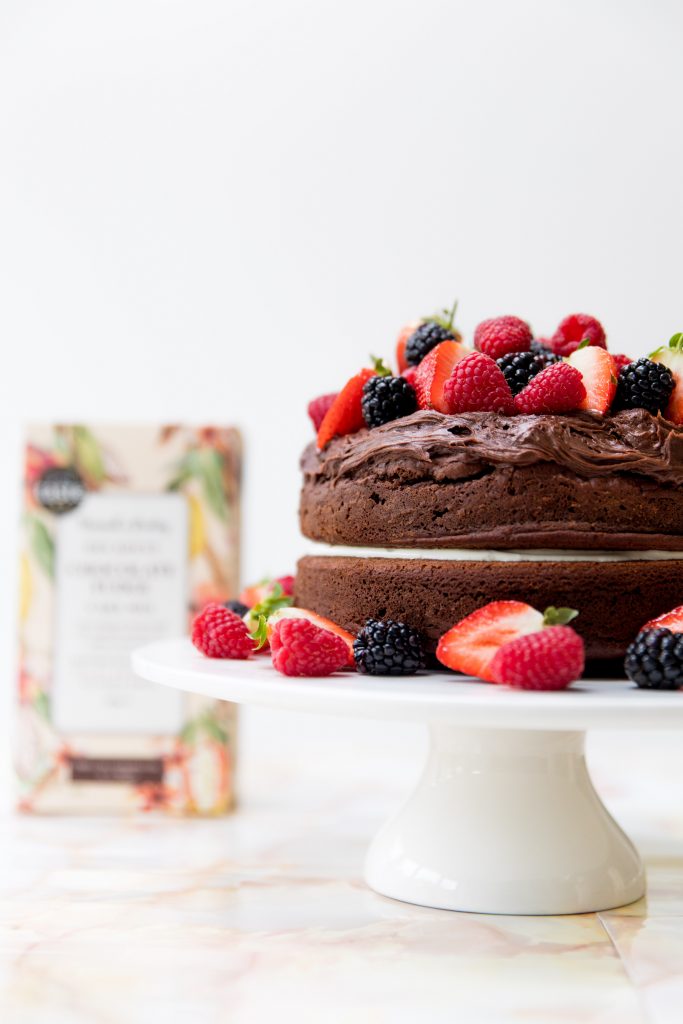
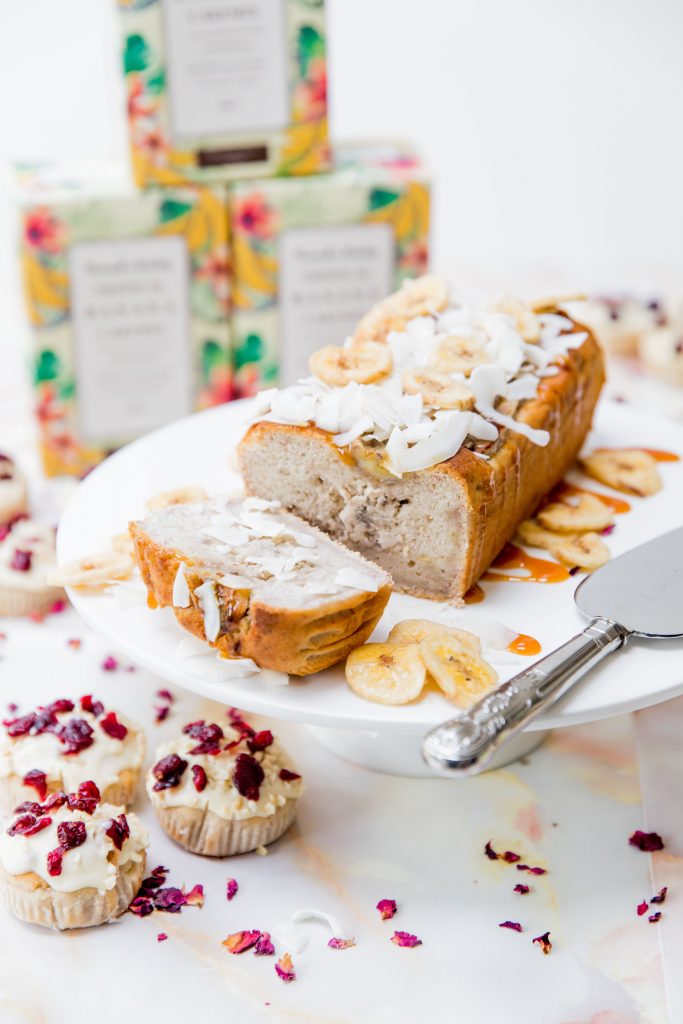
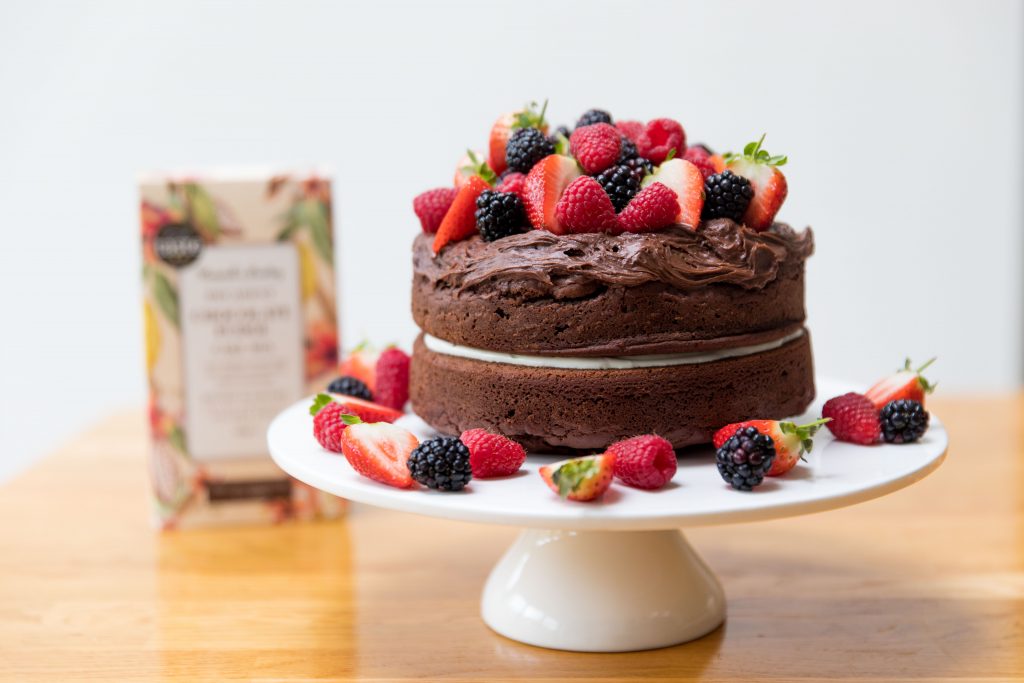
Directly in front: I found that the cakes worked really well when I photographed them at directly the same level. This especially worked well with the Chocolate Cake as then you could see the White Yoghurt inside the cake. It also makes the Cake look bigger and more ‘superior’ in the photo.
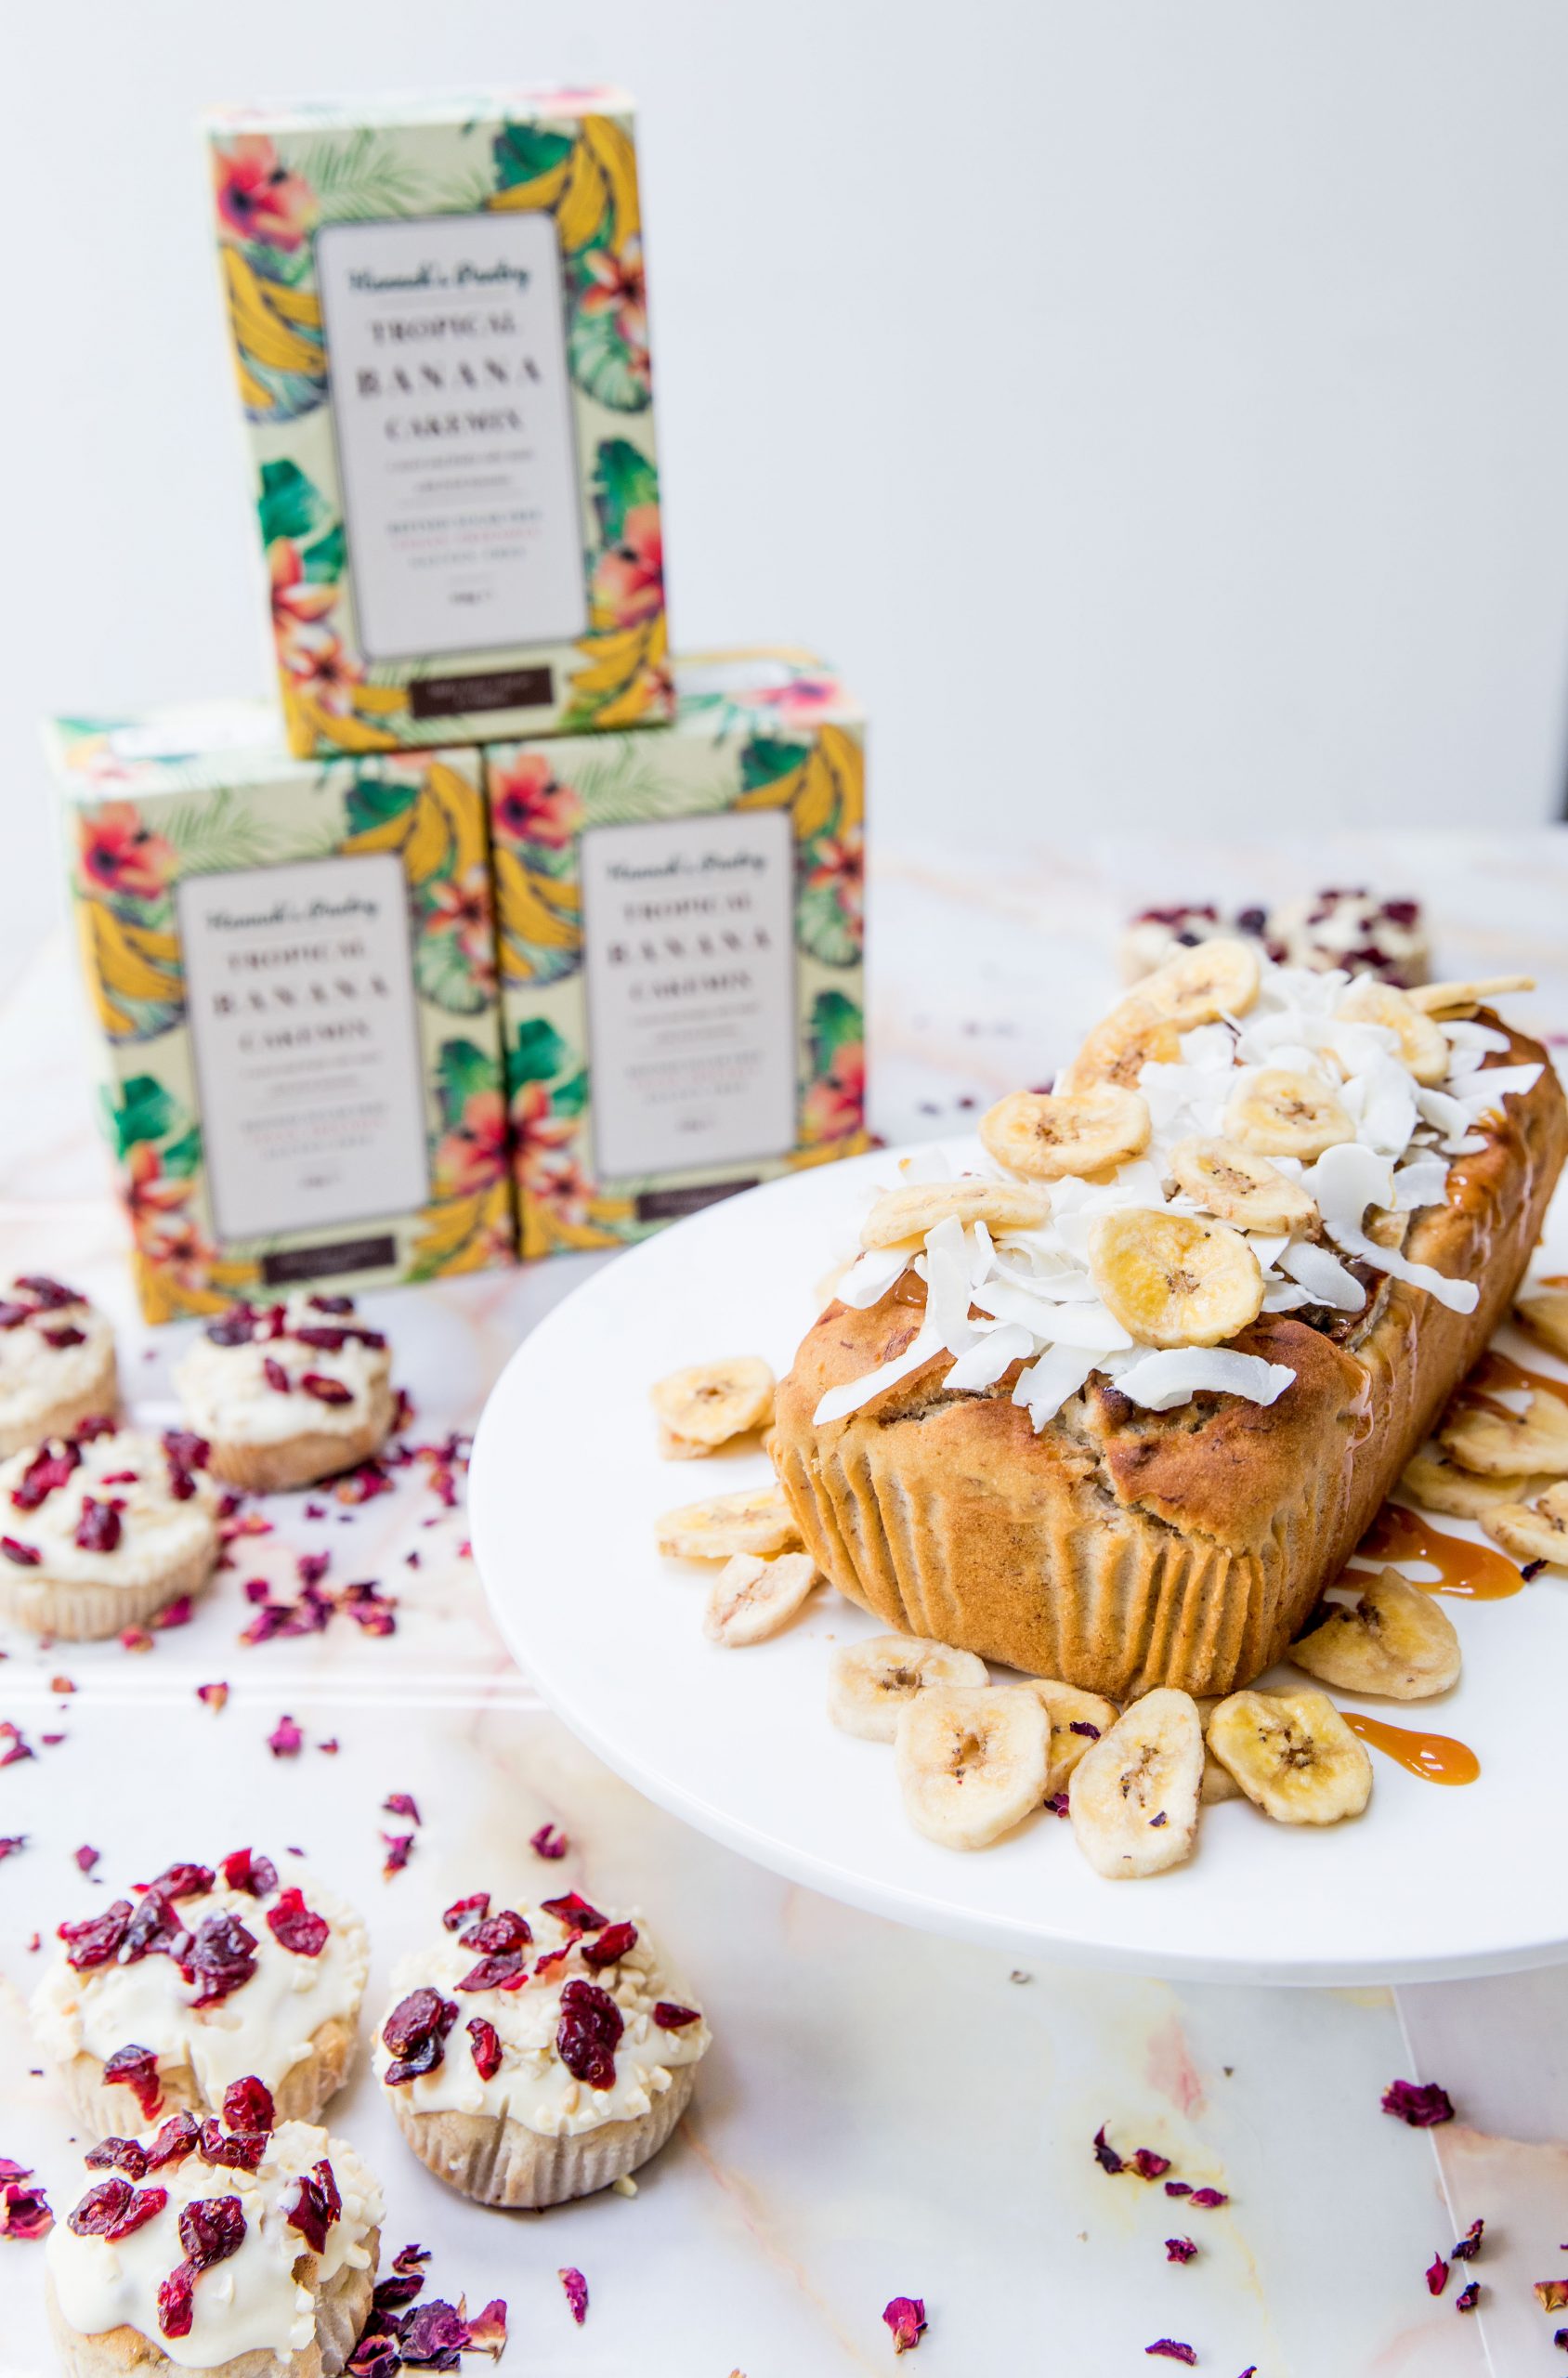
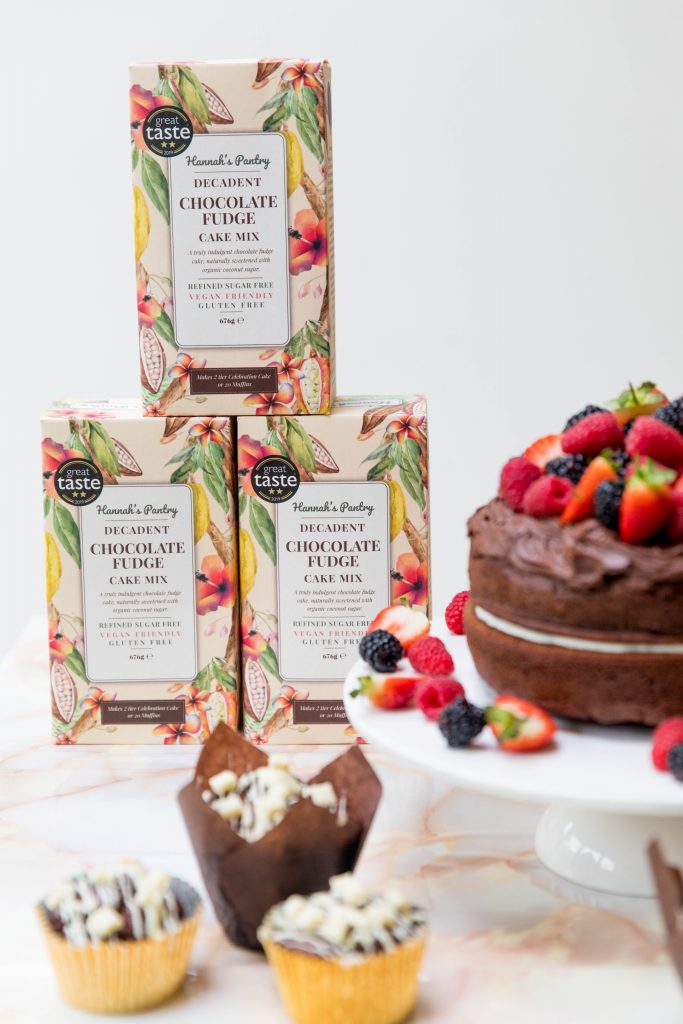
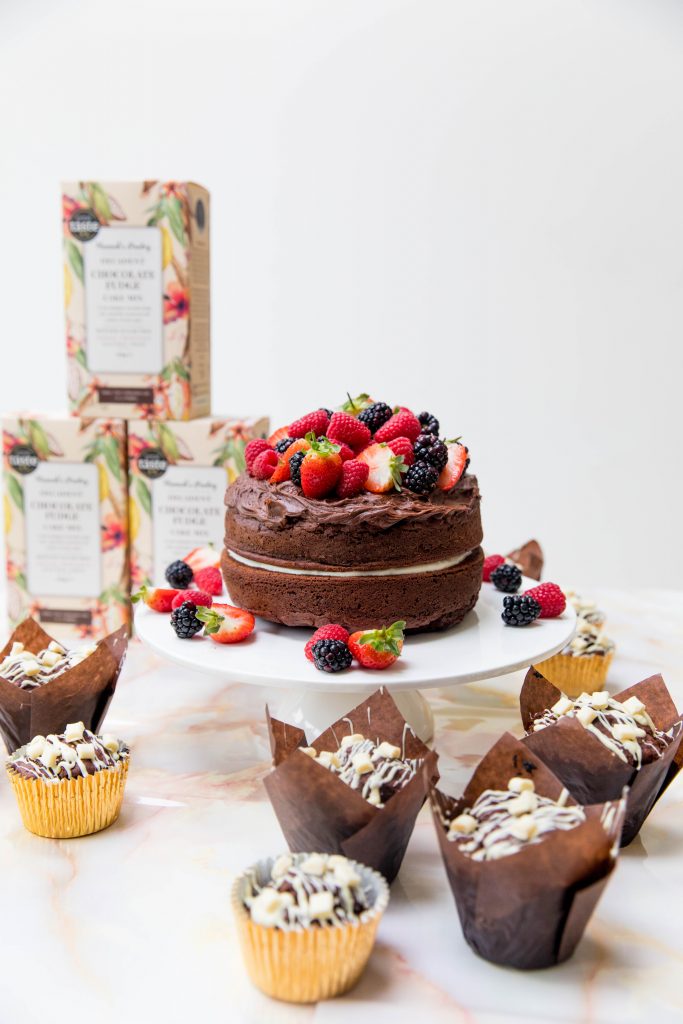
Foreground Blur: When you are generating a variety of shots for a client, another great angle to try is foreground blur. For example, within this shoot I not only wanted to capture the cake but also the packaging that the Cake Mix comes in. So I placed the Cake Mix behind the cake and had the cake become the foreground blur, meaning then the attention and focus was on the packaging. It still showcases the product but in a more creative way.
Crop into your image: Be experimental with how you photograph your food with cropping into the image. Get some really close up shots and experiment with honing in on texture and different parts of the food that look the best. I cropped in on some flat lay images and also on parts of the cake which show the best texture.
Step Three: Move your Food into different positions
Another great thing to do is to change up the look of the food you are photographing. For example, I cut into my cake and placed the slice in front of the main cake. This way, you are not only able to see inside the large part of the cake but it also adds a sense of interaction and relatability to the image.
Move props & objects whilst shooting Continuous: Movement in photographs always looks great, especially when it comes to Food Photography. It almost brings it to life and creates excitement. Experiment with moving props, for example, set your camera to Continuous shooting and drop some petals into the image so that it creates movement around your subject. You could also experiment with squirting honey or sauces onto your food. This creates not only movement but texture to the image.
Add additional food that relates to the main subject: As mentioned earlier, I baked smaller cupcakes and muffins to sit around the edges of the main Cake. This creates a different feel to the scenario and is another good option should you be sending these photographs to a client or using them for your portfolio.

Slice part of your Cake: Change the look of your Cake by slicing into it and place this in front. This not only shows the inside of the cake but also what a singular piece of the cake looks like. It shows a different composition of the photograph and adds a really nice touch to the image.
My Camera Settings
I shot most of these images with the ISO set to 400 – this was to give me a little boost with the light as it was a pretty cloudy day when I photographed these. My Shutter Speed ranged from 1/80 – 1/500 depending on the distance I was to the Cakes, positioning I was shooting from and the light at the moment that I took the photograph. My Aperture ranged from f2.8 – f8 depending on the distance I was from the Cake and how much focal point I wanted within the image. For the close ups I shot at f2.8, further away shots I set to f4 and flatlays was around the f8 mark.
I really hope you enjoyed this post as part of my At Home Photography Series – if you do try this shoot/or something similar – please share your images with me as I would love to see!!