If you’re anything like me, you love to be out and about exploring and getting creative. So being told we have to stay inside has been a little challenging! I’ve cleaned as much as I possibly can and have never cleared out as many clothes in my life – but this isn’t fulfilling my little Creative hole!
In usual day-to-day life, I shoot at least once a day – whether this is with a brand, model or influencer. I am lucky enough to be creative on these shoots so the majority of the time I feel very fulfilled. So it was time to get behind the camera again and get shooting! I’m lucky enough to live with other people so I ask one of the girls if she would mind modelling for me. You can grab your housemate, mum, partner, pet or any object to complete the below Isolation photoshoot – but most importantly enjoy!!!
All of the images for this shoot were shot on a Canon 5D mk IV with a 24-70mm 2.8 lens.


What you will need:
- Camera (this can even be your phone!)
- Model or object
- Sunlight
- Bedsheet
- Piece of material that has some holes in it (this can be a piece of mesh, thin tights, a top etc)
First Step: Hang up the bedsheet and any other props you’d like in the background and foreground
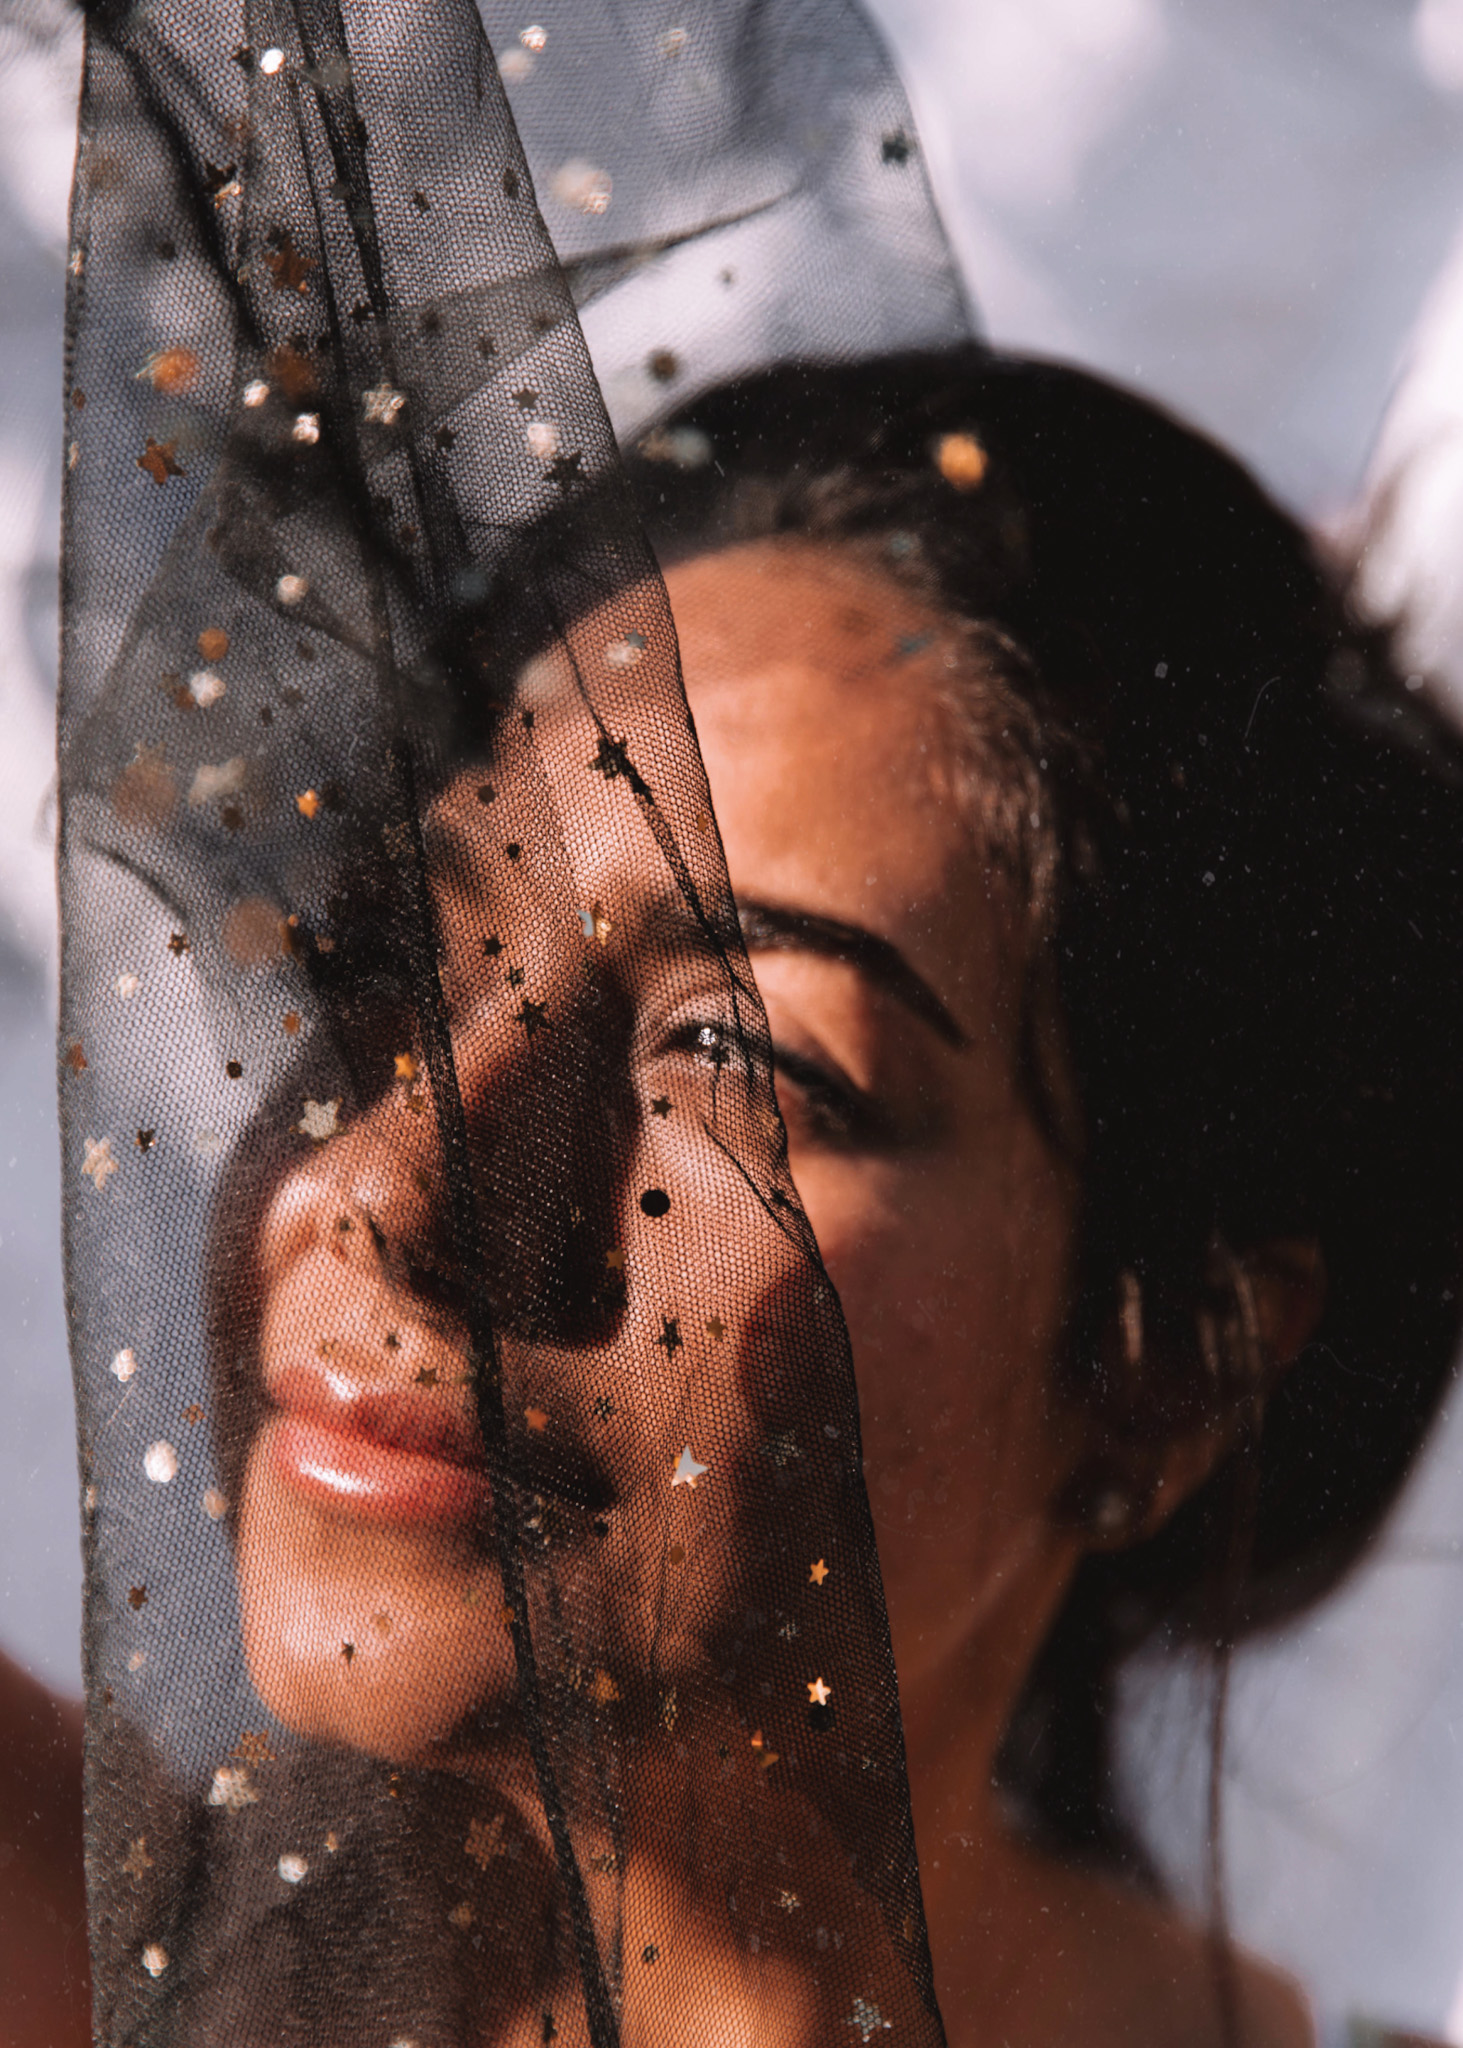
Second Step: Place the model in front of the bedsheet and angle so that their face or part of the object is in direct sunlight
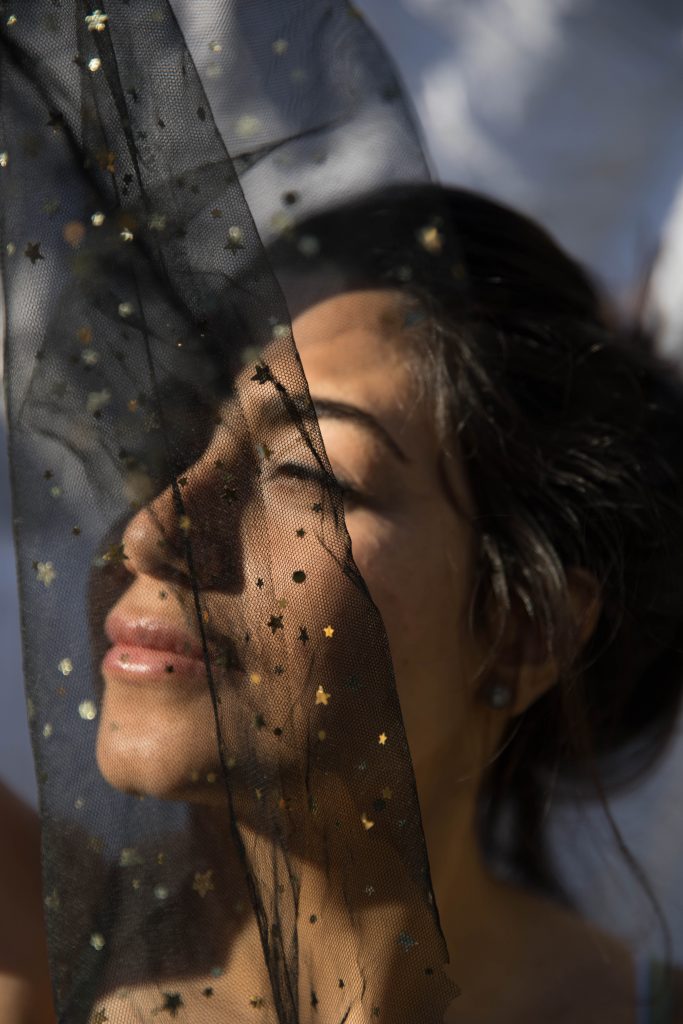
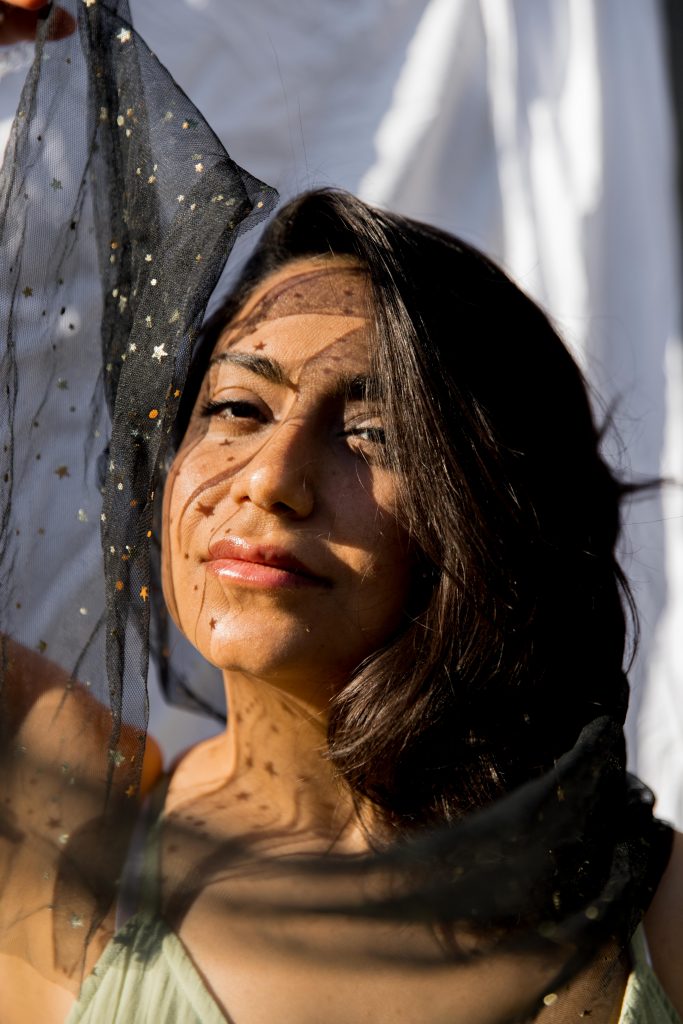
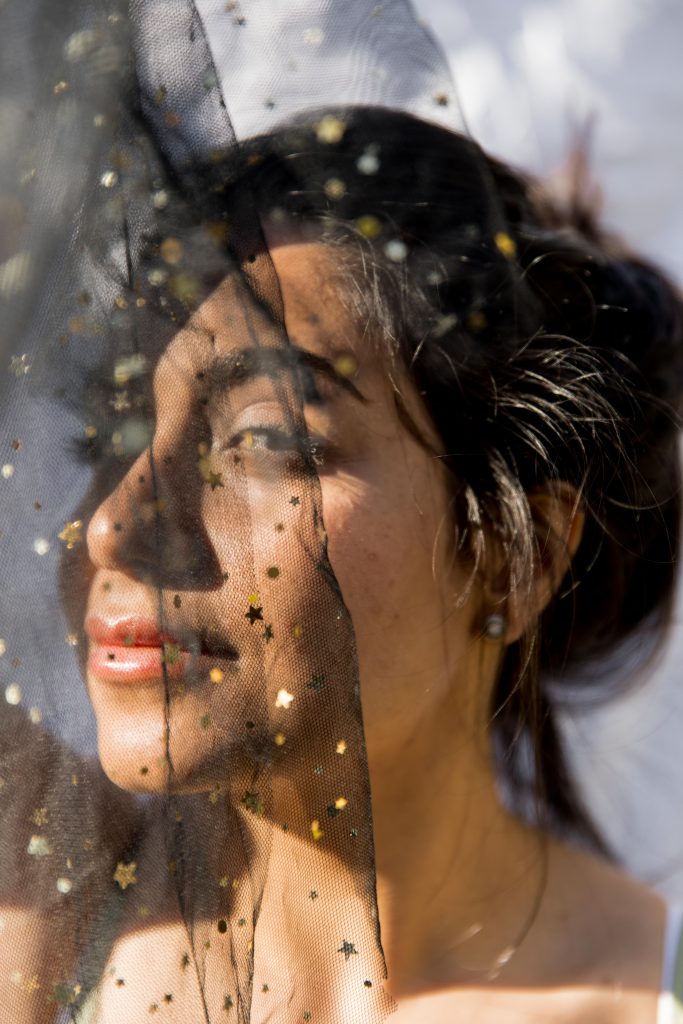
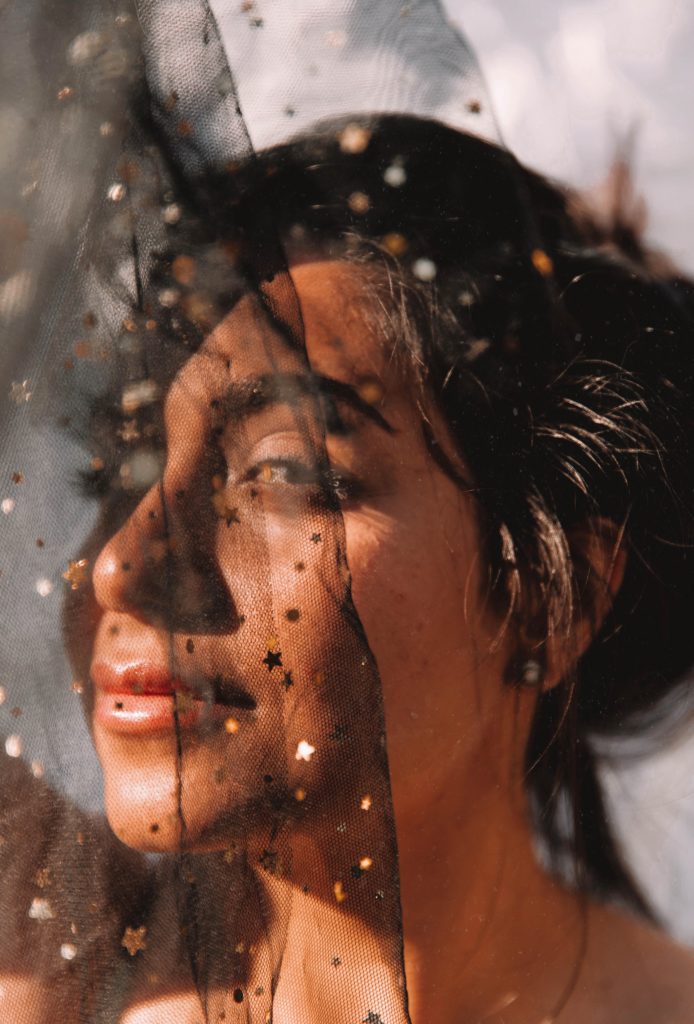
Third Step: Place the piece of material (for this shoot I used a childs tutu!) between the model/object and the sun so that light leaks through the holes and patterns onto the model/objects face.
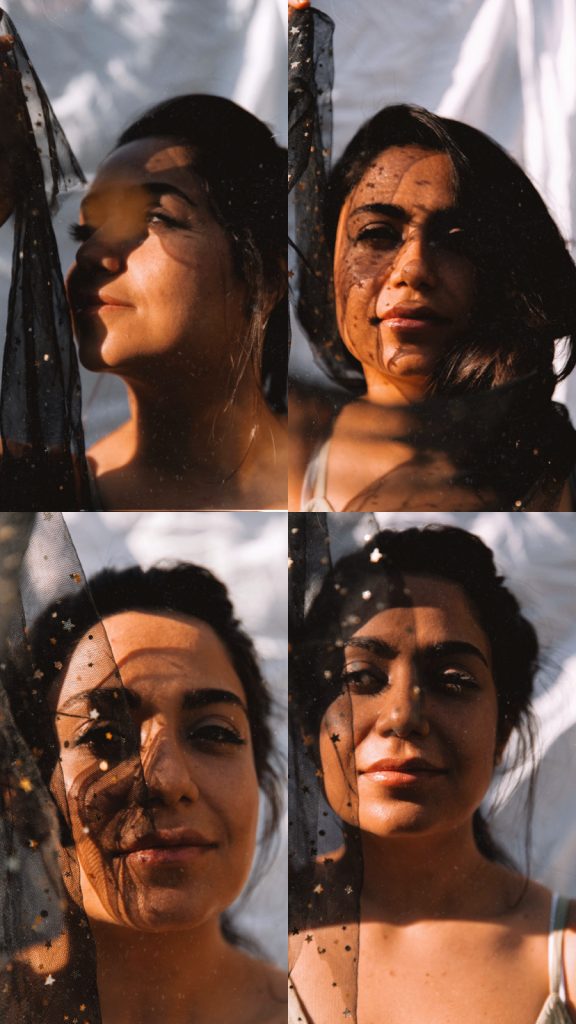
Fourth Step: Play around with different angles and the position of the material. I even like holding the material and getting the model to hold the other end so that it creates dimension to the image.
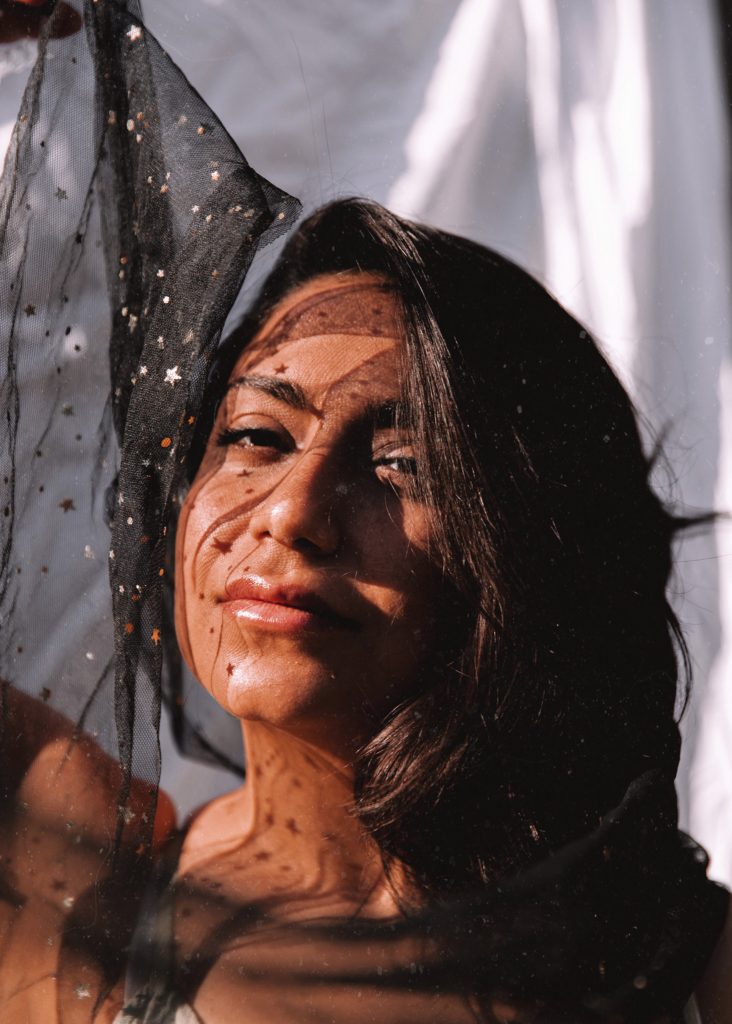
Fifth Step: Editing. I used my own presets to edit these images but I recommend deepening the shadows and enhancing the highlights slightly so that you generate more contrast between the two. I also love a warm/blush look to my images so I desaturate the blues and greens and lift the oranges and pinks. You can also lift the ‘temperature’ tool slightly so that it’s more towards the orange. I always add a slight ‘grainy’ look to the image – this can be done on most photo editing apps. Make sure you don’t lift it too much that the image quality looks poor but more of a ‘film’ and ‘retro’ look.
Editing is all about playing around with the image and seeing what works best. What works for one image won’t always work with another – so have fun with this and don’t be scared to try something different/new! I have spent hours editing – if you spend long enough playing around you will soon be able to look at any image and visualise what you want the outcome to look like and be able to achieve it quickly.
Below you can see some of my before and afters:
If you take part in this Isolation Series – please don’t forget to share with me as I would love to see your creations 🙂 Part 2 is on it’s way! x