Not the most common used materials in photoshoots but I wanted to give this ago! I actually saw a video on TikTok (yes I have caved and now totally addicted – mainly for the funny videos but there’s some seriously creative ones too!). I wasn’t really sure what to expect with this shoot but I actually love the effect on these images and will definitely try this again! It’s a super easy shoot you can achieve at home in any room!
What you will need:
Camera
Model/object to shoot
Cling Film
Vaseline


Step One: You want to have a location in mind (preferably with some backlit or direct sunlight) – I used my back garden as this gave me options to play around with angles that worked the best with the clingfilm.
Step Two: Place some cling film over your lens, you only want to have one layer as two layers will be too heavy to shoot through.
Step Three: Place a small layer of Vaseline on top of the clingfilm. I say small as the image will already be slightly blurry from the clingfilm so you don’t want to go too heavy with the vaseline as your object will be totally distorted. The aim is to get a slightly blurry/hazy effect rather than distorted.
Step Four: This is your chance to experiment and find what works best for you and the lighting that you have. As I said, I shot these photos outside in my garden around 2.30pm as the sun was slightly lower in the sky – there were patches of cloud so I was able to play around using backlit and direct sun and also overcast light.
Below are some of my favourites from the shoot and how I shot them:
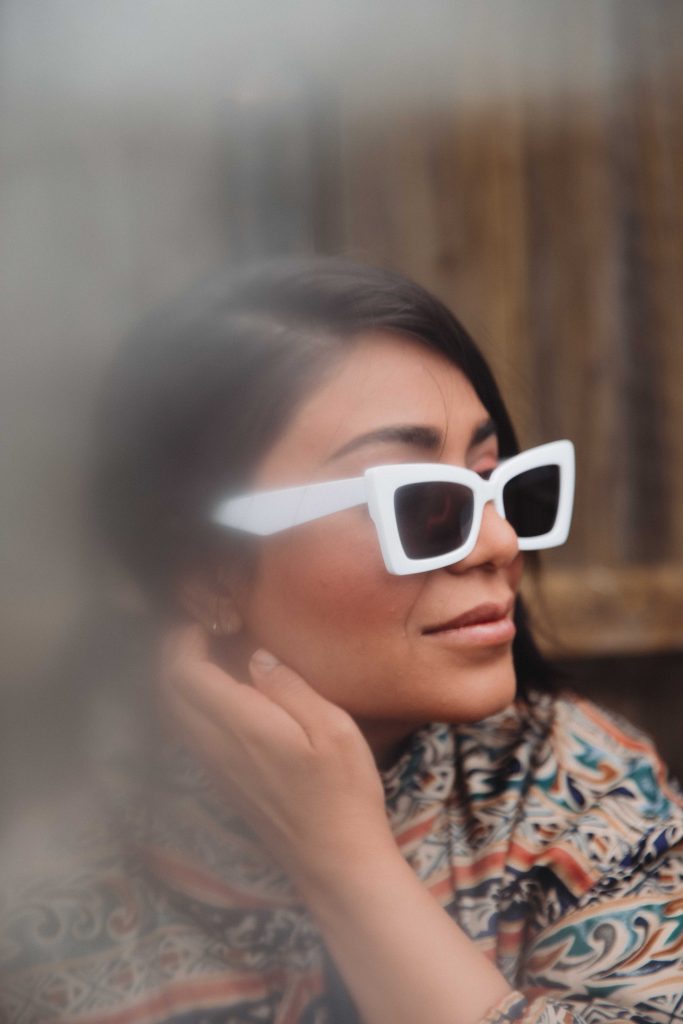
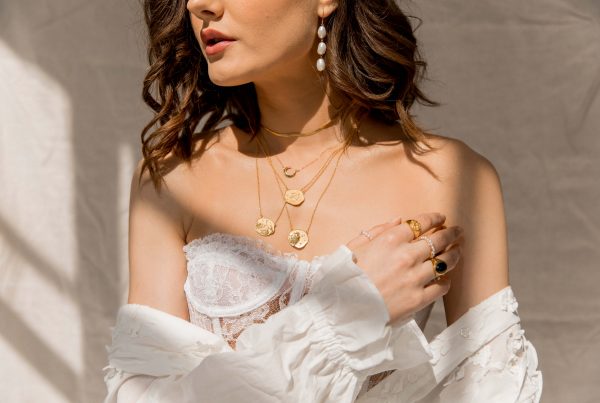
These were our first initial shots, we went for a vintage feel and played around using the garden fence as the background – the tones matched perfectly with Seppie’s jacket. I placed the clingfilm slightly over the lens so that I was able to capture some quality in half of the image with having nothing covering the lens.
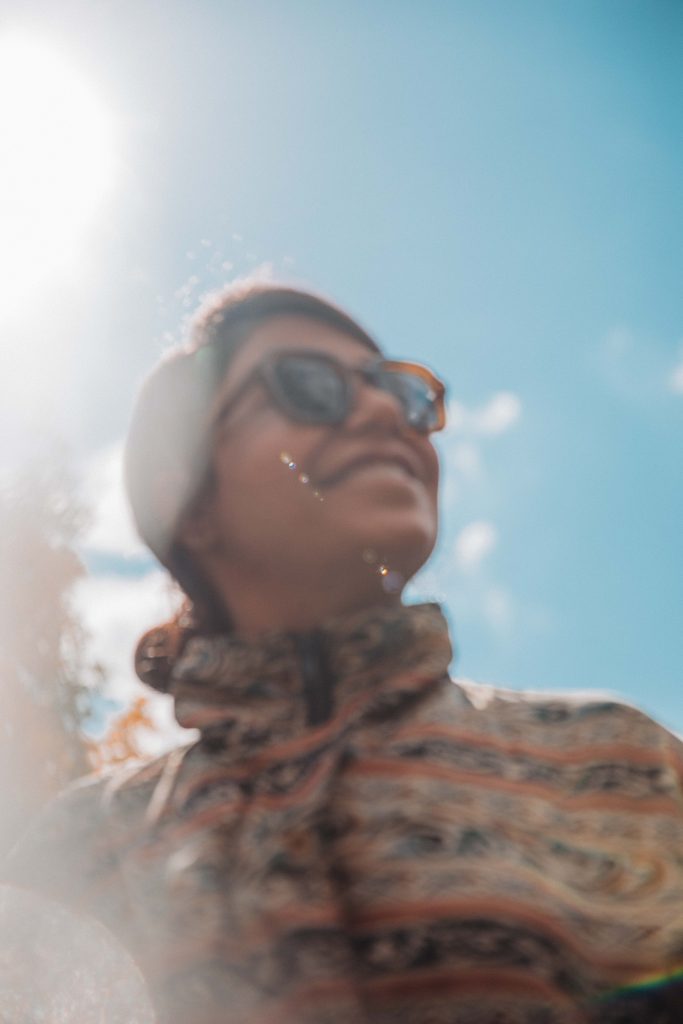
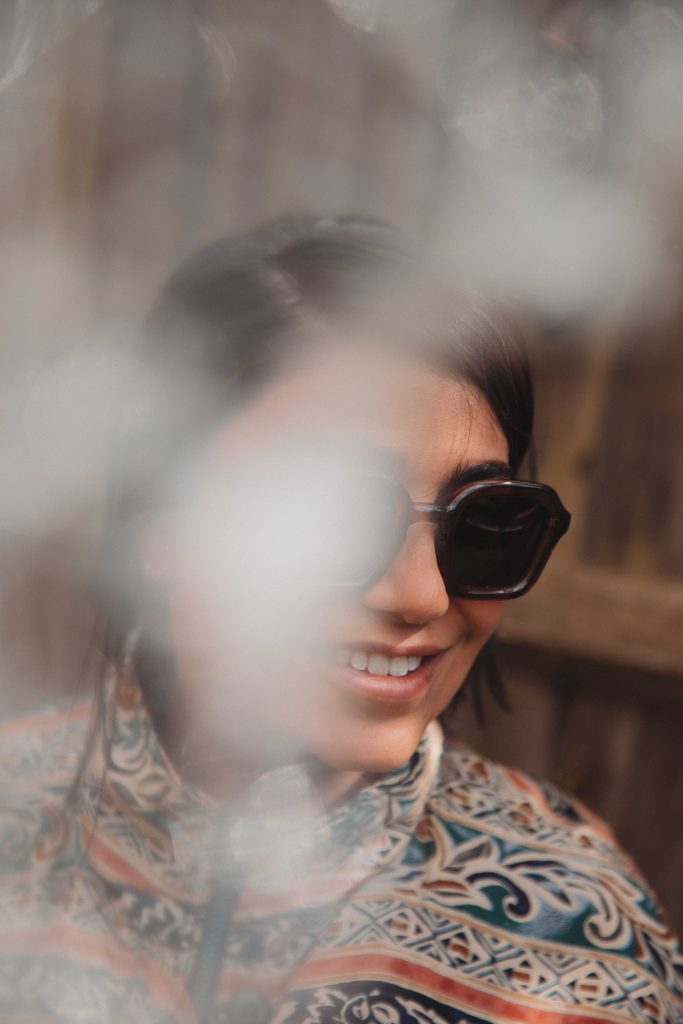
Next, we played around with the clingfilm covering the whole lens – this is the effect you get – I love the hazy glow! In order for the Cling Film and Vaseline to ‘sparkle’ like in the above images, you will need to have an element of backlit light or direct sunlight so that it can bounce of the materials.
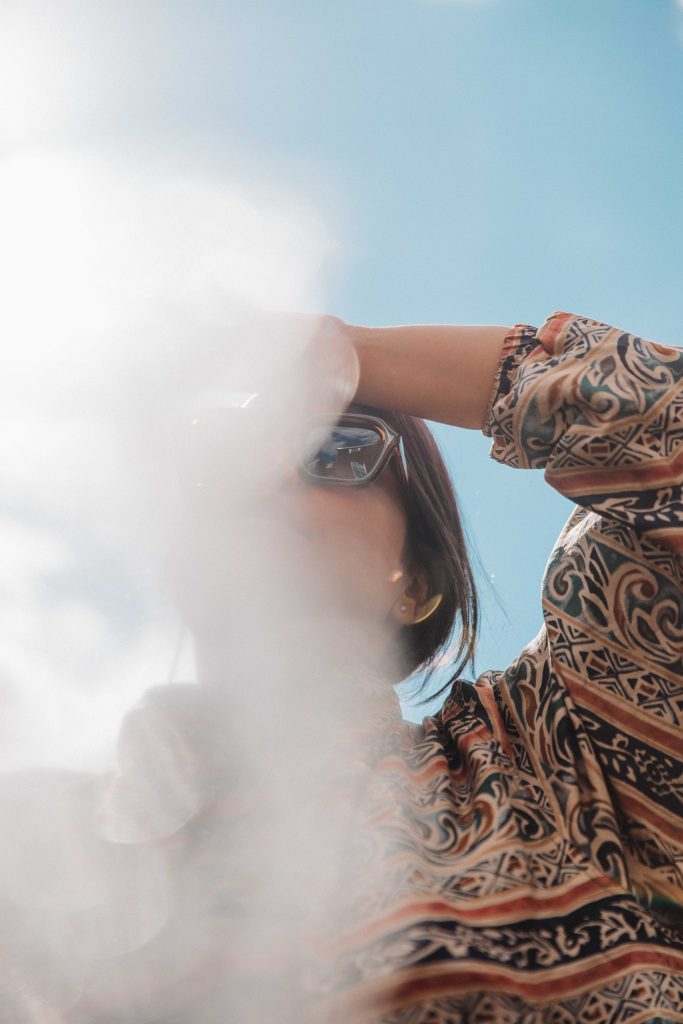
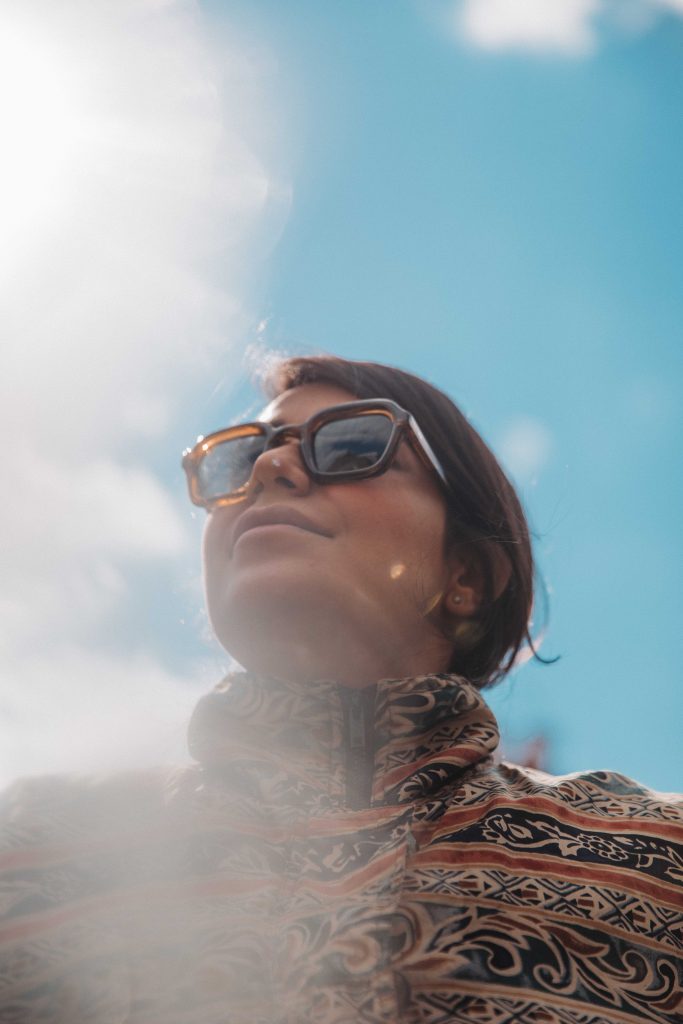
Lastly, these were my favourite from the shoot – I LOVE the half image blurred effect that the clingfilm gave – I placed it half over my lens and moved Seppie into a position where I could shoot the light behind here – creating a backlit effect. This also gave a little ‘shine’ on the clingfilm which helped brighten up the whole image. These were shot from low down looking up so that I could just have the blue skies and clouds in the background.
If you try this shoot – please be sure to share with me as I love seeing your creations! x