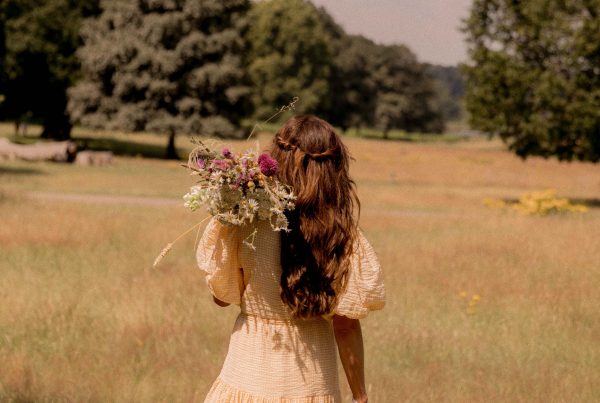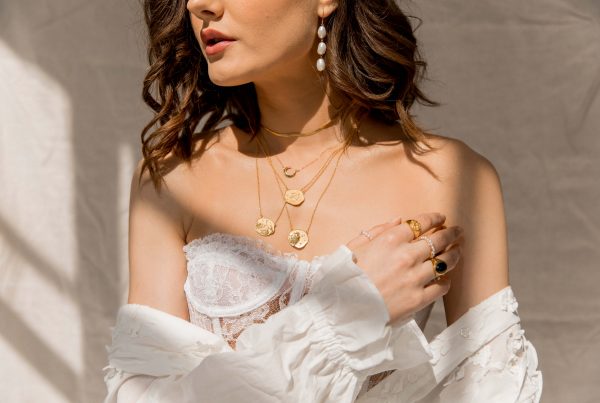
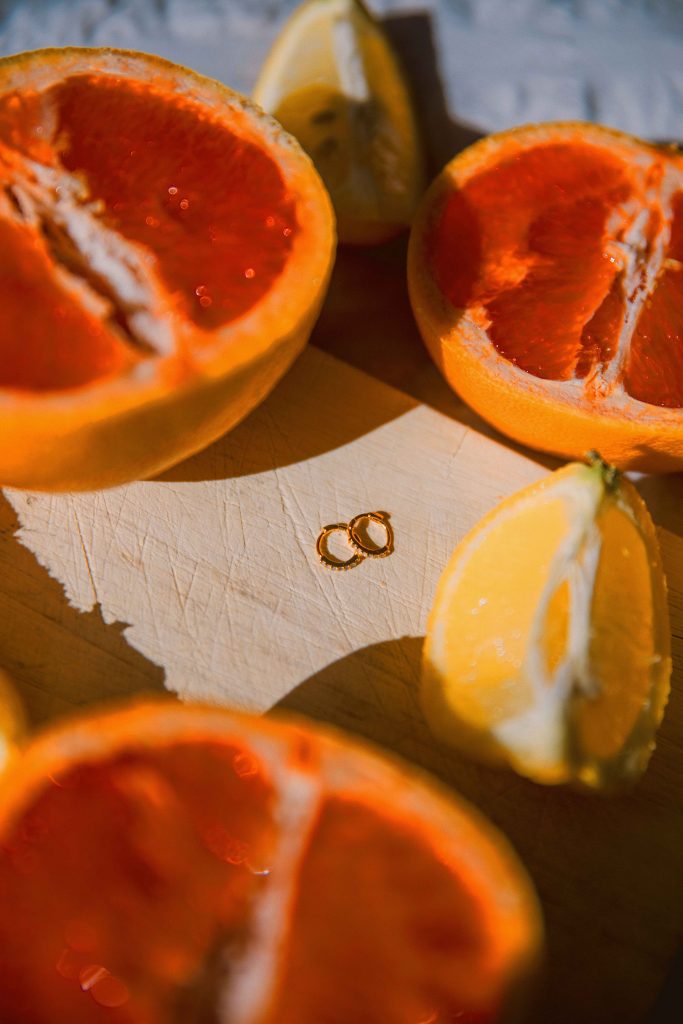
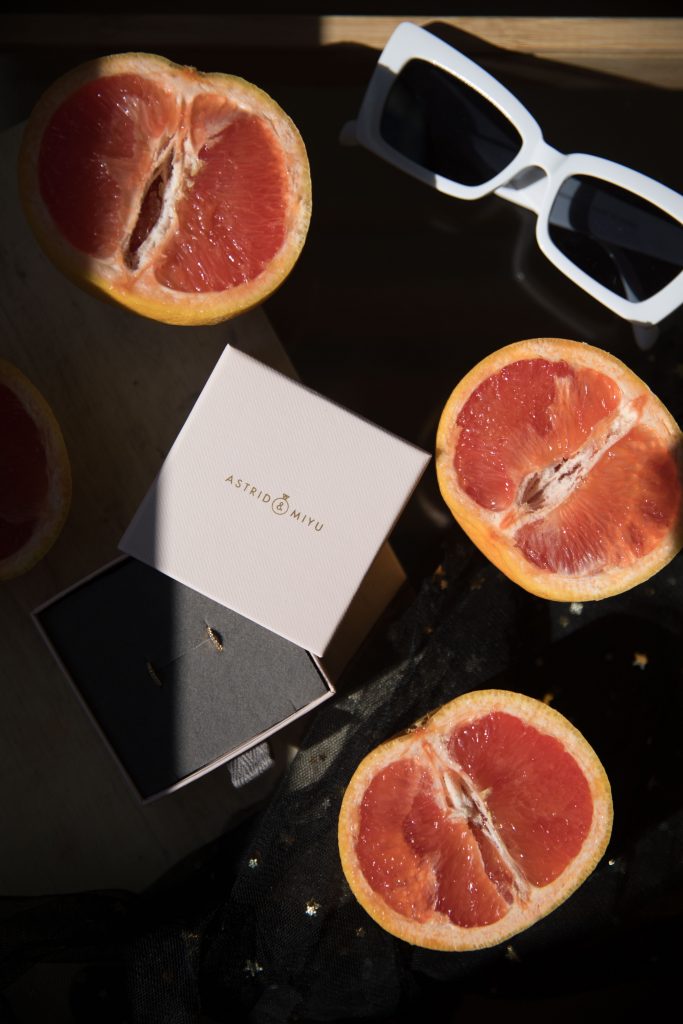
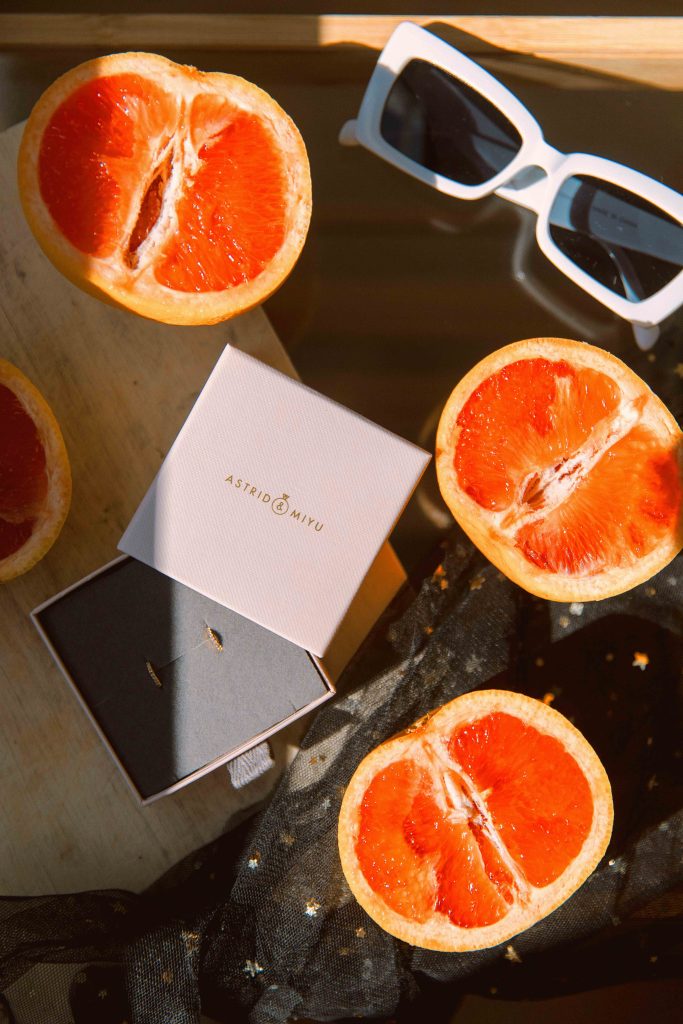
For today’s At Home Photoshoot I wanted to bring some products and brands that I have worked with before. It was such a beautiful afternoon with the light that I chose to shoot some Jewellery pieces from a brand called Astrid & Miyu.
Last time I worked with A&M was for a campaign shoot with Frankie Gaff – you can check out some of these images from this shoot here and here
When it comes to shooting products at home, lighting is key – whether this is natural lighting through a window or at-home studio lighting. It can really make or break the brand’s aesthetics and look you are wanting to achieve. For this shoot, I wanted there to be definition and contrast between the highlights and the shadows, so opted to shoot in the afternoon light in my bedroom; as that’s when the light really shines through the window and I would have more chance creating this effect.

Things that you will need:
- Camera – iPhone or Camera
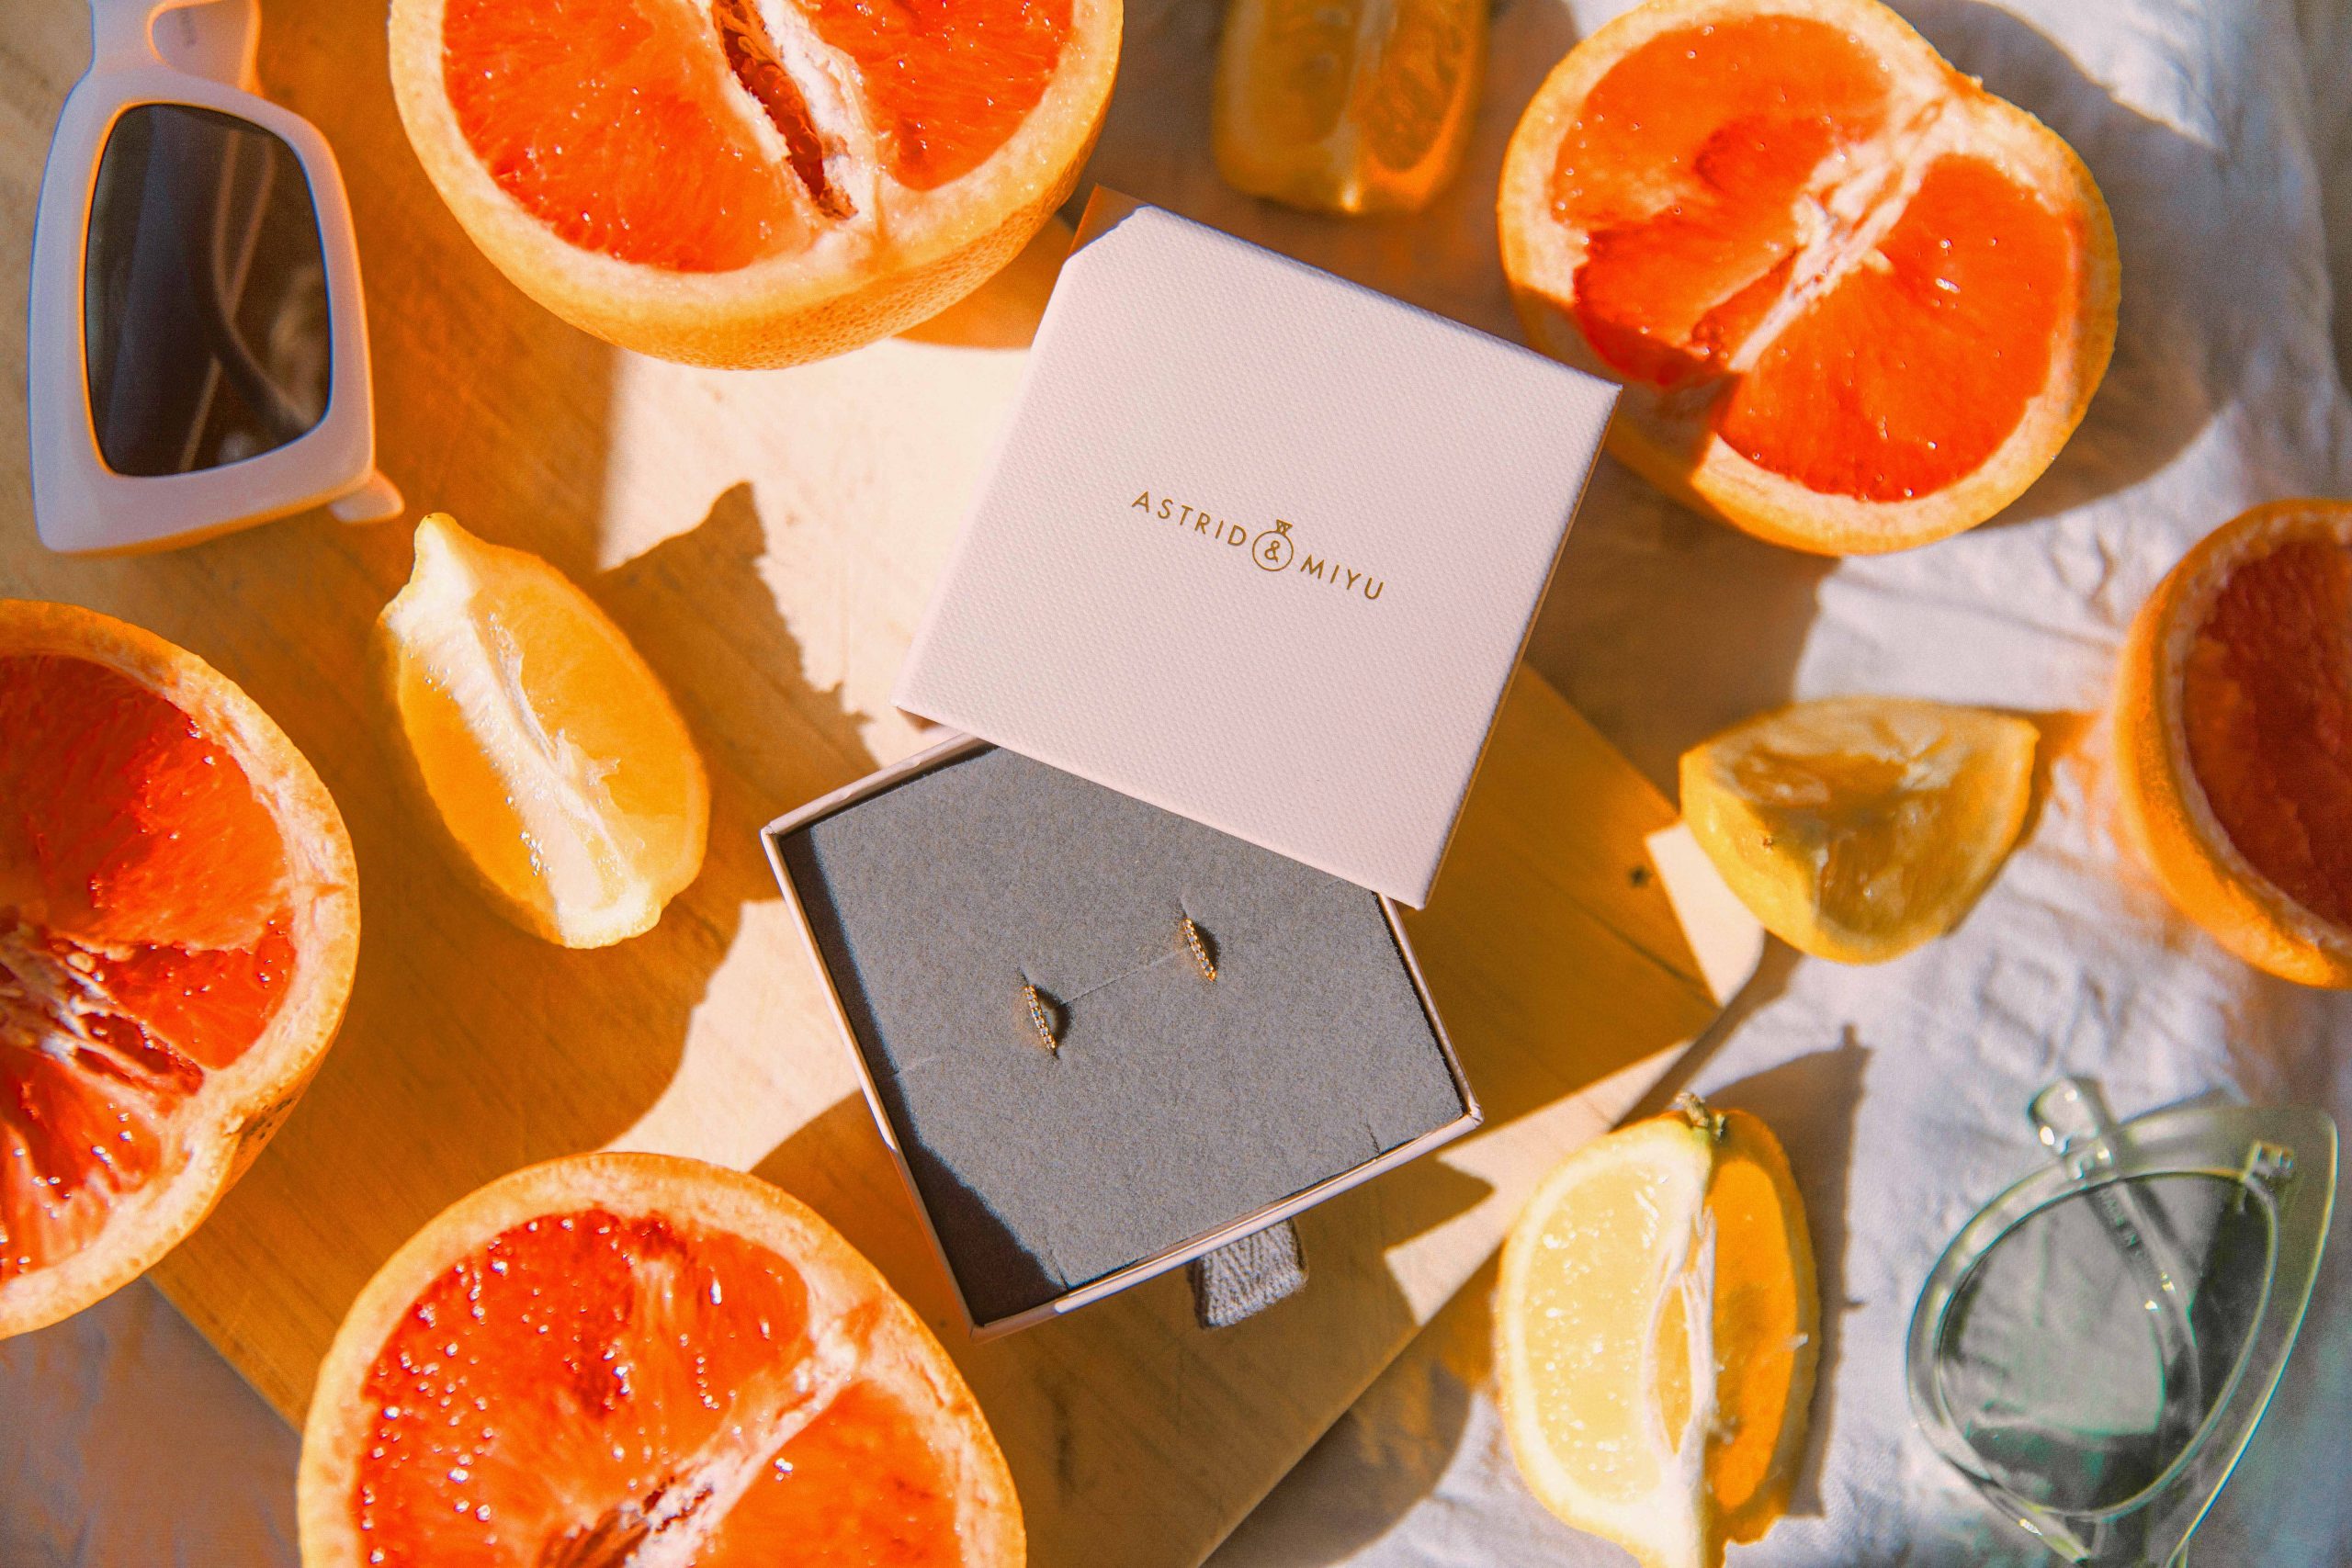
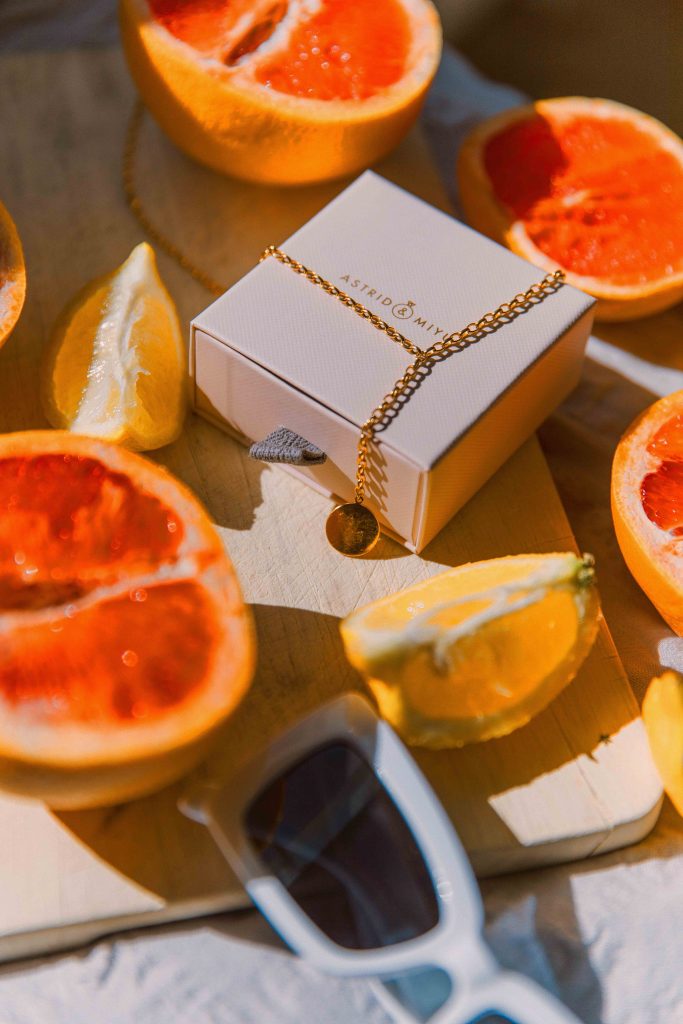
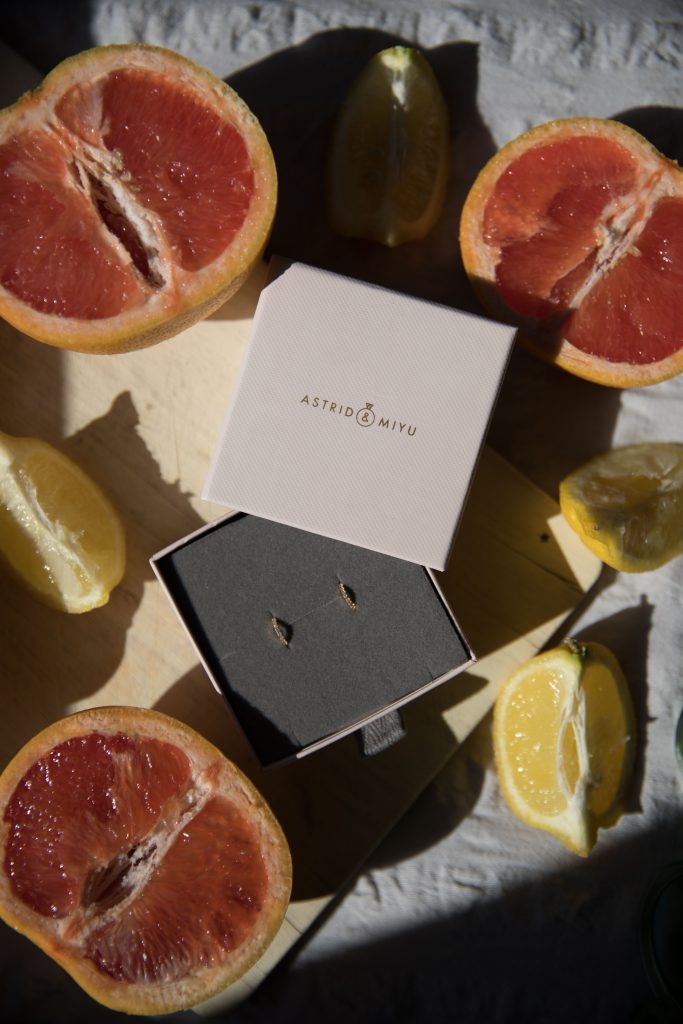
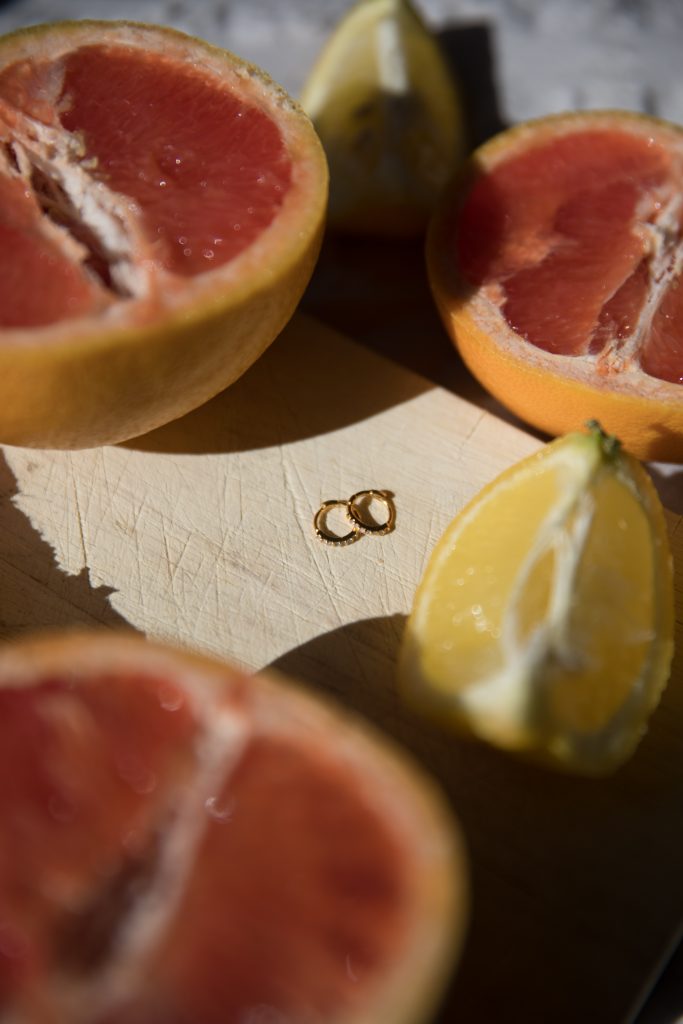
- Fruit – I used Grapefruits and Lemons
- Chopping Board
- Light coloured material
- Sunglasses
- Jewellery of your choice
Step One: Position your table or surface next to a window where the light can hit the object – play around with your curtain or window to change where the light enters the frame. I chose to shoot in the afternoon light so that my props would generate long shadows and give a ‘dreamy’ feel to the image.
Step Two: Place your light coloured piece of material over the table or surface that you are using and start arranging your products in a layout that you are happy with. I chose to place the Jewellery towards the centre and position the fruit around the edges to shape the product. I love it when props bleed out of the image so that it feels like there are no borders.

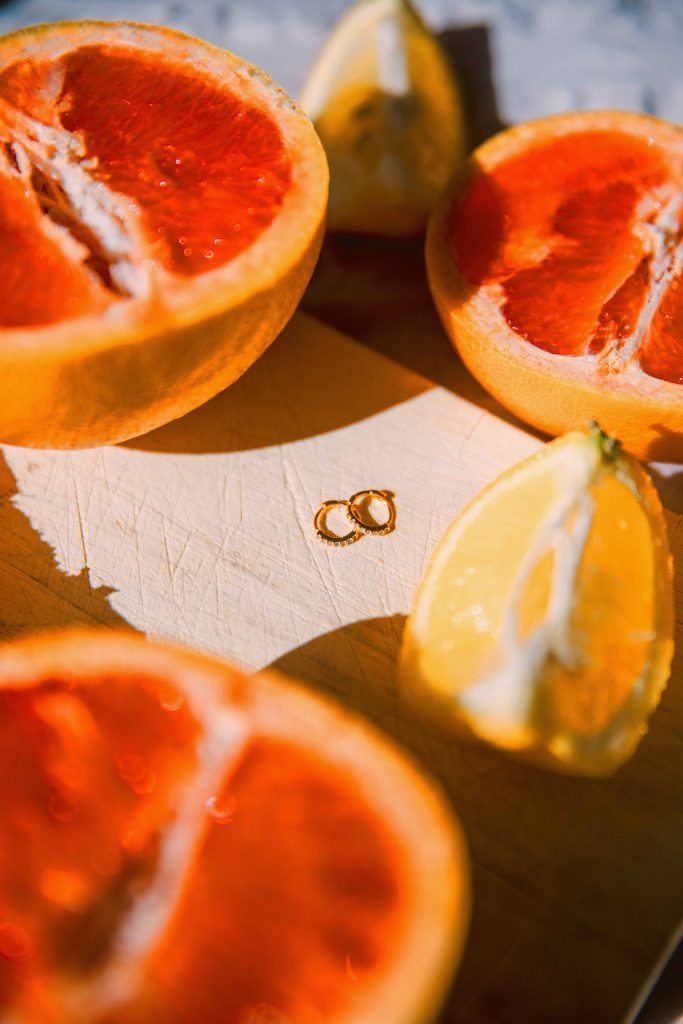
Step Three: Move your products and props around and play around with the light. You may want to try covering the light with mesh materials to create patterns on your Jewellery and props. You could try holding a prop closer to the camera (I used one of the grapefruits) so that it creates a colourful foreground blur and adds dimension and depth to the image.
Step Four: I tried to play around with Stop Motion photography here. I thought of a motion that I wanted to capture and set my camera to ‘Continuous Shutter’ and ‘Auto Focus’ – I then moved around my objects. In post-production, you can create a preset for these images so that they all have the same edit – then stitch them all together to create a Stop Motion. I actually really loved this effect and will definitely use it more often!
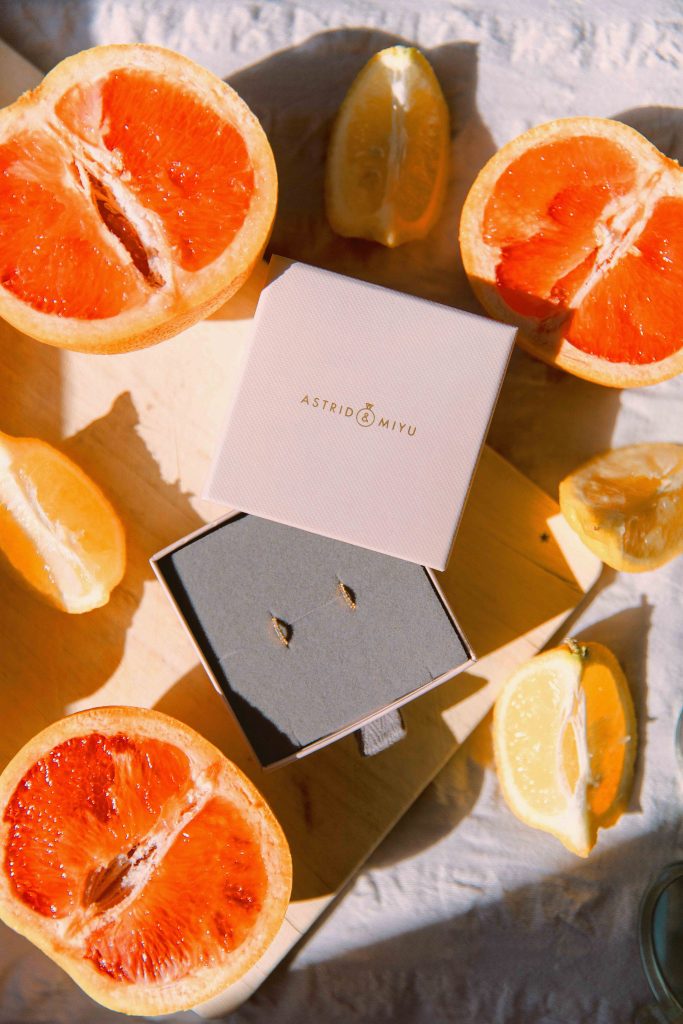
Step Five: Editing. For these images, I wanted the colour of the grapefruit to really pop and the rest of the colour tone to follow from this. I lifted the shadows, created some fade and added some grain. I desaturated the blues and greens and slightly saturated the oranges and reds, altering the red to it hit more of an orange tone. Below are some of my before and afters!
I hope you enjoyed! Part 5 will be up soon!