Welcome back! I have been thoroughly enjoying writing up these posts to sit alongside some Photography I have been doing at home. (It’s currently lockdown in the UK due to Corona Virus and I have been itching to get shooting again, so I am using this time to get creative at home)
This shoot is a very simple shoot consisting of a model (my housemate! – you can use anyone in your home for this or even an object), a bedsheet, a camera (of course!) and some daffodils! This is your chance to get creative.
For today’s prop, I have decided to use some daffodils that I picked up for £1 at my local supermarket. I love shooting with flowers and today was a particularly beautiful day with the light so I grabbed my camera and my housemate and started shooting!
All of the images for this shoot were shot on a Canon 5D mk IV with a 24-70mm 2.8 lens.
What you need:
- Model/object
- Any type of flower – I used some Daffodils
- Bedsheet as a backdrop (you can use your garden fence, blanket or lay your model down on the grass and shoot from above)
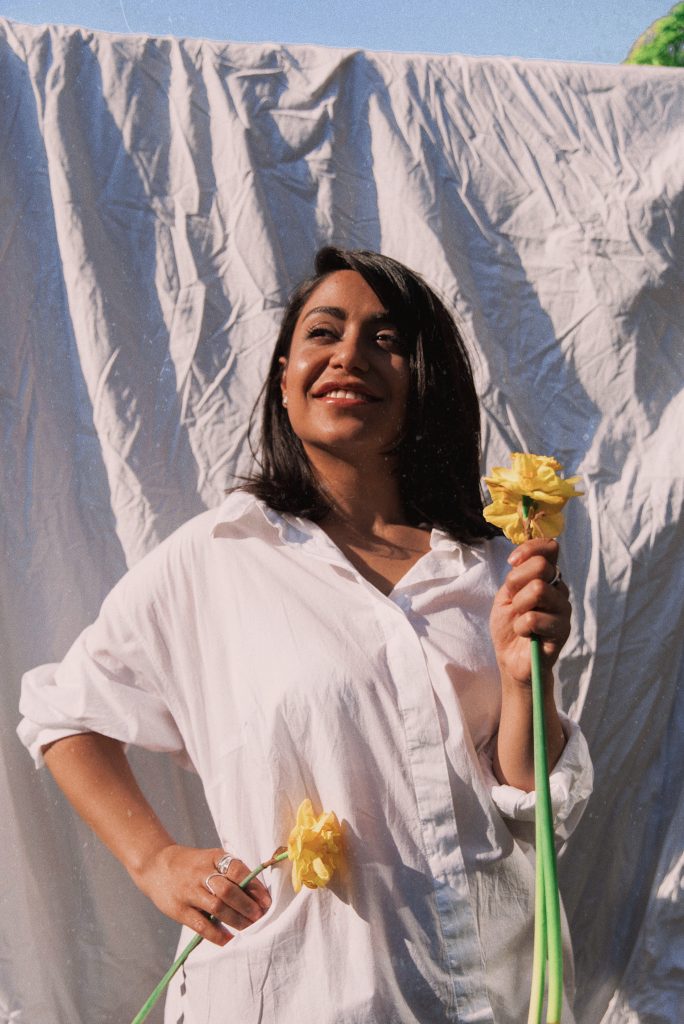
Step One: Positioning I started by placing a bedsheet on part of the fence that caught the sunlight. I was shooting around 3 pm as the sun was lower in the sky, reducing the chances of overexposure in the reflection of the white bedsheet and shirt.
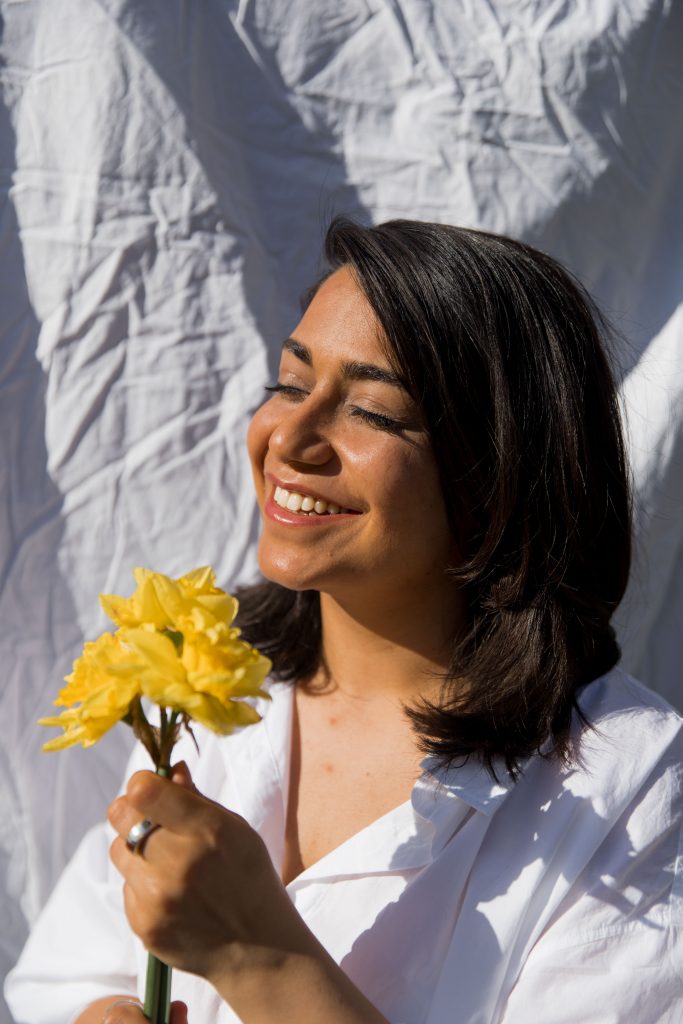
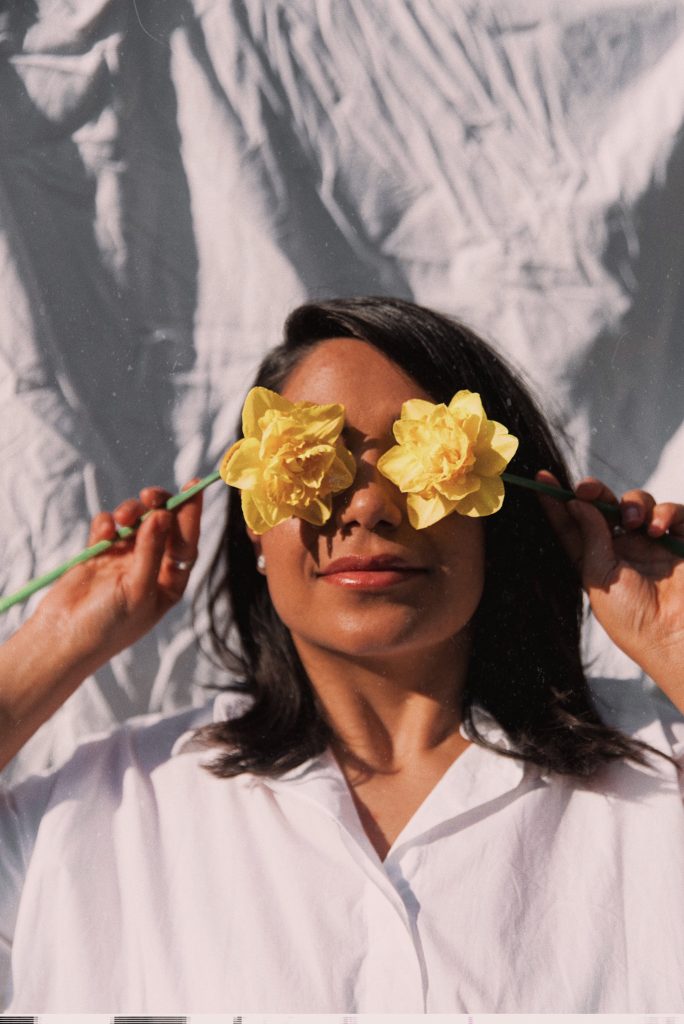
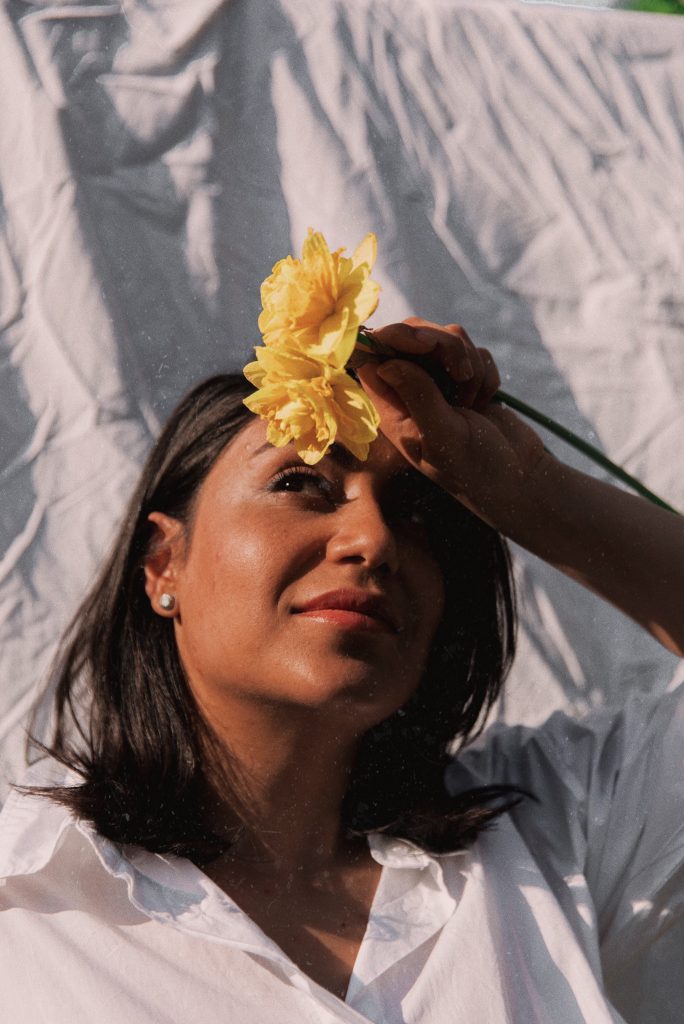
For the first initial shots, I positioned Seppie so that half of her face was in direct sun and the other half was in the shadow – I love the effect this creates to your subjects face, it also adds a lot of dimension to an image. (You can play around with highlights/shadows later in post-production if you want to reduce the contrast between the two.)
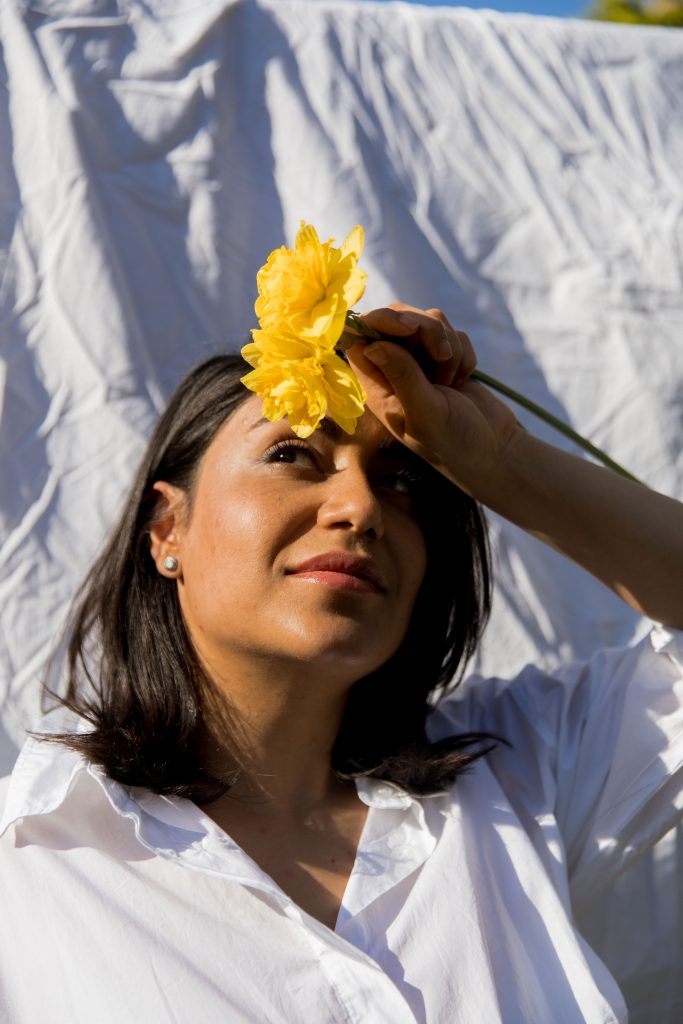
Step Two: Bring your flower/s into frame Play around with using the flower/s – get your model to hold the daffodils and play around with the light entering the image. Below is an example of Seppie holding one Daffodil in the background and myself holding one in the foreground to create dimension and blur to the image.
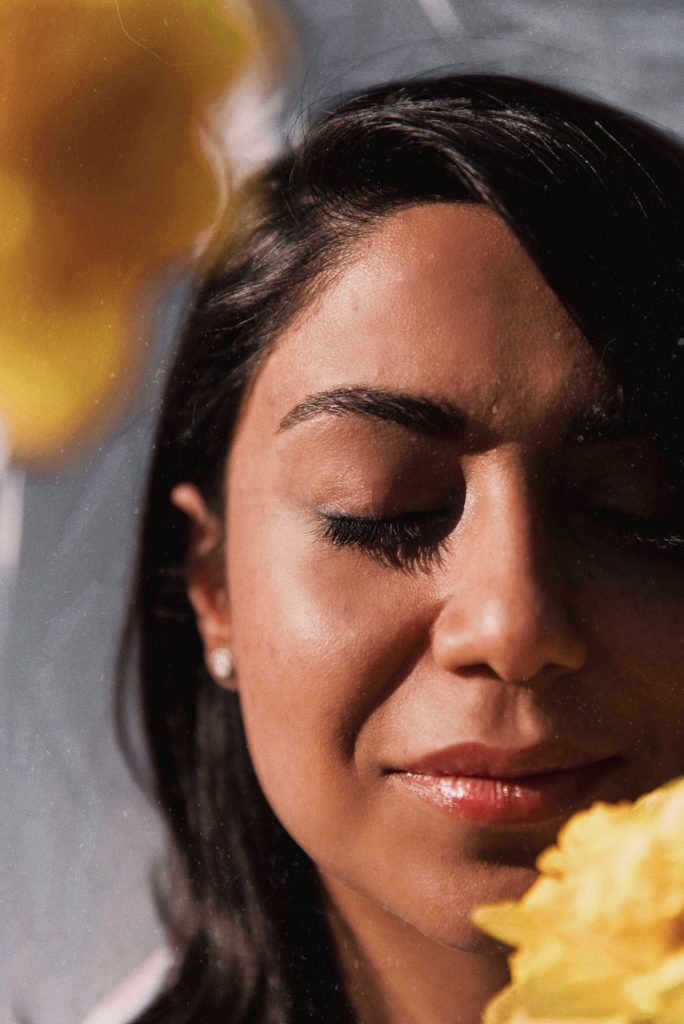
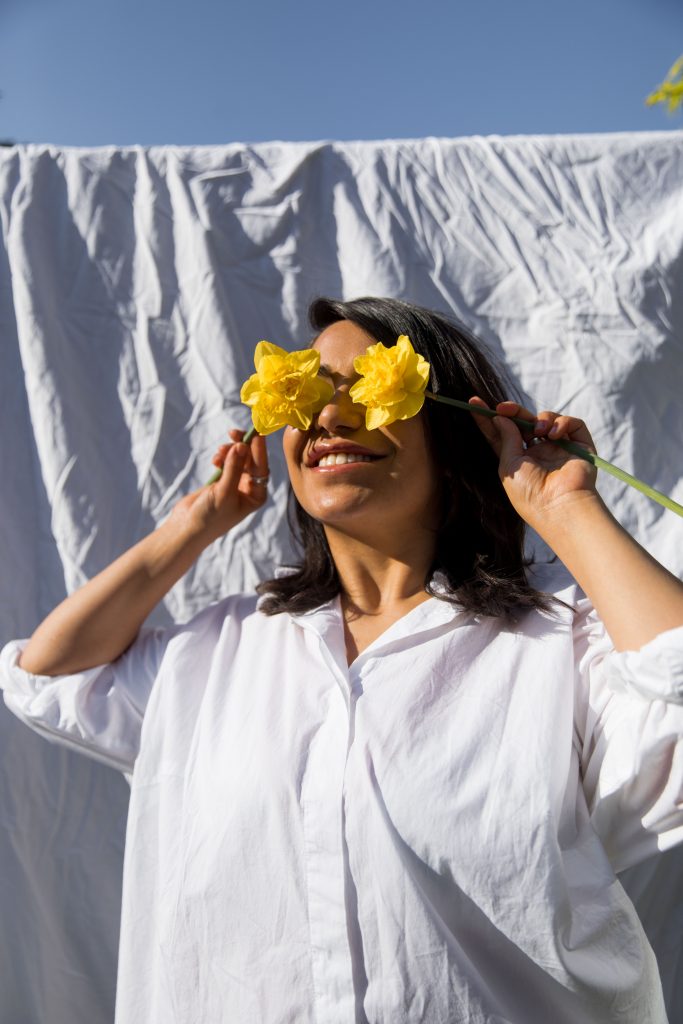
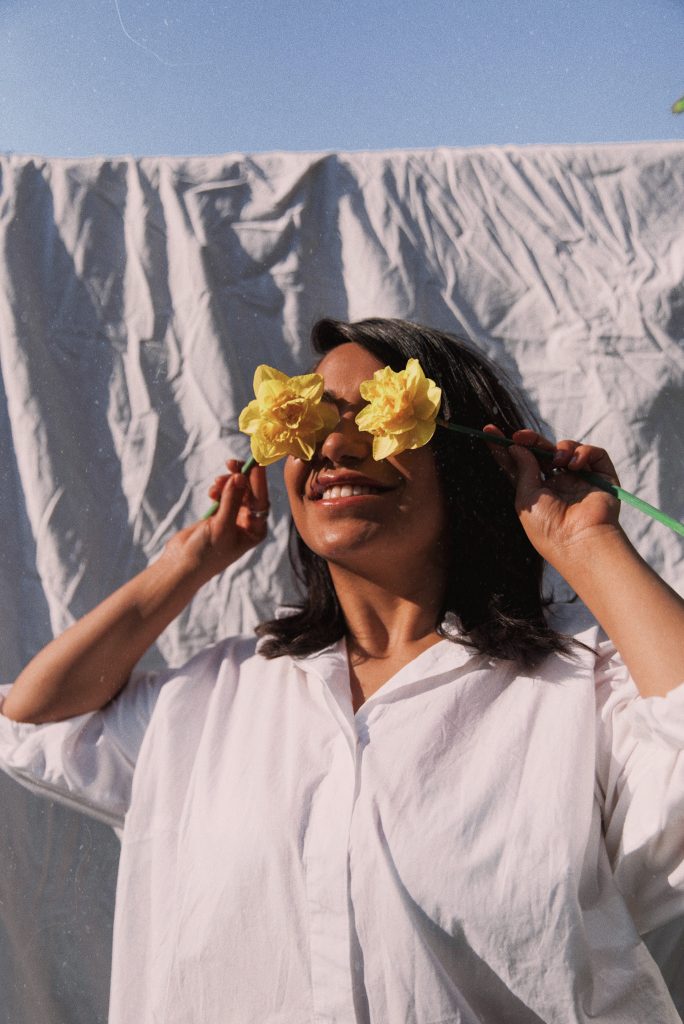
You can also create quirky images like covering the model’s features with the flowers or adding movement – maybe taking some petals off and play around with them falling whilst you shoot. You will need to set your camera to continuous shutter to help capture the falling petals.
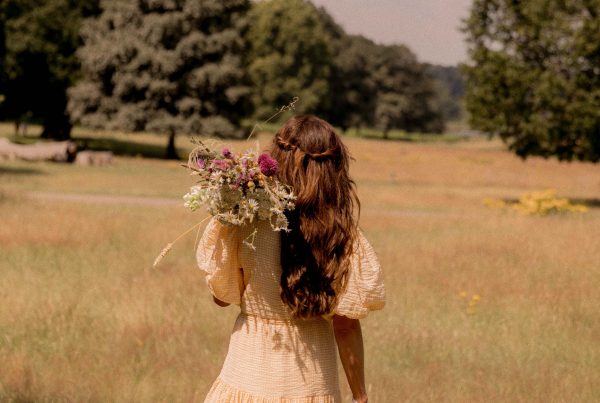
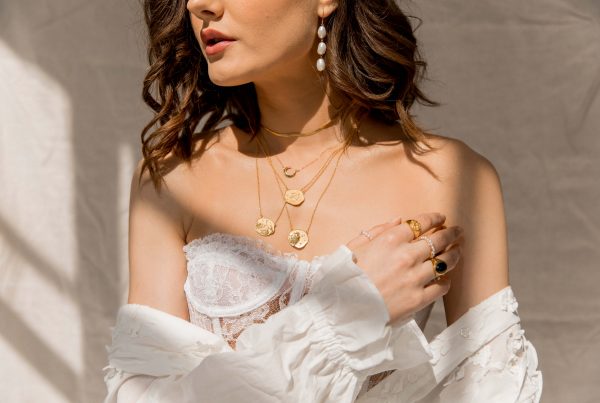
Step Three: Camera angles Change up those camera angles! It’s so easy to get comfortable and confident with the same angles. Challenge yourself – shoot from down below looking up and see the difference this makes. Maybe take a wider lens and have more of your subject in frame. You could even take a portrait lens such as a 50mm 1.2 and create some super close up and intimate shots. Experiment and see what works for the situation you’re in! This is a great time to try new things and see what you enjoy creating!
Below are some of my before and afters: I added a warmer look to the image and deepened the contrast slightly so that there was more dimension to the final photos.