I have been scrapbooking since 2017 and I absolutely love it! It’s the best way to keep memories from your year, travels and just things you know you’ll want to look back on when you’re older! It’s also really therapeutic and something you can do over a long period of time.
I have created a step-by-step guide on how I organise, prepare and create a scrapbook for my year…
Let start with the materials you will need
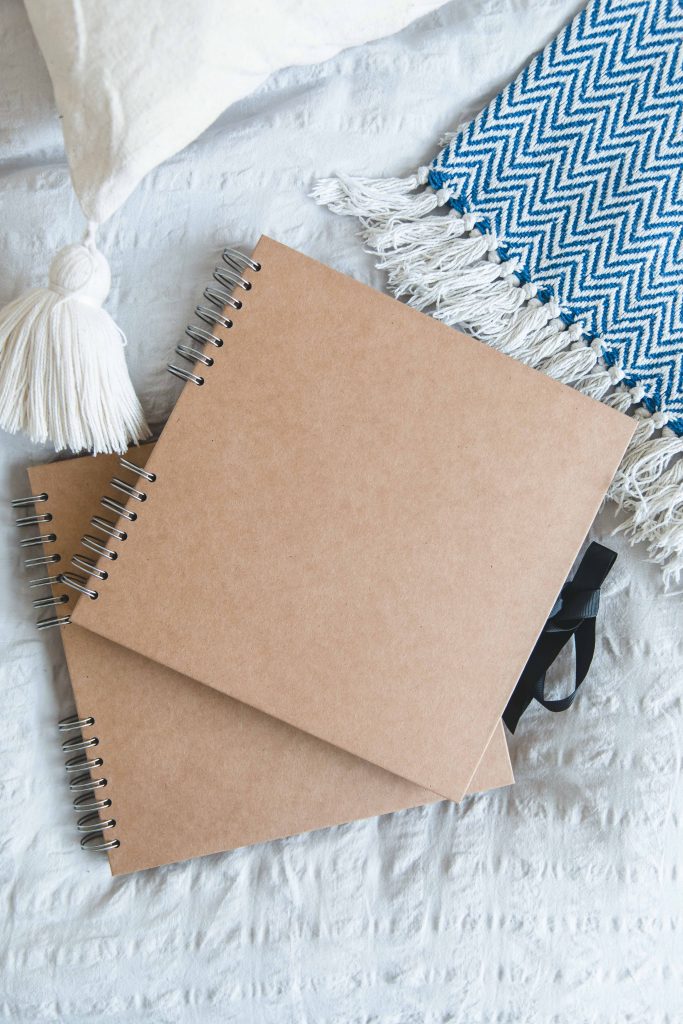
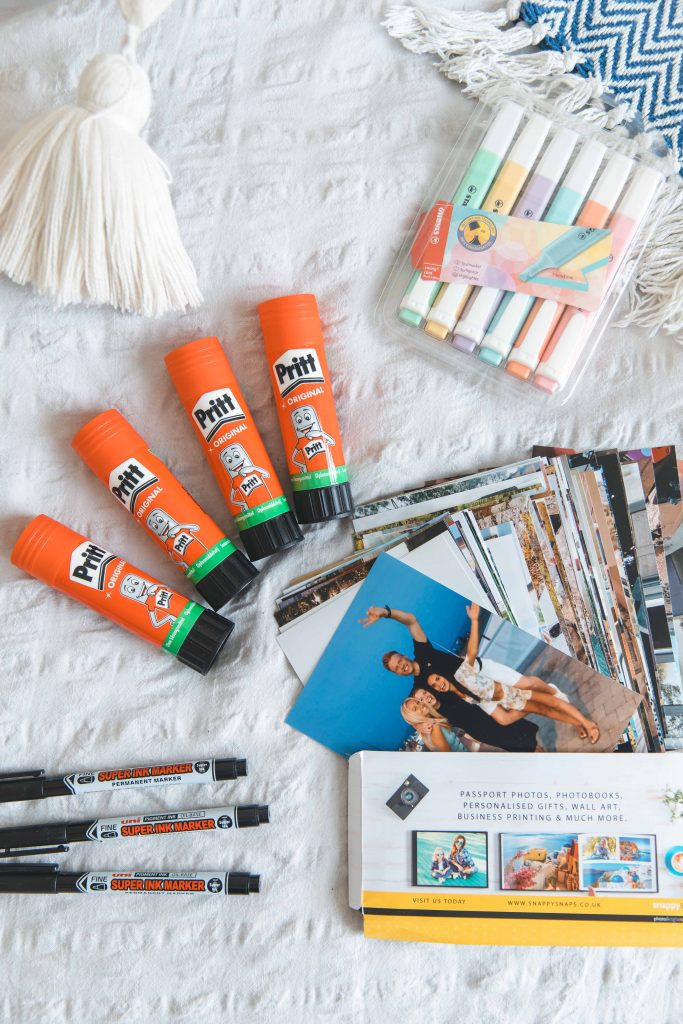
- Scrapbook from Paperchase https://www.paperchase.com/en_gb/stationery/photo-albums-scrapbooks/scrapbooks/kraft-square-scrapbook_1.html
- Highlighters https://www.paperchase.com/en_gb/stationery/working-from-home/mildliner-highlighters.html
- Pen I use to write places, things and notes I want to remember https://www.paperchase.com/en_gb/stationery/essentials/desk-accessories/uni-super-ink-marker_1.html
- Pritt Stick (pack of 5 – you will need it!) https://rstyle.me/+0UEmdqFQtBdJZQyVotHsBg
Before you start
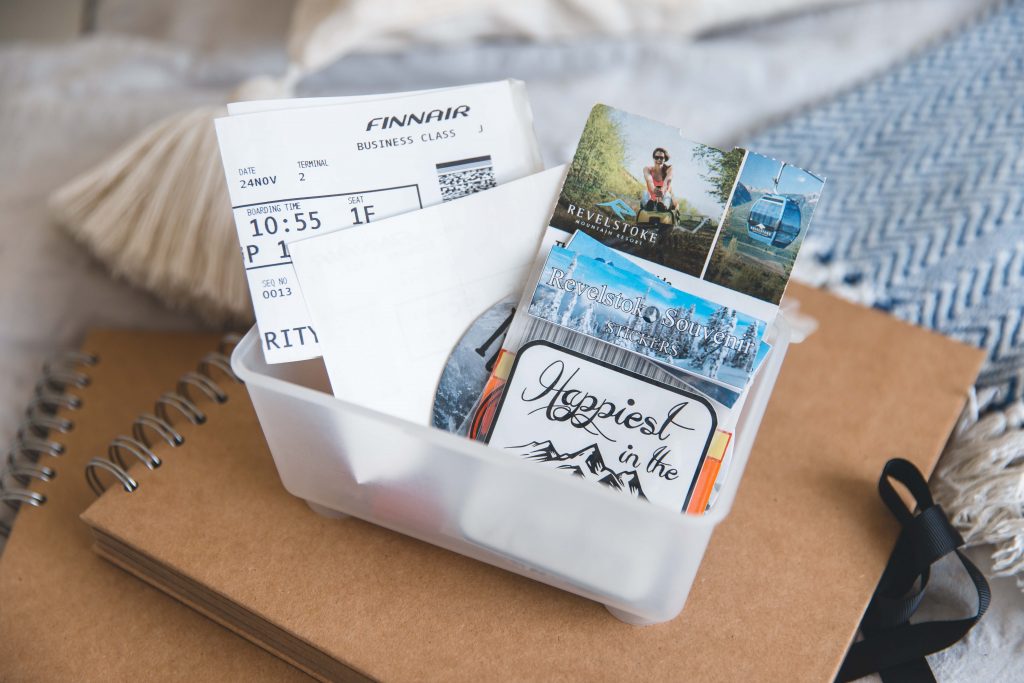
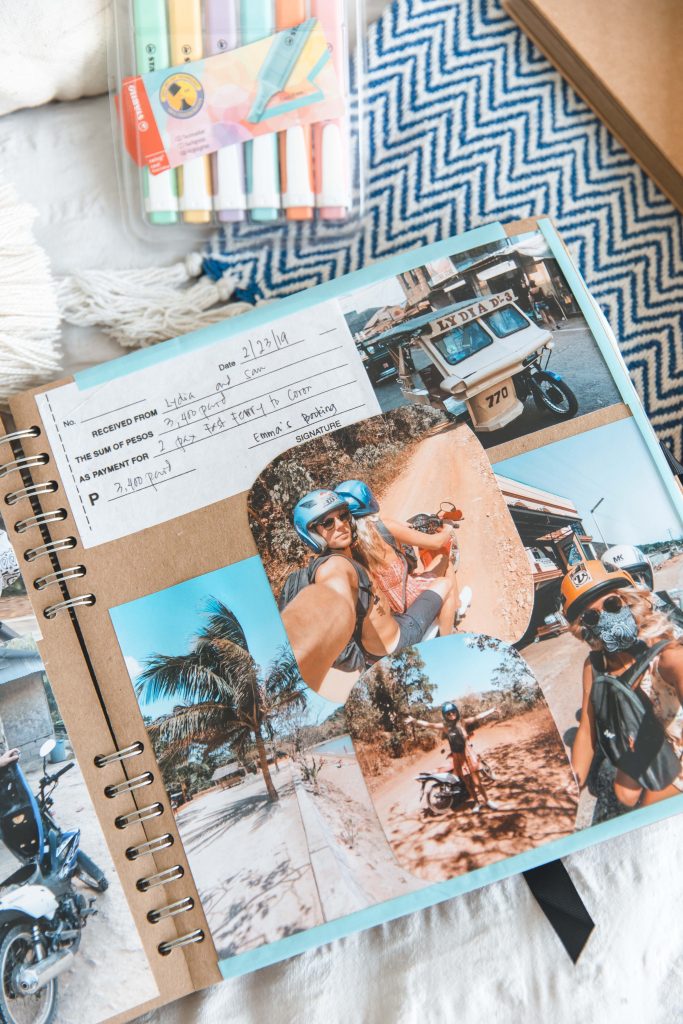
- Collect any memory items such as plane tickets, festival bands, receipts for trips etc into location piles so that you can then place these with the correct photos and put them on the relevant pages
- Order your photos that you would like printed from an online service – Online is always cheaper than going into a store and printing. I have used and can recommend the below websites for printing photos online:
Snapfish, Photobox and Bonusprint (usually they have some sort of sale on for prints – sometimes 50% off, so if you can wait it’s worth waiting for one of these sites to have a sale)
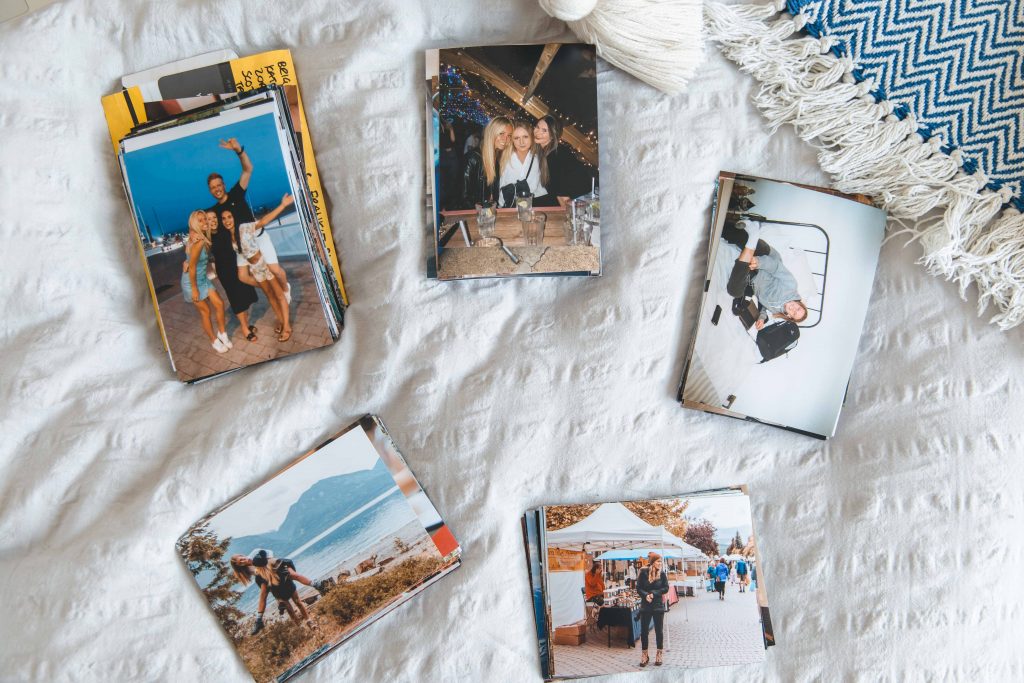
Step One: Organise your prints into day/month/any kind of chronological order that you are happy with
I usually order my prints by month or by trip. For example, at the start of 2019 I was in Australia so I placed all Australia prints in one pile. I then did further organising by placing the prints into a rough timeline of where and when they were taken in Australia.
Do this for the whole year so that you won’t make the mistake of missing pages or putting prints in the wrong order 🙂 Then add the little memories on each pile – like plane tickets, receipts and other things you have.
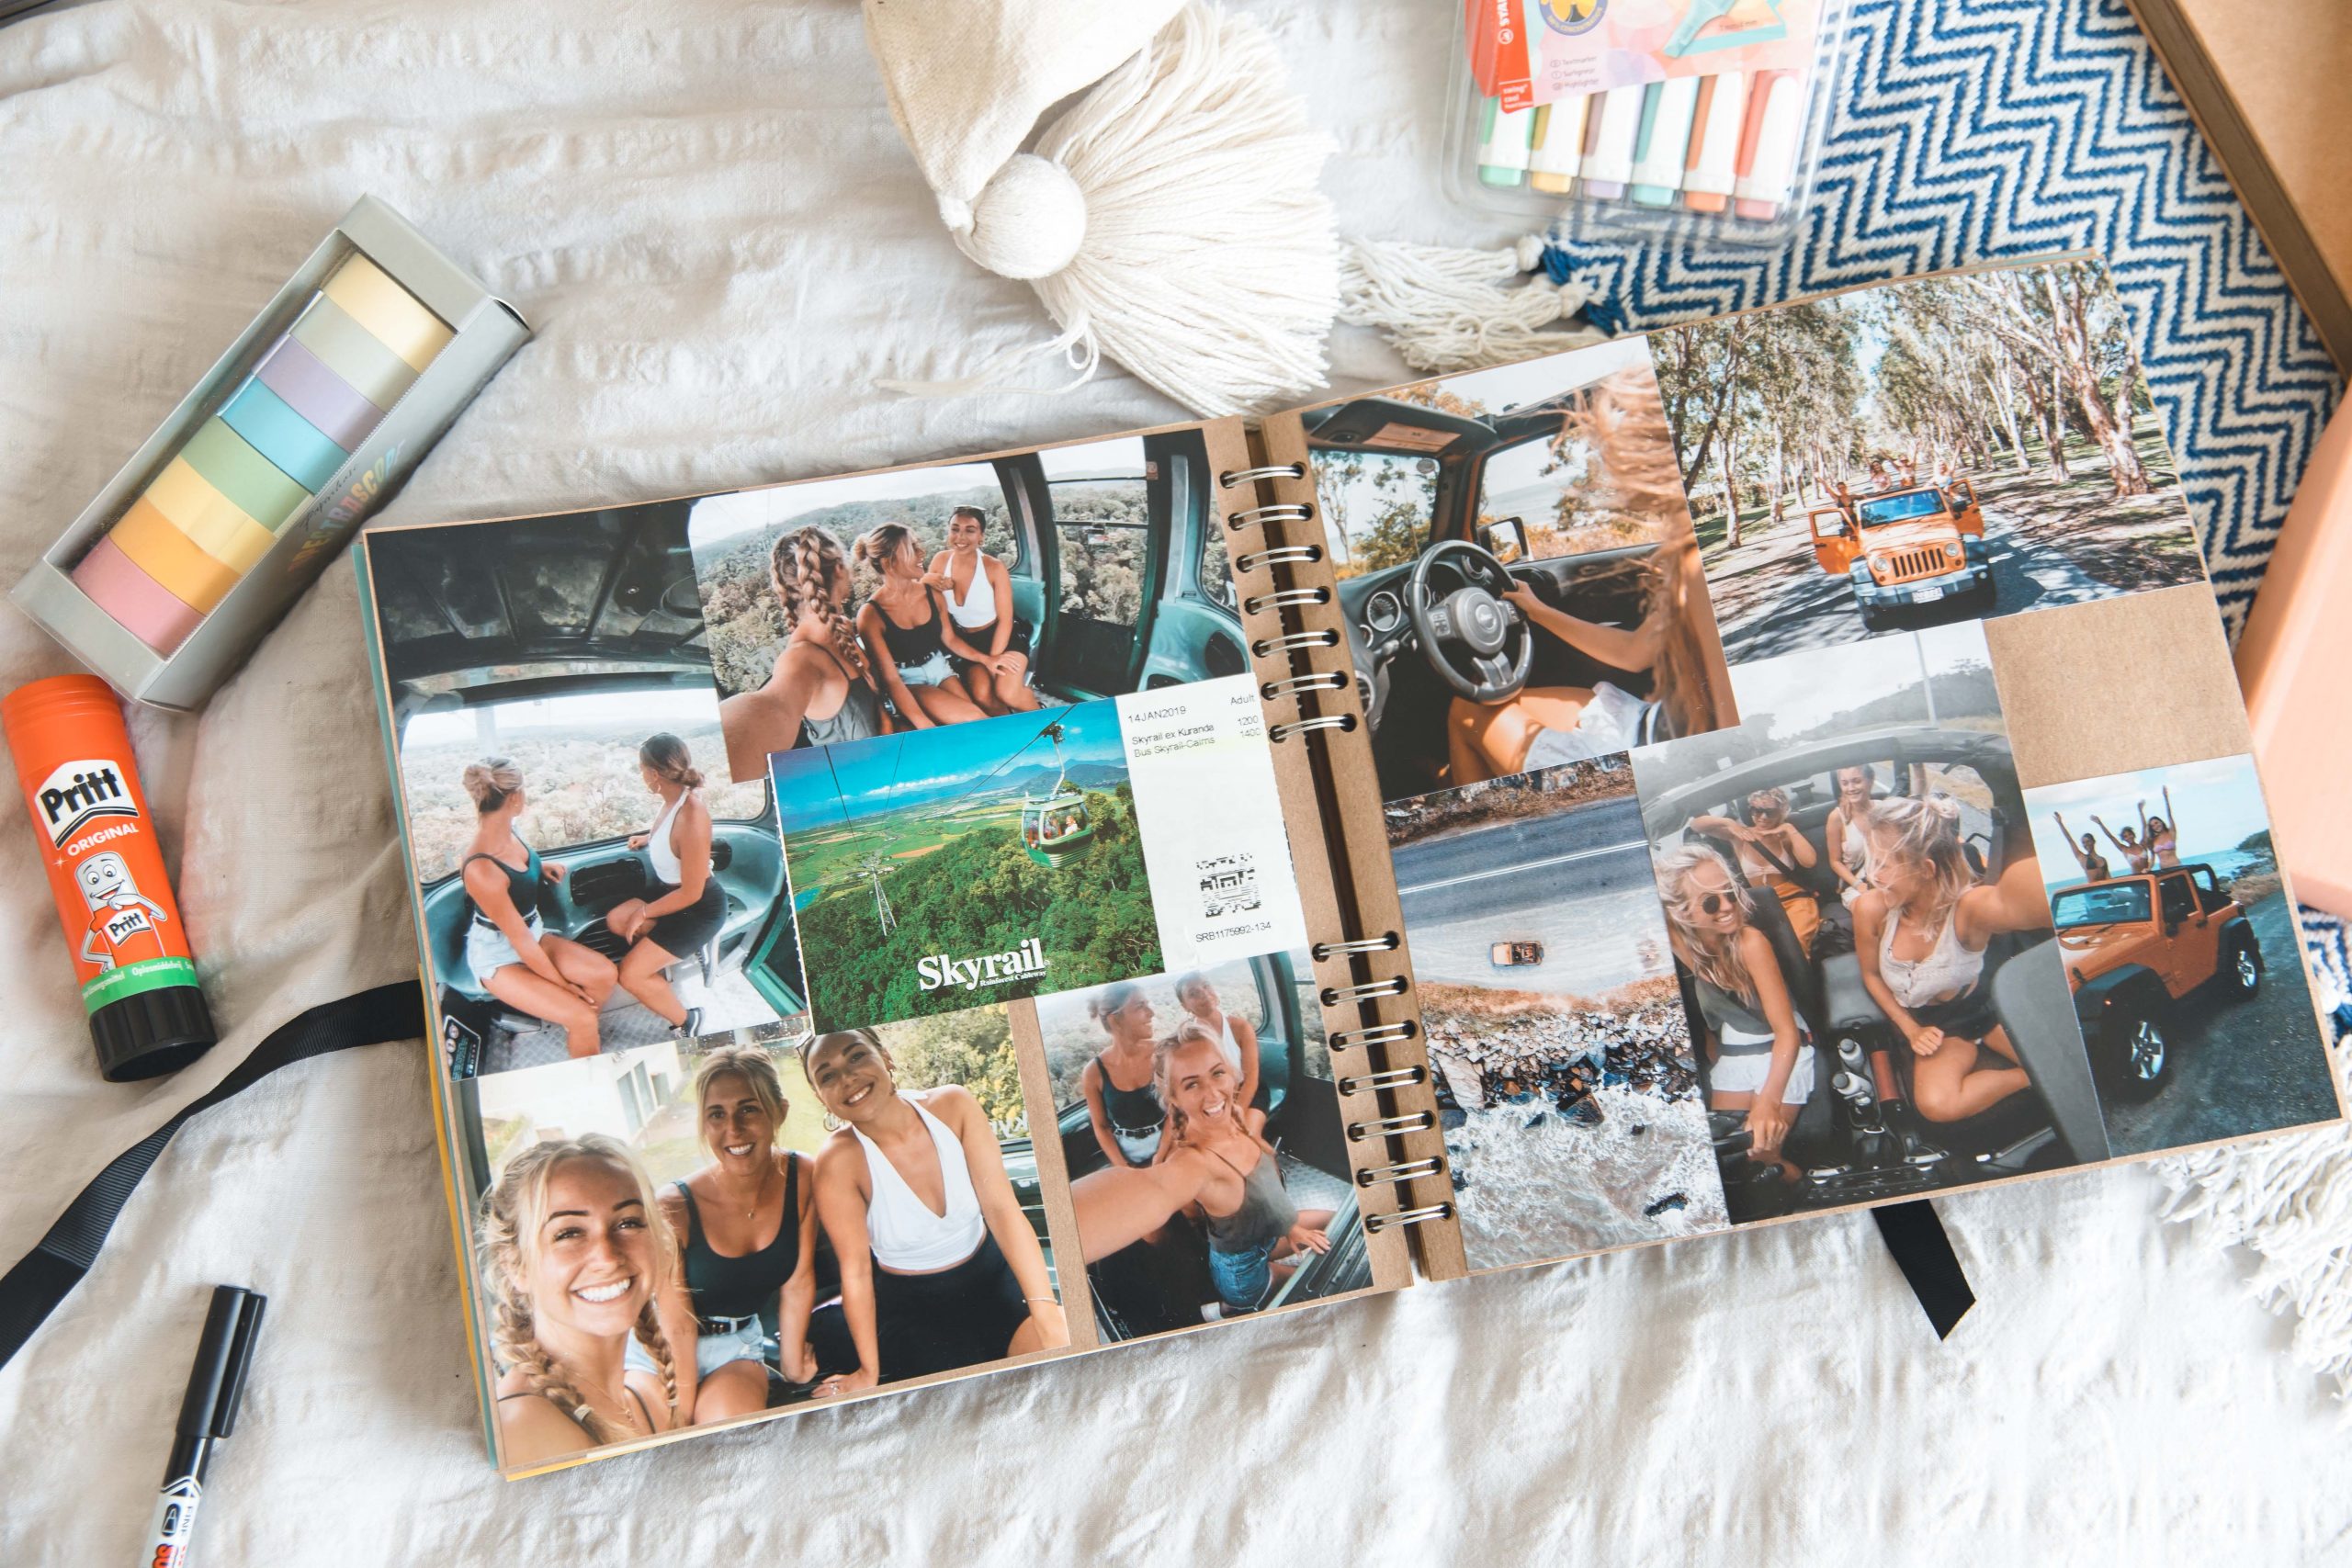
Step Two: Placing photographs into your Scrapbook
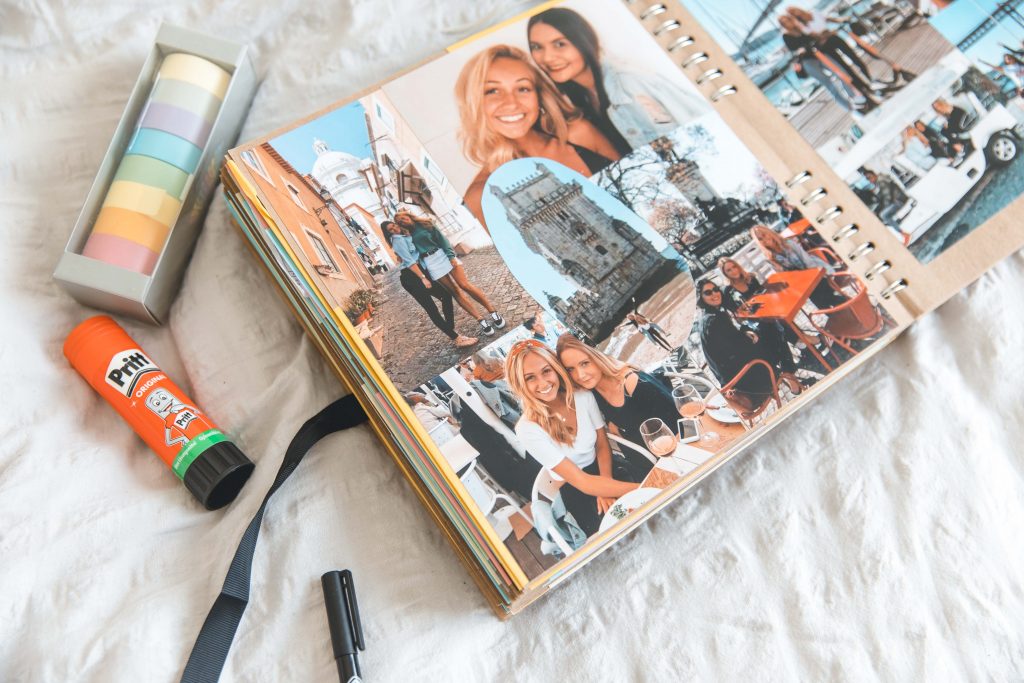
Before you get too excited and start glueing and sticking like crazy, I would suggest first placing your photos on the page and check you are happy with the order – I also cut the photos to fit the page better and to get rid of any unnecessary background in some of the images. This also means you will have more room for more photographs on each page 🙂
IMPORTANT: remember to also leave room for some writing spaces. I stick all the photographs in before starting the writing part. Once the whole scrapbook is finished – I then go back and fill in the writing sections.
Step Three: THE FUN PART
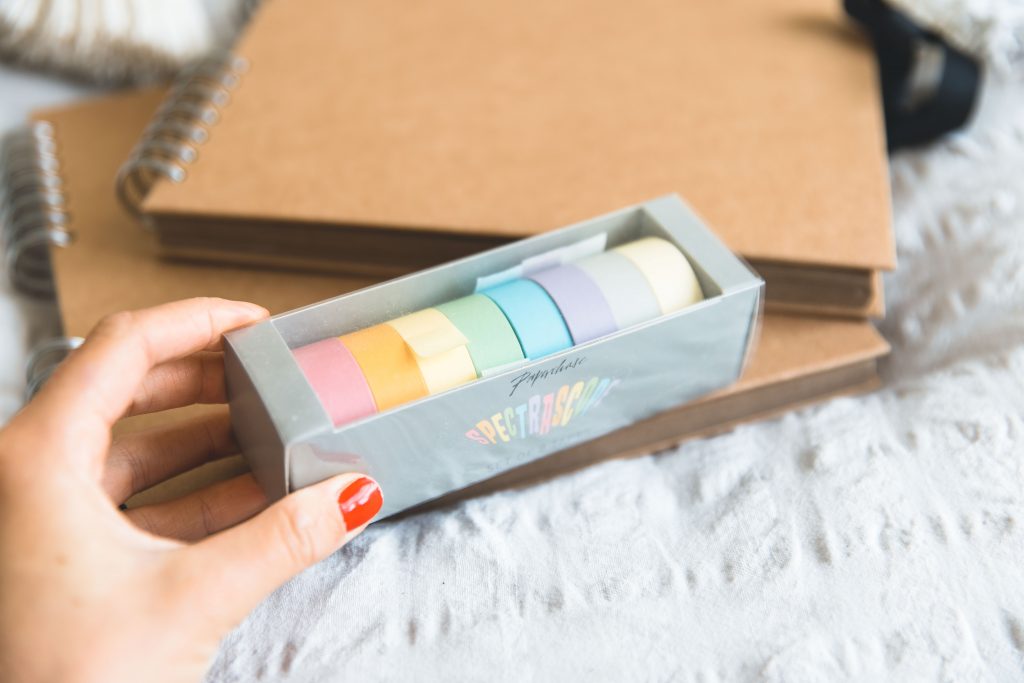
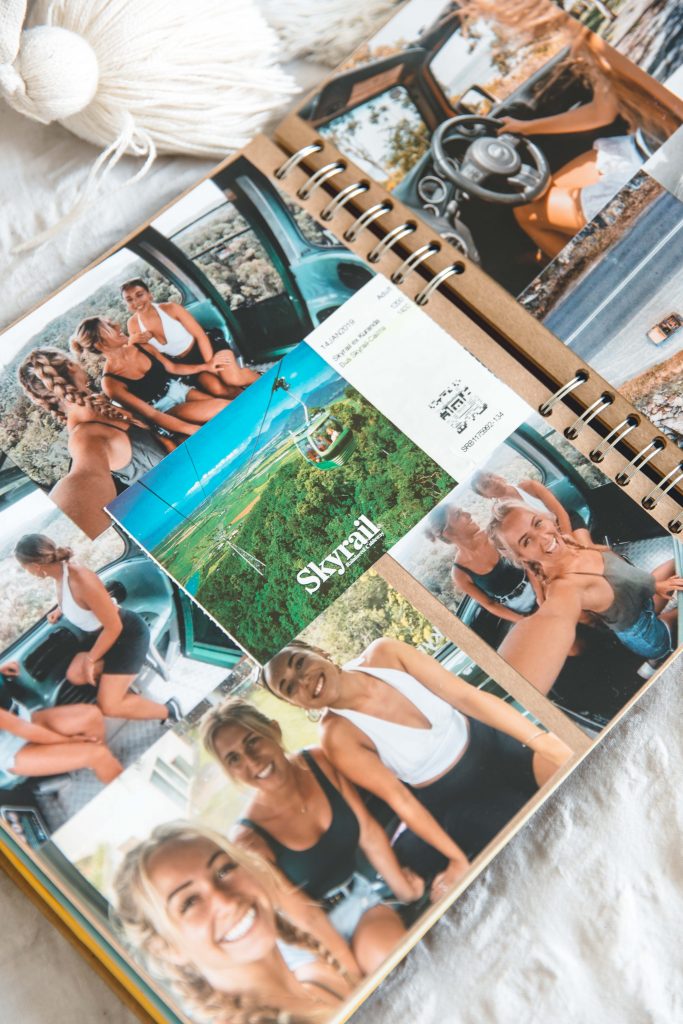
Once you have placed them into an order you are happy with – get GLUING! Be creative with this, cut the images into different shapes, add stickers, add Woshi Tape for colour or even other coloured paper so that the pages can be different and fun to look back on.
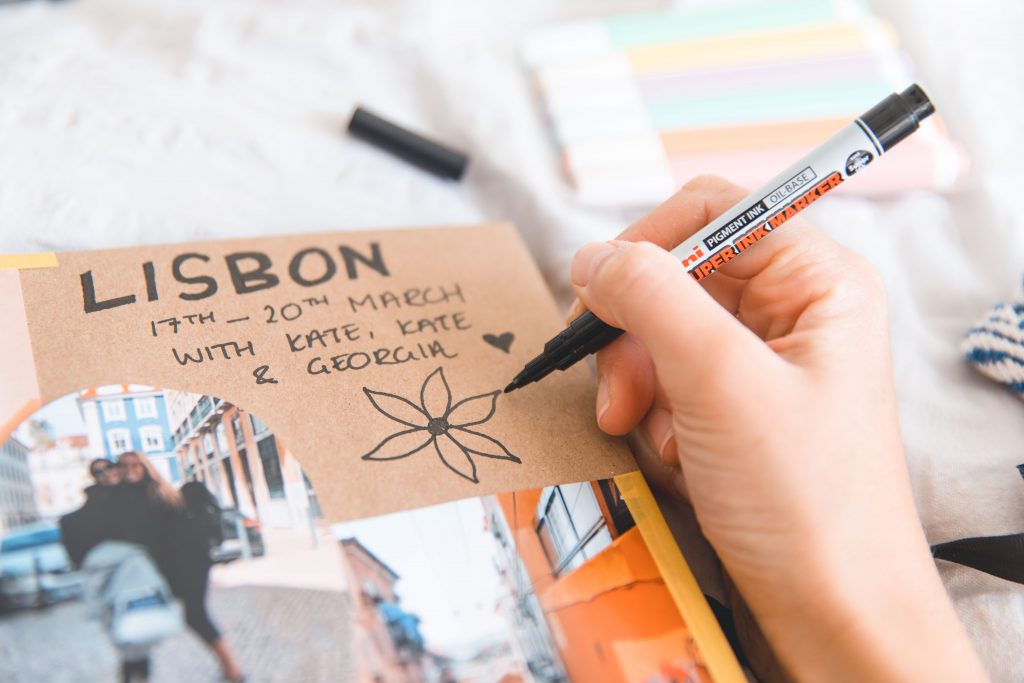
Step Four: Add your Writing
This is optional as you may just want to keep it visual but I think when I look back on these scrapbooks in years to come, I’d love to have some writing or things that I wish I’d remembered to jot down. I keep it simple by usually just writing the names of places or things that happened whilst I was there that I want to remember. You could write these down as you are glueing in your photos but I tend to fill the scrapbook first and then go back to write in each section.
Step Five: The Final Touch
You’re finished! For the final touch, you can write a title on the front of your sketchbook or simply tie up your book and store in a safe place where dust can’t get to it 🙂
I would love to see your sketchbooks during the process or making and also the finishing touches so make sure you send me some photos!