I have been loving shooting these little series at home with my housemate. It’s a great way to keep motivated and creative – we have been bouncing ideas off each other and have some really cool projects we want to shoot this week! (so lots more of these blog posts to come!)
For this photoshoot, you don’t need a lot! We are focussing on shooting backlit and it’s a chance for you to experiment and play around with the light! Though backlighting can be difficult to master at first, it is a helpful skill to learn and I have no doubt you’ll become as obsessed as me shooting it!
All of the images for this shoot were shot on a Canon 5D mk IV with a 24-70mm 2.8 lens.
But first… What is Backlight Photography?
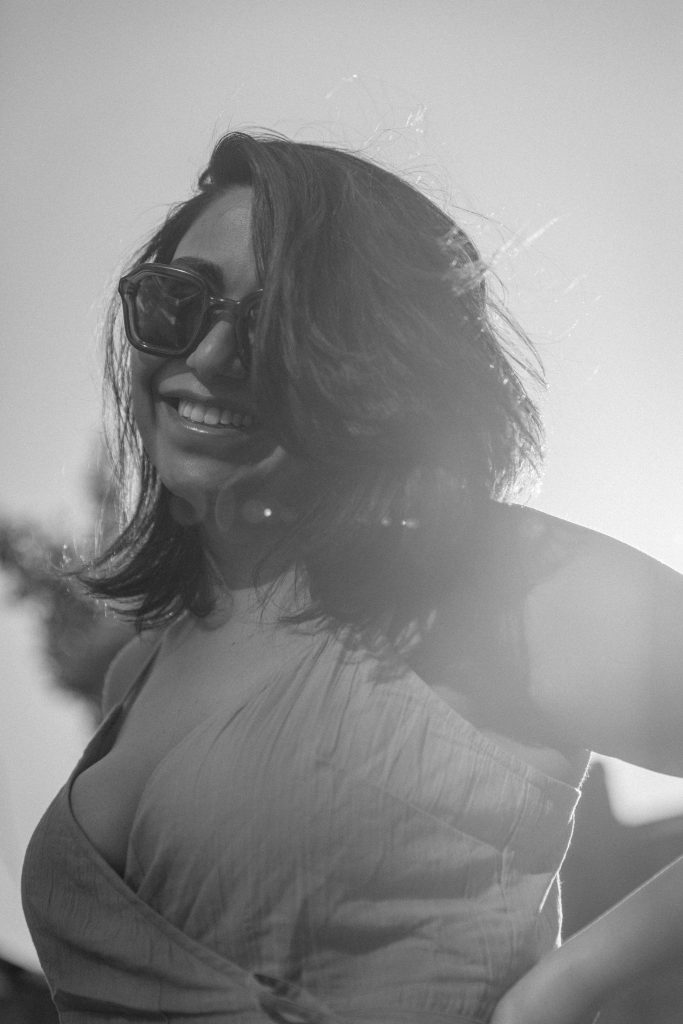
Backlight photography is a really powerful way to create a ‘mood’ within the photograph – whether you want high contrast or the ‘dreamy’ look of a sunrise backlit model. Backlight photography literally means any type of photography where the primary light source is positioned behind the subject.
Tips for shooting backlight photography
Defuse the sun: When it comes to backlighting your subject, the sun does not always need to be in the full-frame of your camera. Knowing exactly how to master the sun flare look while still keeping your subjects properly exposed is not the easiest look to achieve, so start by diffusing the sun. Find a location where the sun can be partially covered by your camera, while still allowing the light to shine onto your subjects.
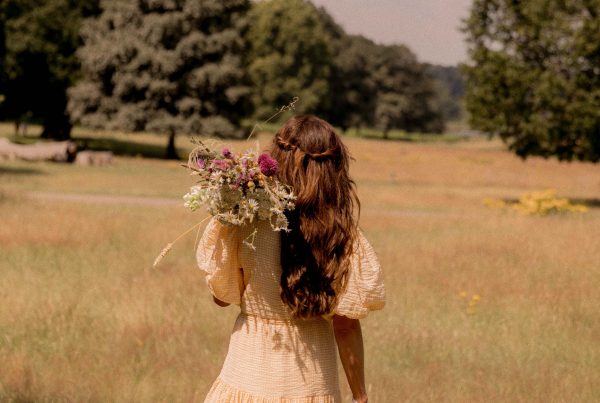
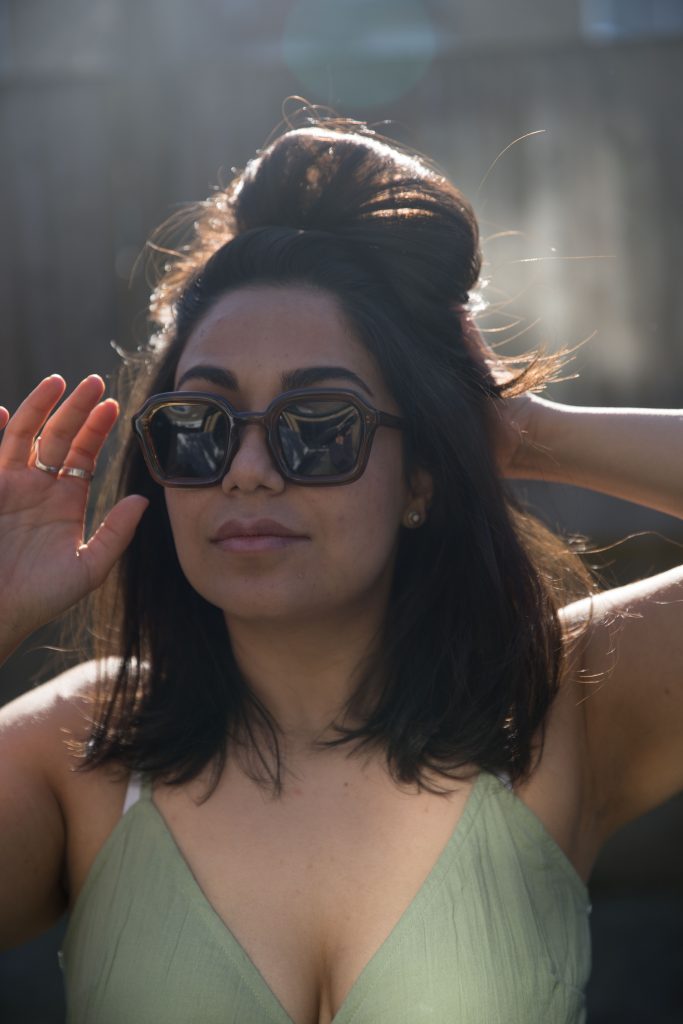
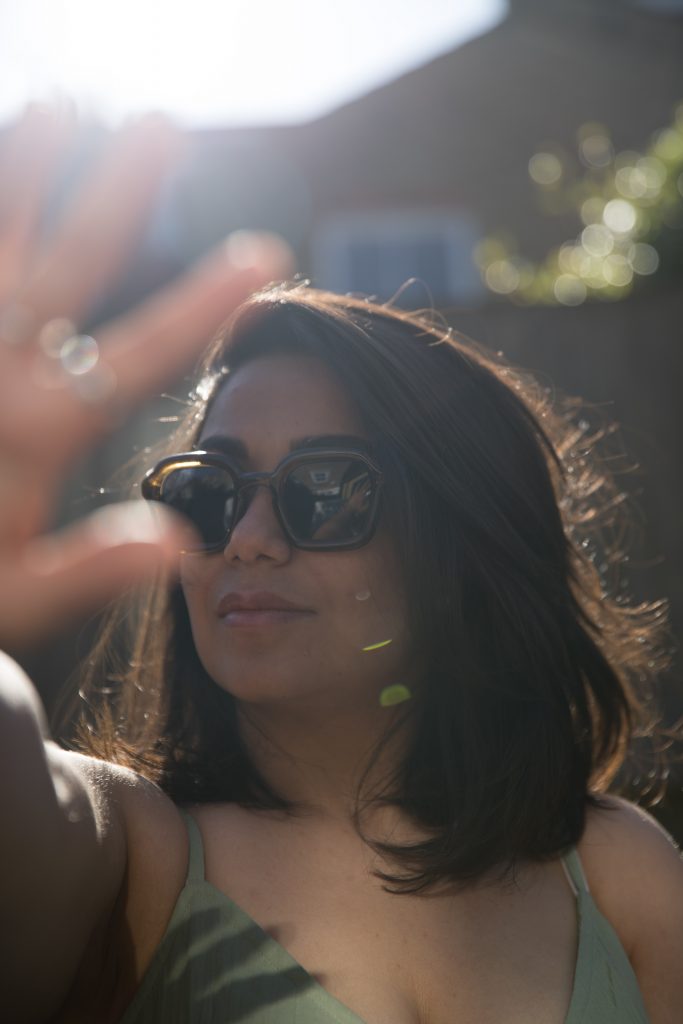
Choose the right time of day: When it comes to shooting with backlight, this can happen anytime during the day; it totally depends on what kind of images you are looking to achieve. Certain times of day can produce different effects with the light. Some of the best times are often the morning after the sun rises or as the sun is setting at night; as the sun is lower in the sky and you may find it easier to place your model into certain positions. I shot the below photos around 3pm when the sun was slightly lower than the midday height. This was because I wanted to shoot my model with the sky behind so wanted to get down below her looking up but still able to achieve the backlit look.
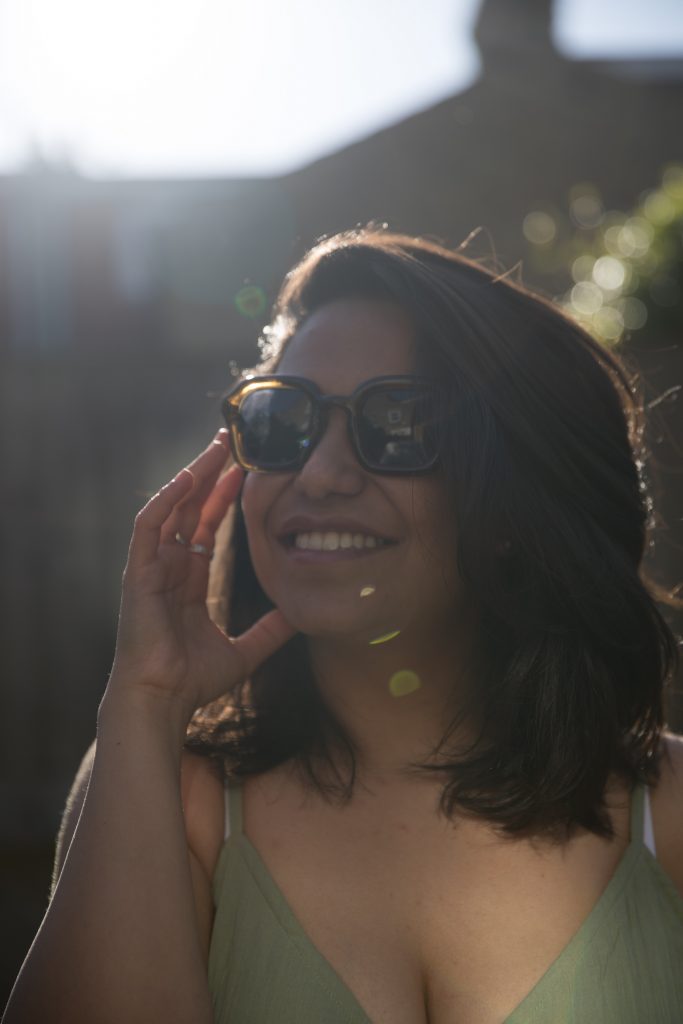
Change positions: This is your chance to play around with your subject and the way the light is entering the frame and how this is affecting your subject’s features. Facing towards the light does not mean you have to shoot from one position – experiment with moving around your subject and creating different perspectives with the light. Try shooting from below the subject – how is this affecting the light behind them? Try shooting straight onto the subject – you may find that the light is too harsh here. In any shoot, changing your position can help you figure out the best and most flattering lighting angles for your subject – so don’t be afraid to play around here.
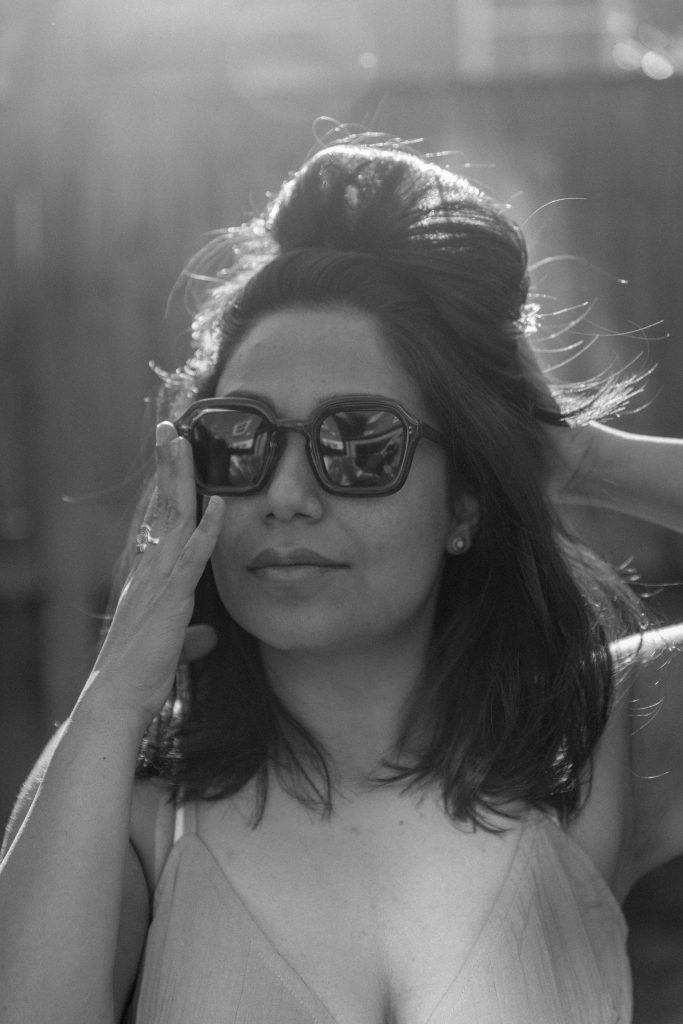
Using reflectors and flash: You may find that the light is too harsh and is actually overpowering your subject’s features to the point where you can’t see them at all without compromising the light behind them. This is where you have an option of using a reflector or fill flash. A fill flash is a great way to slightly lift the features of the subject and act as another light source. You can use fill flash to light the parts where the primary light source cannot get to. Another alternative, and one that I would probably prefer, is using a projector. It’s more of a subtle way to light your subject (depending on the harshness of the light). You can play around with angling the reflector so that it’s only lighting half of the subject’s features. You can also purchase a ‘gold’ reflector – this is the best option when shooting a backlit/dreamy effect as it will keep that gold glow to the image.
Adjust your camera settings: Play around with your camera settings and work out what is best for this situation and set up. White Balance is one of the most commonly ignored camera settings – changing these settings can really shift the final outcome of the image. It can affect the colour temperature and, in turn, can help you get the colours in your image as accurate as possible.
Right let’s get into the shooting part:
What you need:
- Camera
- Model or object
- Direct sunlight (if you want to achieve backlit light)
First Step: Find a spot in your garden or home where the light is perfect or direct enough to achieve a backlit look.
Second Step: Place your model/object slightly in front of the light so that they become backlit.
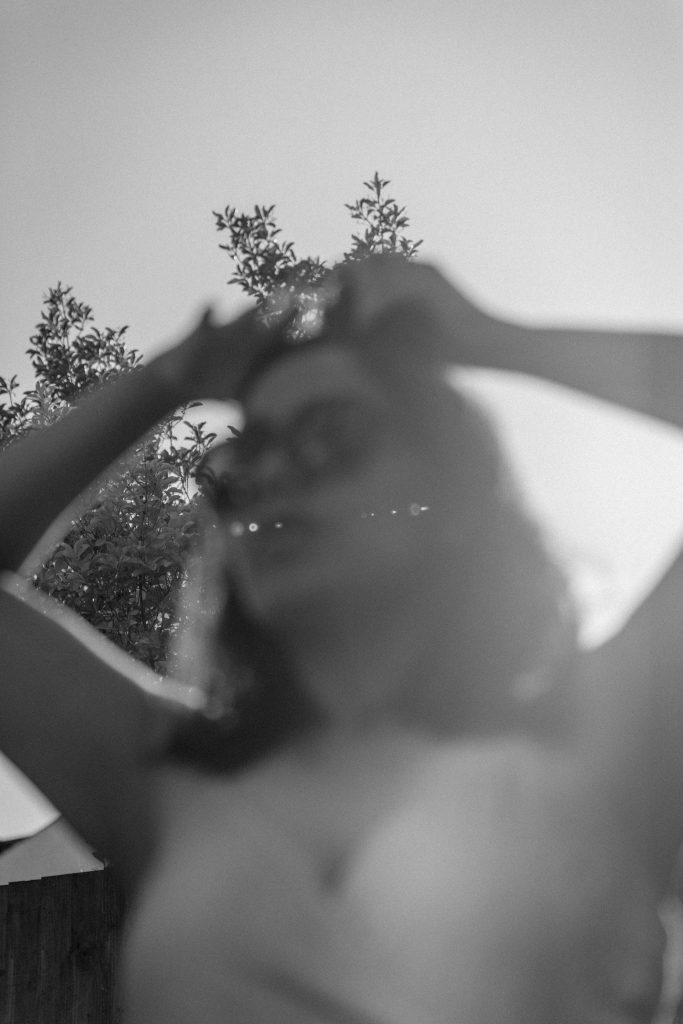
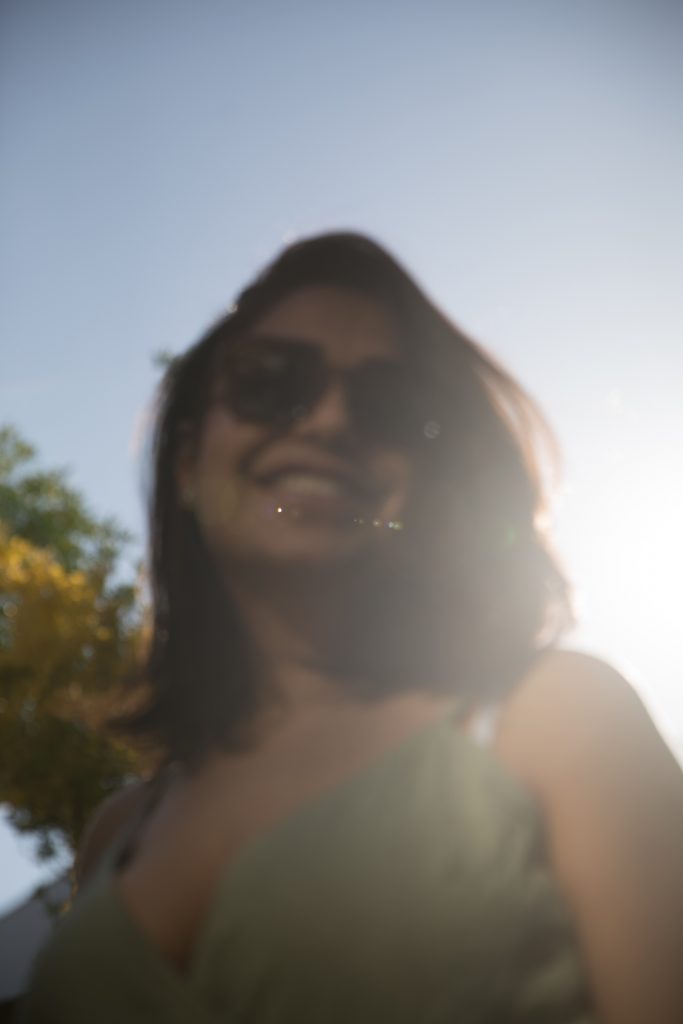
Third Step: Play around with different angles and the position of your camera to achieve different lighting. Try placing the corner of your camera lens where the light comes into the frame – doing this will achieve lens flares. For the below images I was lower down than my model and was pointing my camera upwards so that I could get the sky behind rather than my garden fence. It also let me achieve a really beautiful backlit effect.
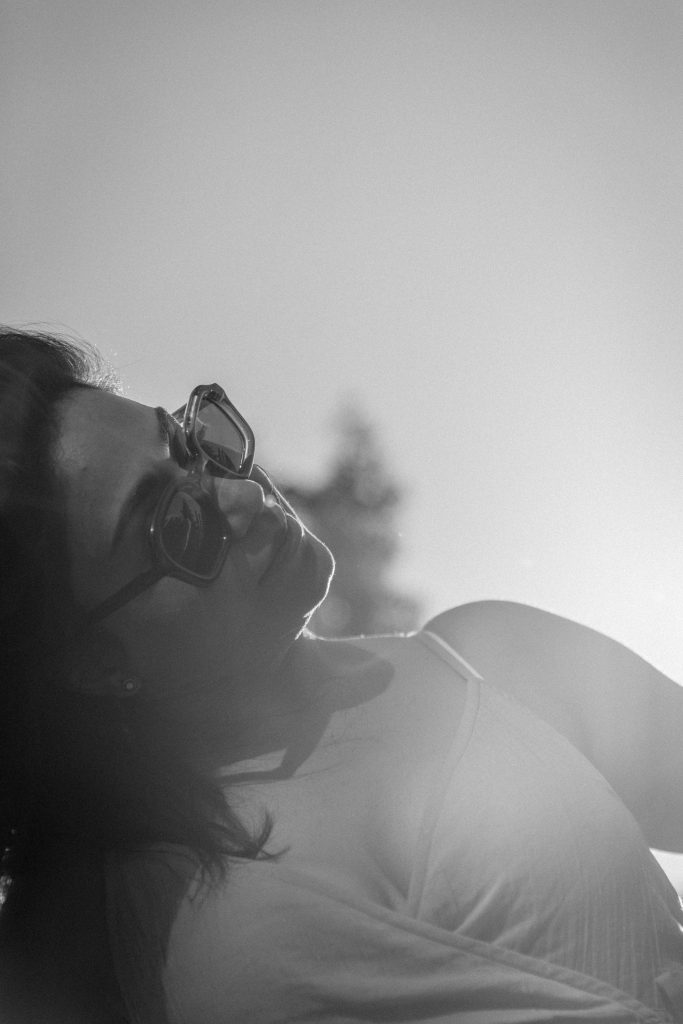
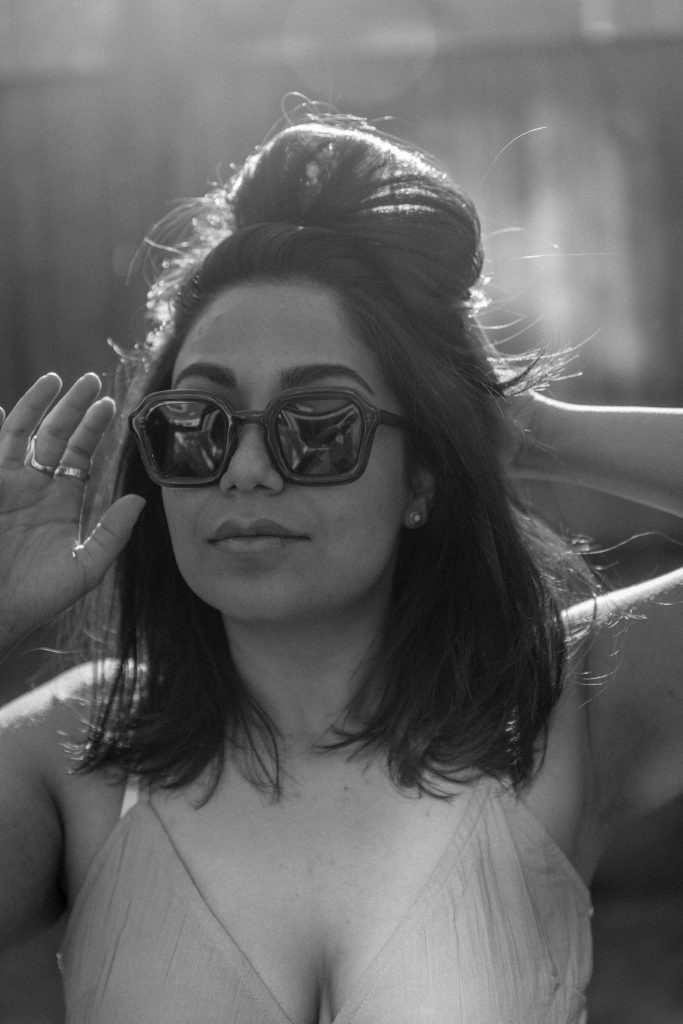
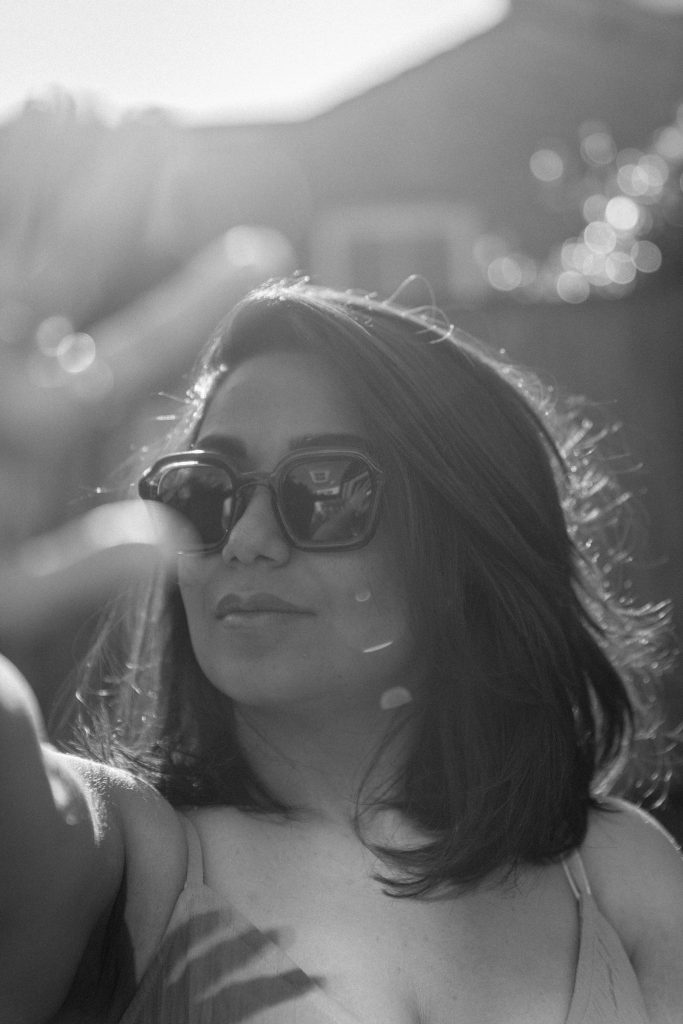
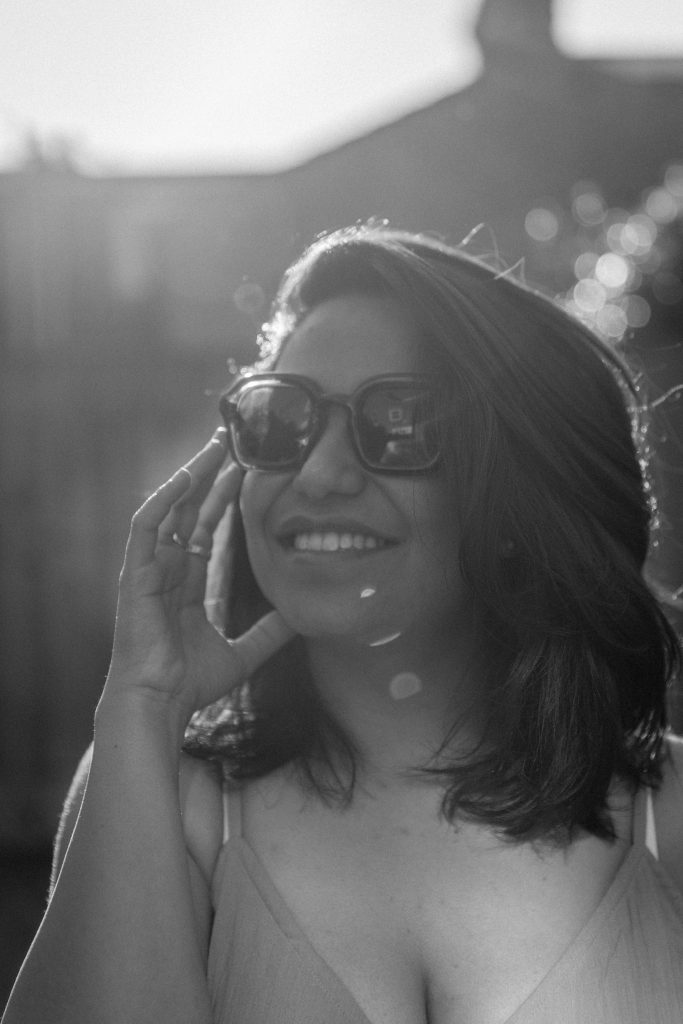
Fourth Step: Editing I used my own Black and White preset for these images but you can easily achieve a black and white look using any Colour Grading program or phone app. I decreased the shadows slightly as I wanted the final look to be soft and not harsh in contrast. I always add a little grain to the image so that it gives it a ‘film/retro’ look and feel.
Editing is all about playing around with the image and seeing what works best. What works for one image won’t always work with another – so have fun with this and don’t be scared to try something different/new! I have spent hours editing – if you spend long enough playing around you will soon be able to look at any image and visualise what you want the outcome to look like and be able to achieve it quickly.
Below you can see some of my before and afters:

If you liked this post or think that one of your friends would find it useful – please share 🙂 Part 3 is on its way…
x