You may have seen recently that I have been promoting using Pinterest for some time now. I have spent the past 6 years + using it but have only recently discovered what actually works for me and what has been a successful way of using it. Whether you are a Photographer, Graphic Designer or have your own business or brand – Pinterest is an amazing tool to drive traffic to your website, attract future clients and increase your brand awareness. I have spent the past few weeks noting down some tips that I have seen work for me.
I have broken this post up into several sections so you can easily navigate through and find what it is you are looking for when it comes to Pinterest! Having said this, I am no master at Pinterest but these are just a few things that I’ve seen work for me and I want to share them.
You can find my Pinterest here should you use it to see examples of what I will be talking about in this post
A little about Pinterest
For those that don’t know what Pinterest is or for those that have heard of it but never actually delved into it: It is not Social Media. It is in fact a search engine for imagery, driven by search and discovery. In 2018, Pinterest spent a huge amount of time increasing the search engine performance to stop image spamming and fake accounts and I really believe this is why it is so successful now.
How it works (the basics)
A pin is a Photo or Video that you upload to Pinterest (it is equivalent to a Tweet on Twitter). A Board on Pinterest is where you upload specific pins that relate to that board. For example, you can see below I have a Board called: Lydia Collins Fashion Photography – this contains all pins (photos & videos) relating to my fashion work.
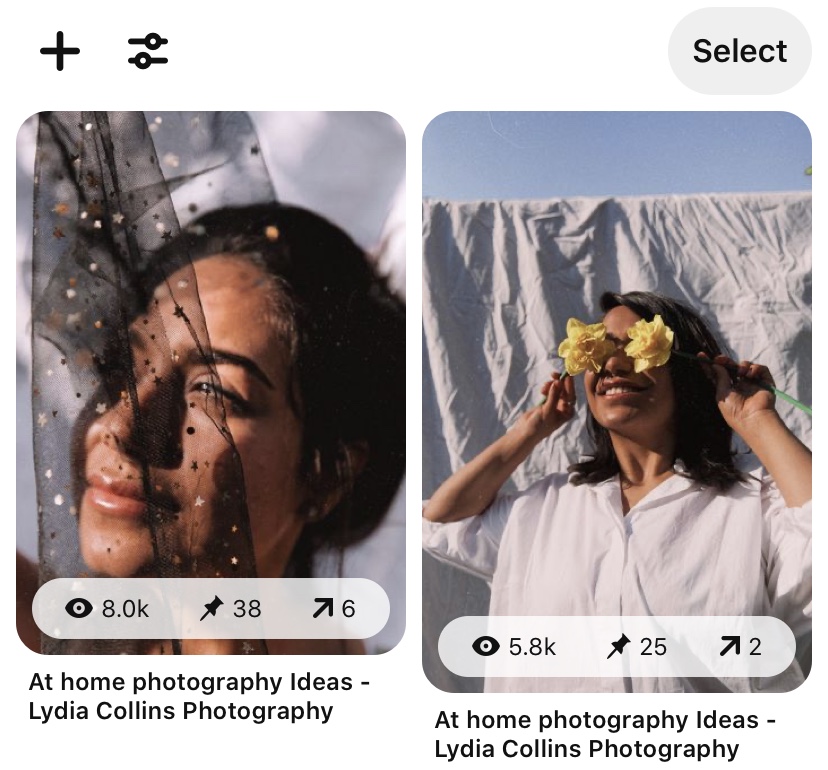
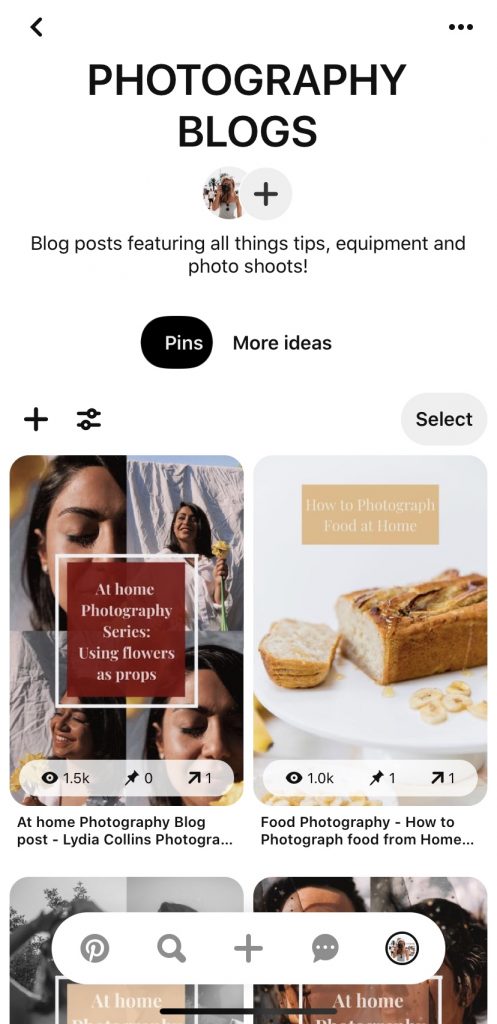
I also have a board called Photography Blogs – this contains all Pins relating to my Photography Blogs – all of these Pins link directly to the relevant blog post.
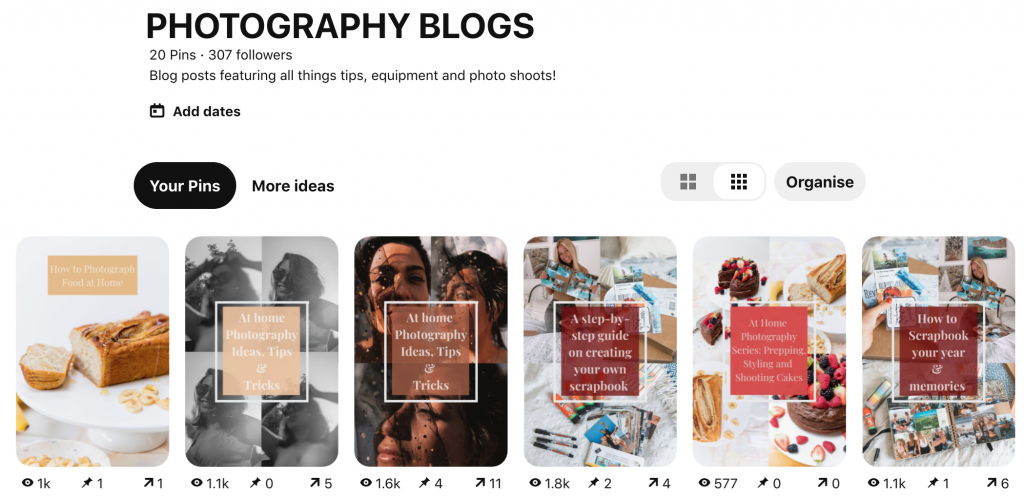
When you upload a pin to your boards, you title and describe what your pin is about. This tells Pinterest who you want to see your pins and who it relates to. You can then add hashtags which will help viewers find your pins. I’ll explain how to do this in more detail later. But for now…
… let’s dive into the exciting stuff
Pinterest Business Account
If you are going to be using Pinterest for your Business, Brand or to showcase your work; you will need a Pinterest business account. It is free and very easy to set up. You can set this up here : https://business.pinterest.com/en-gb
1.Set up your Business Account
By having a business account, you will be able to monitor your analytics and see which pins are the most successful, therefore driving more traffic to your desired platform. You will also be able to link your website to Pinterest to enable something called; Rich Pins. A Rich Pin is an organic Pin format that provides more context about the pin by showing extra information directly relating to that pin. (sounds complicated but I promise, it’s not)
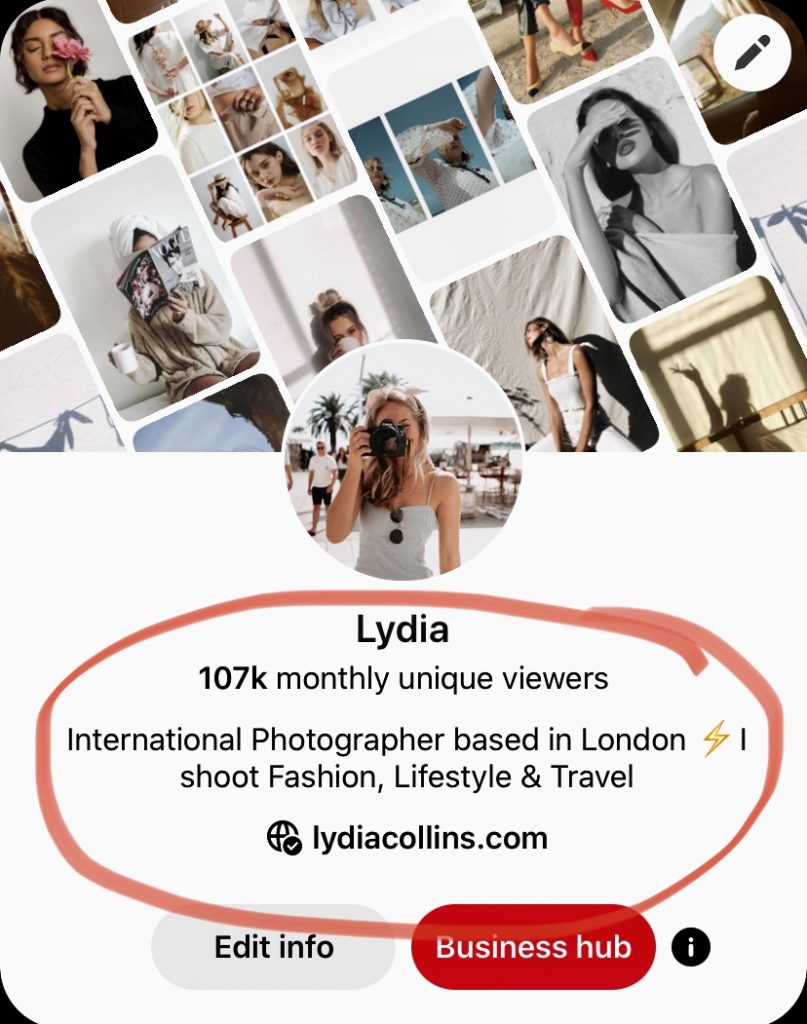
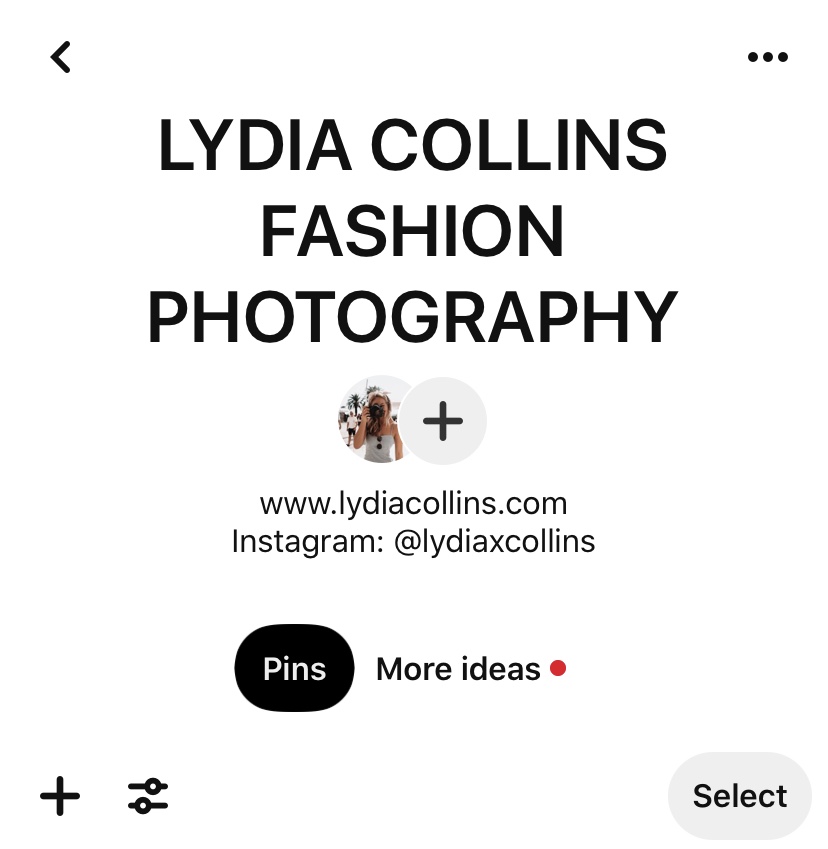
2. Add a clear Description to your Account.
On your ‘homepage’ of your account, you want to add a short, clear description of who you are and what you do. This is not only for Pinterest to know but also people who discover your page through a Pin or Board – it is a way for them to quickly know who you are.
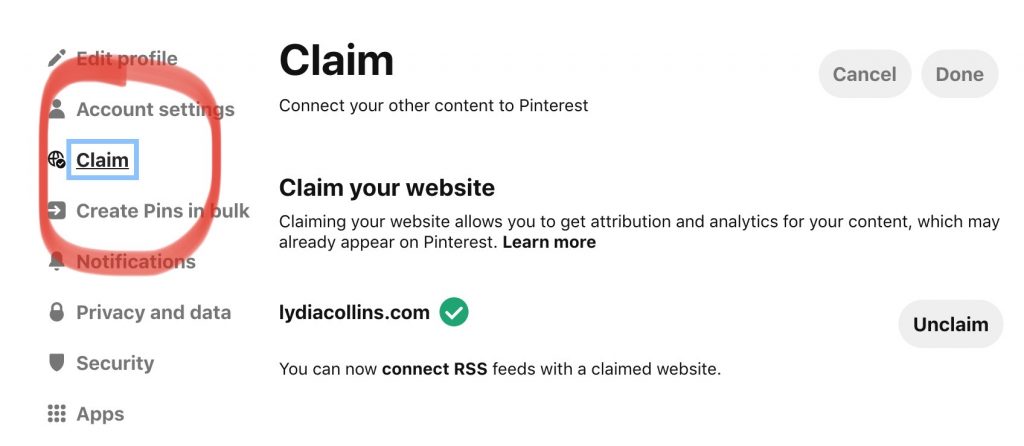
3. Claim Your Website
You can do this via Settings on your desktop. Once you have set up your Pinterest Business Account – You will want to ‘claim’ your Pinterest account to your website – this is basically a way for Pinterest to check your website and to confirm you are who you say you are before they promote your pins further. Your pins are likely to do better (meaning more traffic driven to your chosen platform). Claiming your website also means you can access analytics and see which pins are ‘performing’ the best. I have linked a video which tells you how to do this below (it is for sites created using WordPress) (https://www.youtube.com/watch?v=uj16S4rk3PA)
Pinterest Boards
The main aim when you create your boards is to keep your target audience in mind. You want to create boards that visually guide them to what they might be looking for. Tailor these boards to suit their needs and hide any boards that are not relevant (for example, I always hide boards that I create for myself and another clients as inspiration images – these aren’t suitable for my target audience – so I hide them).
1.Create several Boards that relate to you and your business
You will want to create several boards on Pinterest that relate to you and your business. For example, I have several Photography Boards where I upload my Photography work as separate Pins. I then have a Photography Blog Board where I upload pins that link to different blog posts on my website. You want to clearly title these boards and only pin Photos that resonate with those boards.
2.Create several Boards that you can Pin other people’s imagery.
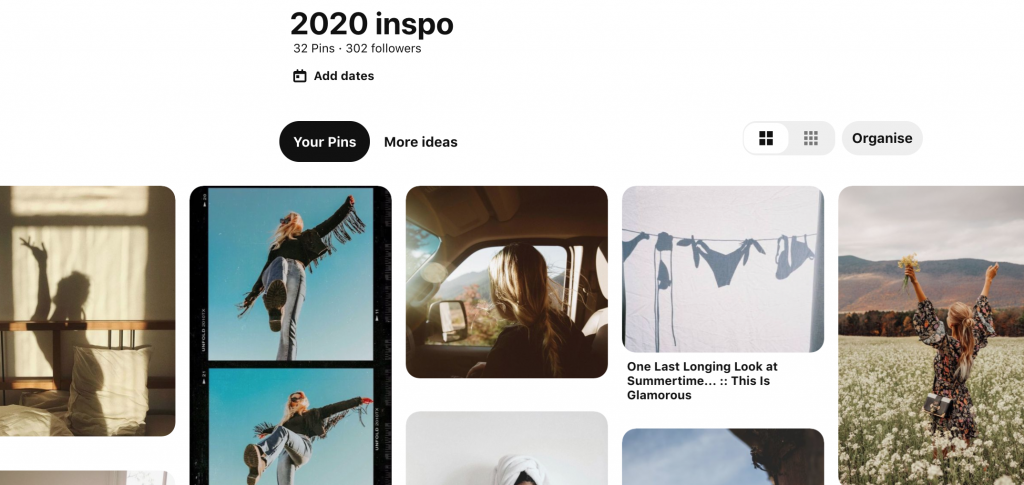
Another proven rewarded action for using Pinterest is to create several boards where you pin other people’s imagery and ideas. I have a 2020 Inspo Board where I pin some images I love and will want to recreate in the future.
Pinning
Pinterest works very similar to the likes of Google and other Search Engines. Users search specific content that they are interested in and looking for using keywords. For example, if they are looking for Food Photography Inspiration for their next Photoshoot. They are going to use Keywords such as ‘Food Photography’, ‘Food Photography Photoshoot’ ‘Food Photographs’ etc.
This is why keywords and descriptions of your pins are so important. Without these, your pins and photographs will get lost in Pinterest and you will not be using Pinterest to your advantage. The best way to upload pins is by using your laptop…
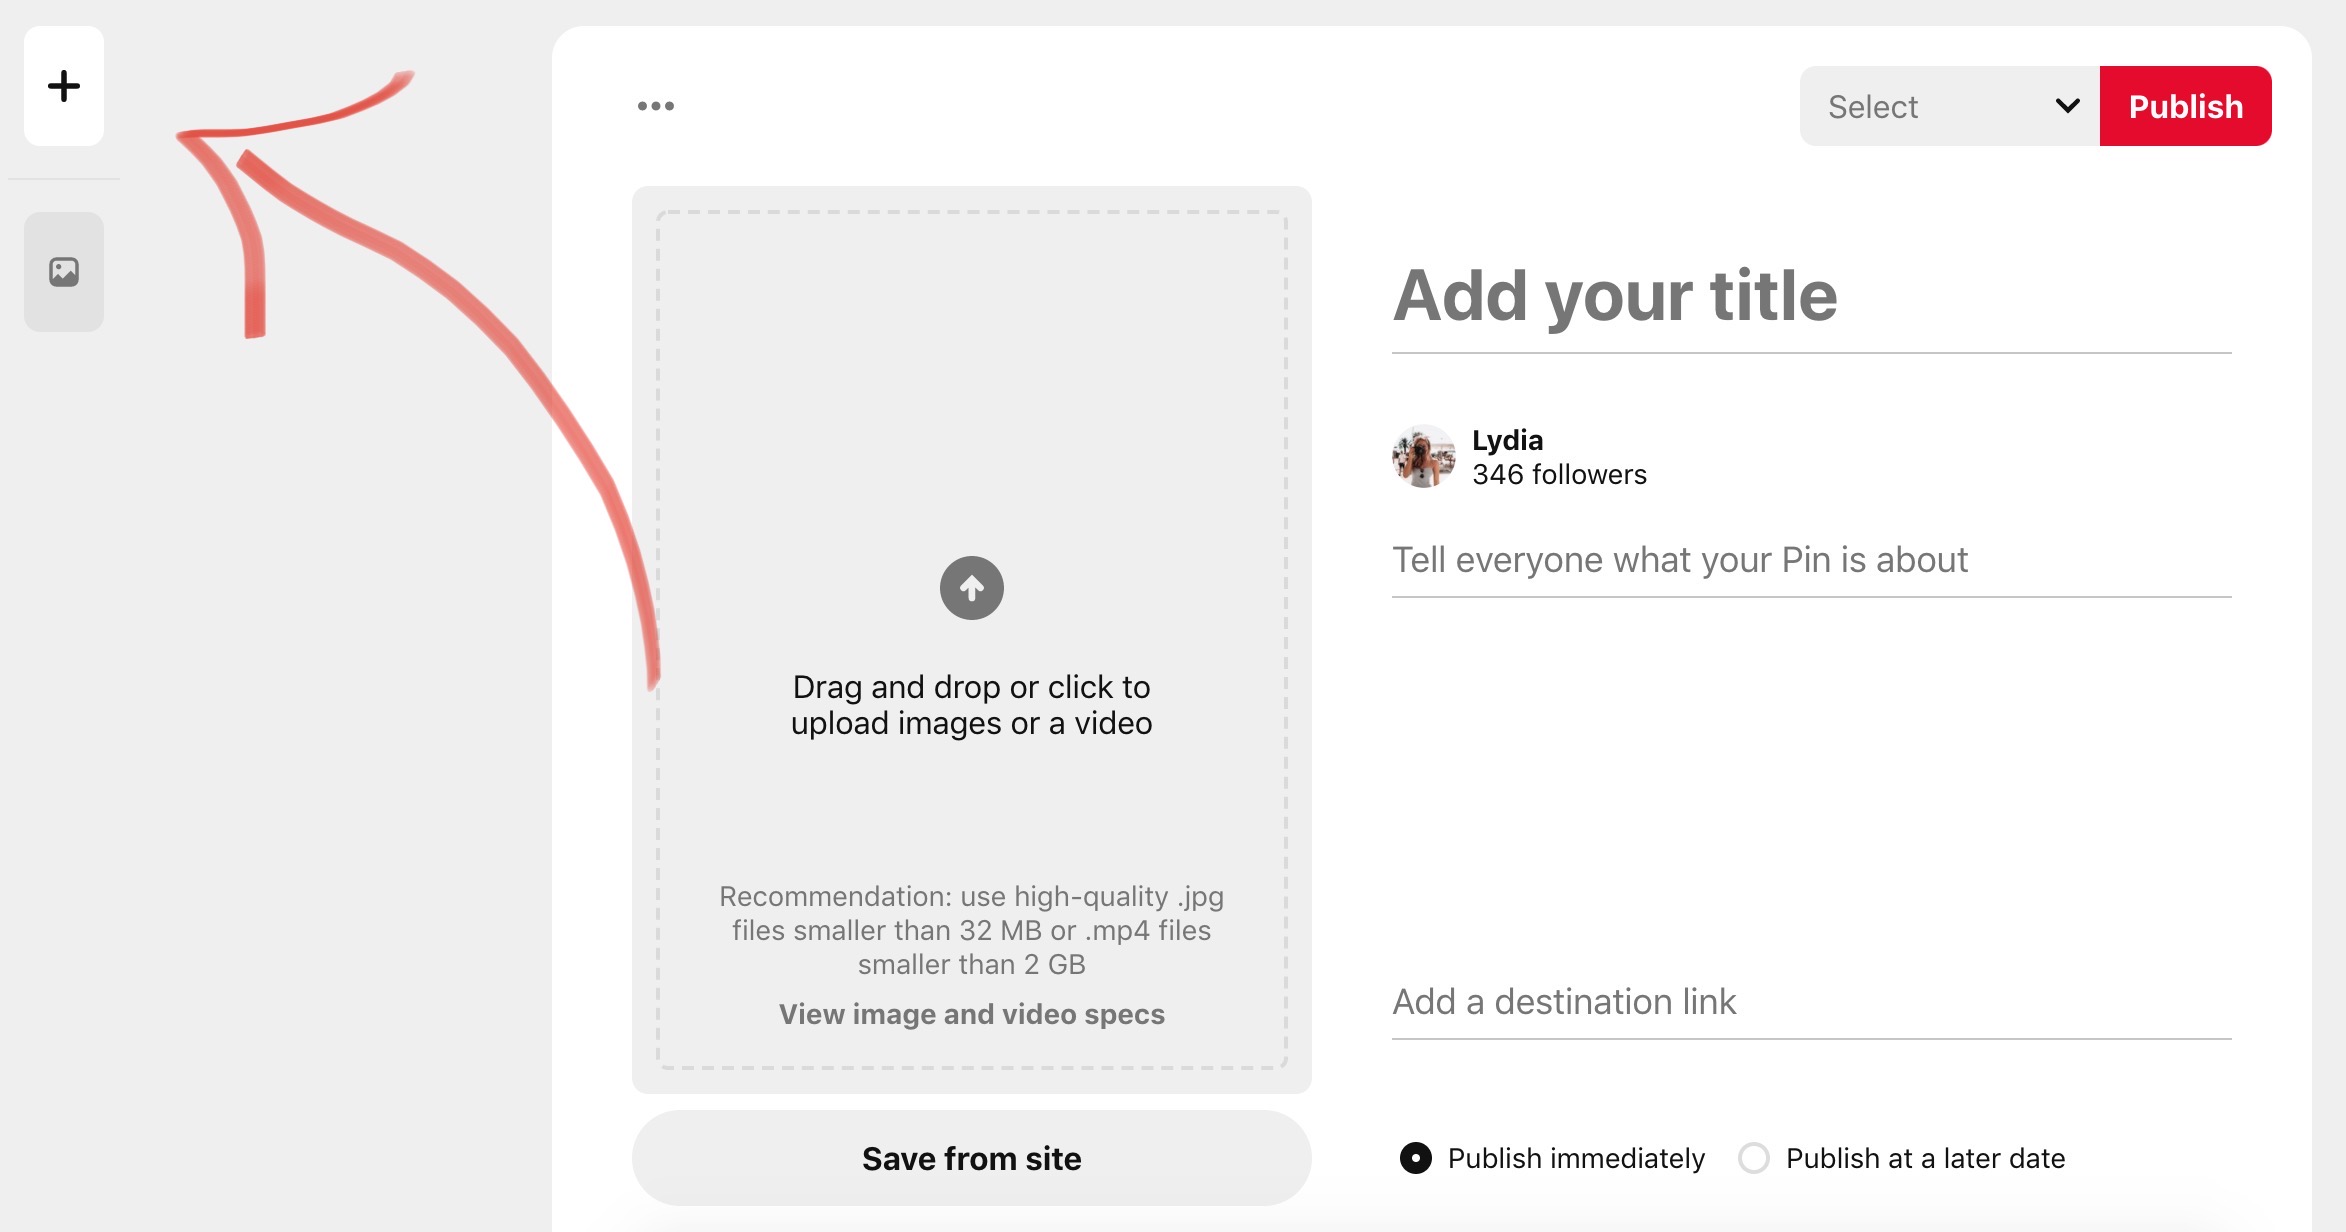
1.Upload pins via Multiple Pins
Start by Pinning some of you photos to one Board that you have created.The best way I have found to do this is by adding multiple pins at one time. You can then copy and paste the Titles, Captions, Hashtags and Linked Destination. Below is the icon you need to click to add multiple pins, I have found this the quickest way to add Photos to Pinterest.
2.Add relevant titles to your Pins
You want to make it clear what that specific Pin is about by adding a clear title. For example, if it’s a Fashion Photograph, you want to add something like Fashion Photography in London
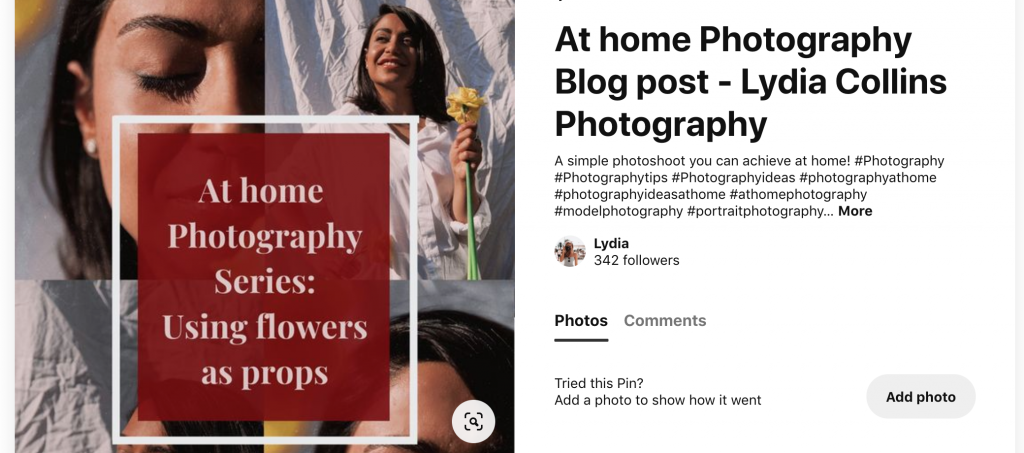
3.Add a Description to your Pin using Keywords
For example, for one of my Photography Blog Pins I would add a short description like: ‘A simple photoshoot you can achieve at home.’
4.Add Locations to your Description
You can use locations as part of your keywords in your description of your pin so that you can attract potential clients and traffic that live in the same region as you. For example, ‘London Photographer shooting street-style’
5. Add relevant Hashtags to your pin
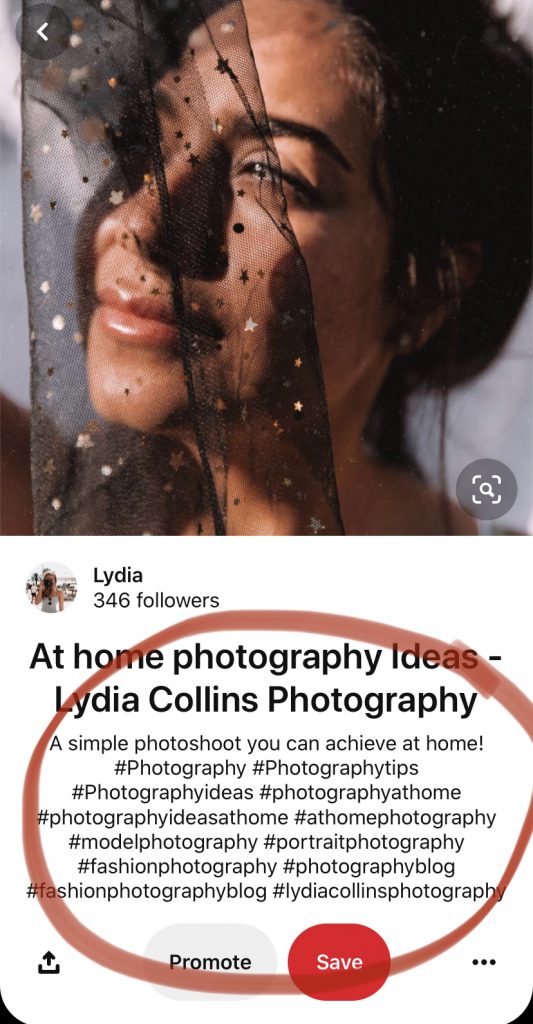
Hashtags are a great way for people to discover your pins (photos/videos) You want to add several hashtags that relate to that pin. For example, in this Photograph Blog Pin I add hashtags such as, #Photography #Photographytips #Photographyideas #photographyathome #photographyideasathome #athomephotography – these hashtags will help viewers to find your pins as if they are looking for inspiration to shoot at home, they are likely to search things like Photography at Home
6. Add a destination link to your pin
This is a vital part that a lot of people forget. Add a link to your website or chosen platform. This will then add a link to the pin itself, so if people click directly onto the photo – they will be sent to another tab and your chosen destination – your website!
Your Pinterest Page
When creating your boards and pins, keep your brand in mind. Think about the aesthetics and what you want your overall page to speak to the viewer. Think about Colours, Font, Written Text etc.
Be Consistent
Pinterest will not reward you with traffic and sales if you are not consistent with adding pins, pinning other people’s pins, creating boards or browsing the site. You have to actively be achieving all of the above and you will reap the rewards!
Use Tailwind, an app approved by Pinterest, to schedule your weeks worth of Pins – you can schedule however many you like and whatever time, so you don’t have to spend everyday doing it but you know that there’s content that you have created going out there!
I hope this has helped you! If it has – please share it to help more people 🙂